Proxy Integration With Apify
Web scraping can be a difficult task, considering potential challenges like CAPTCHAs or IP bans. Hence, it’s important to give yourself a hand and make the process as convenient as possible. One of the ways of doing so is integrating proxies with a third-party web scraping application like Apify.
Using Apify with Oxylabs proxies
To ensure a smooth scraping process, it’s essential to integrate proxies. Not only will it keep you anonymous, but it’ll also help you avoid the above-mentioned technical challenges. With Oxylabs’ proxy solutions integrated with Apify, you can carry out your public web scraping project without hassle. You may use Datacenter or Residential Proxies, according to your preferences and the task at hand.
Let’s look at the exact steps for setting up Oxylabs’ proxies with Apify.
1. Log in to your account on Apify.
2. Navigate to the menu on the left and select Store:
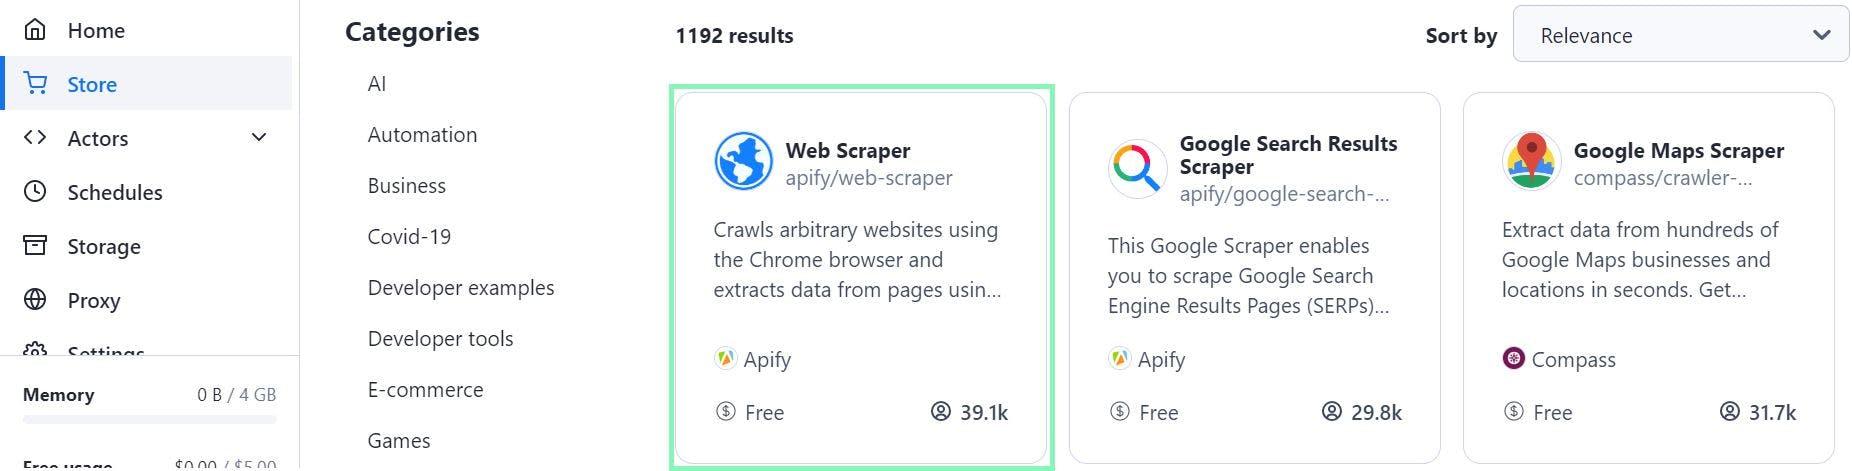
3. Inside it, pick your desired tool depending on your scraping project goals. You can browse the categories or use the search.
4. In our example, we’ll select the Web Scraper actor.
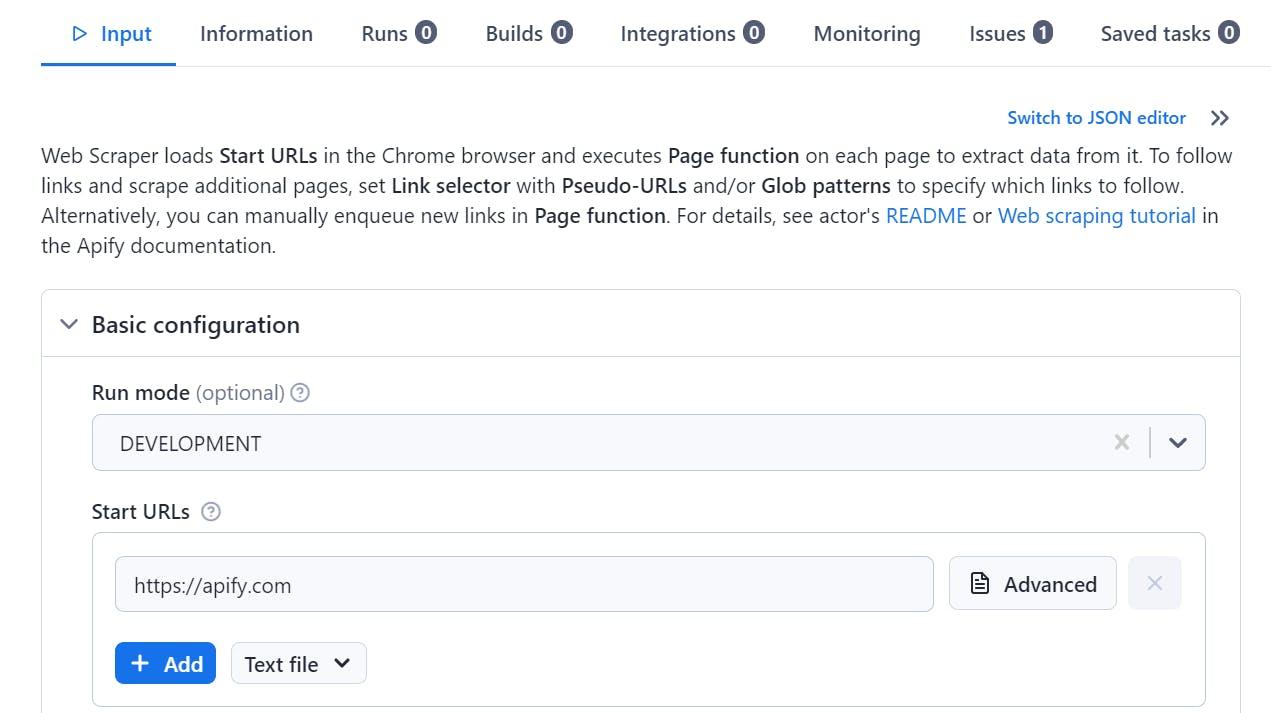
5. In the Input section, click Basic configuration, where you’ll be able to enter your target URLs.
6. Scroll down to Proxy and browser configuration and locate the Proxy configuration section. Here, click Custom proxies to change the Apify proxy settings.
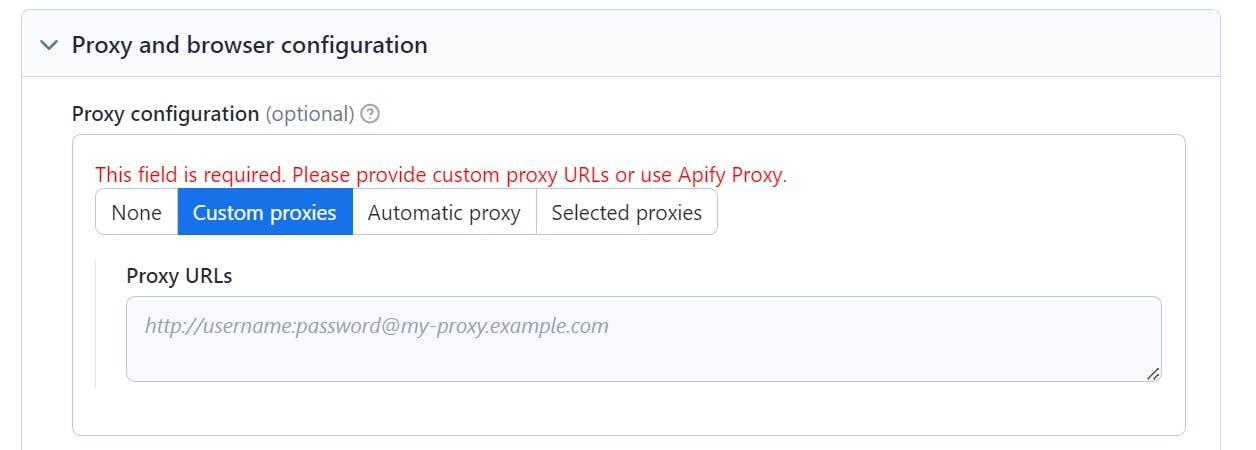
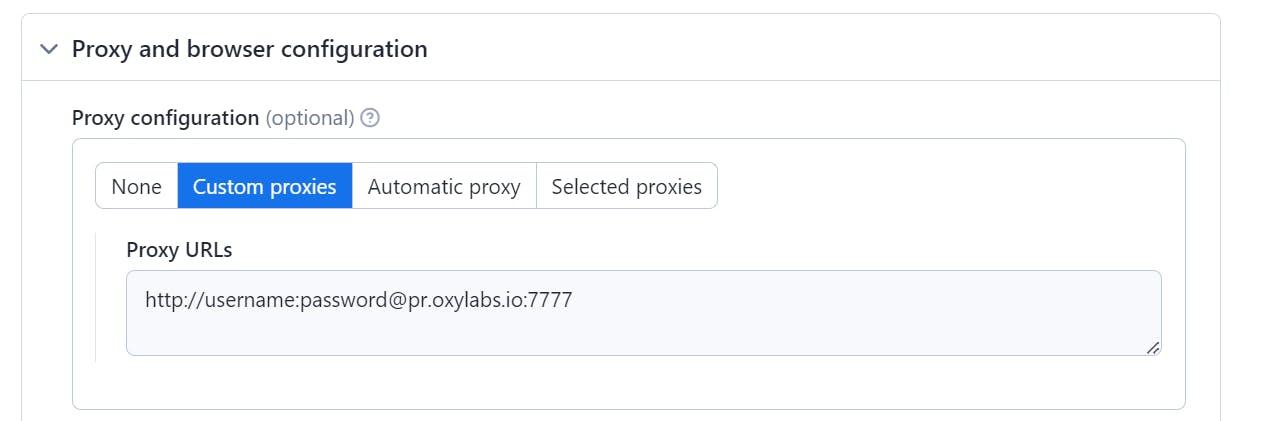
7. If you want to use Residential Proxies, in the Custom proxies section, enter your own Oxylabs sub-user credentials and other details, as shown in the example below.
Residential Proxies
Host: pr.oxylabs.io
Port: 7777
Username: your Oxylabs sub-user’s username
Password: your Oxylabs sub-user’s password
The final URL should look like this (just with your own sub-user credentials):
Note that you can also use country-specific entries. For instance, if you enter us-pr.oxylabs.io under Host and 10000 under Port, you’ll acquire a US exit node. To see the full list of country-specific entry notes or if you need a sticky session, please see our documentation.
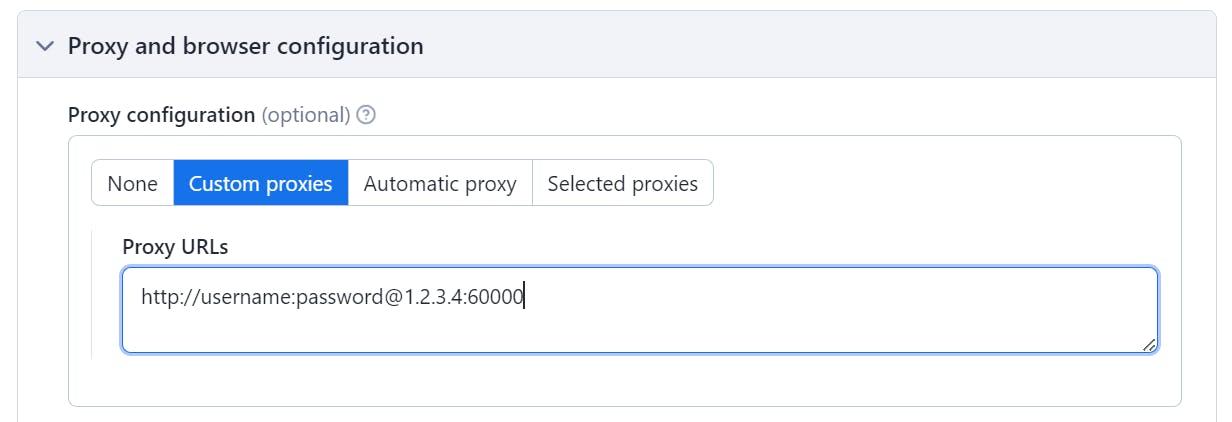
Now, if your tasks need to use Datacenter Proxies, insert the details as described below:
Enterprise Dedicated Datacenter Proxies
Follow these instructions if you purchased Dedicated Datacenter Proxies via sales.
Host: A specific IP address (e.g., 1.2.3.4)
Port: 60000
Please see our Enterprise Datacenter Proxy documentation for more information – here, you’ll learn how to see the IP list, where you’ll be able to choose your preferred IP address.
Once again, the final URL should look like this except with your own sub-user credentials and your chosen IP address:
Self-Service Dedicated Datacenter Proxies
Follow these instructions if you purchased Dedicated Datacenter Proxies via the dashboard.
Host: ddc.oxylabs.io
Port: 8001
With Self-Service Dedicated Datacenter Proxies, the port number corresponds with the sequential number of the IP address from your acquired proxy list. Please refer to our documentation for more details.
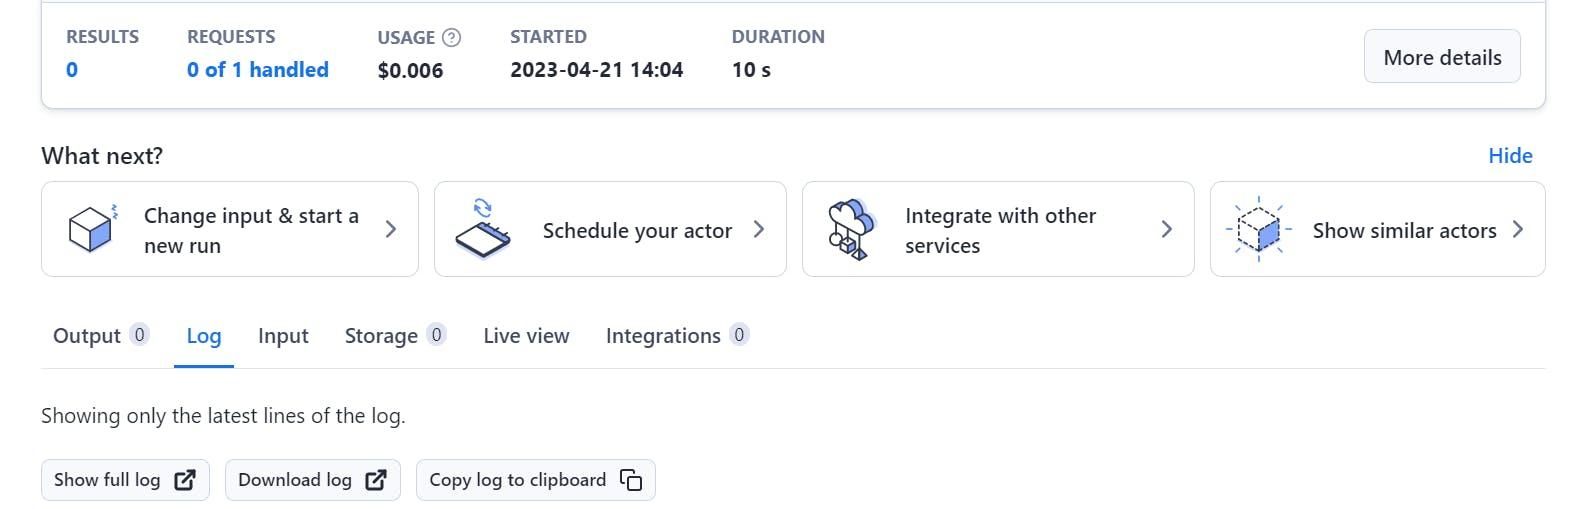
8. To finish the Apify proxy configuration process, click Save & Start.
9. Once the web scraping process is finished, you can access and preview the data or download it in your preferred format.
And you’re done! Your proxy setup is that easy. Although, don’t forget to check your IP address before surfing the web to ensure you’ve got a proper connection to the server, which you can do at https://ip.oxylabs.io.
Conclusion
Integrating our proxy solutions with any of Apify’s actors is how your business can acquire beneficial publicly available data in a simple and convenient way. Although the process is quite straightforward, please feel free to contact Oxylabs’ support team via live chat or at support@oxylabs.io with any questions!
And if you're curious to learn about other Oxylabs integrations out there, check this Postern proxy integration guide.
Frequently asked questions
What is Apify?
Apify is a platform designed for automatic web data extraction on a large scale. The platform offers ready-to-use scraping tools for different websites and applications. As a customer, you have to choose your preferred scraper, enter a few necessary details and run the program – it’ll get the requested data in machine-readable formats like JSON and CSV.
How does Apify work?
The core purpose of Apify is to provide a platform and set of tools to allow developers to build, run, and manage web scraping and automation tasks. As a result, through these processes, Apify streamlines workflow for numerous scraping jobs.
Useful resources
What is Browser Automation? Definition and Examples
Browser automation replicates actions on web browsers to effectively replace manual human labor. With bots doing the work of humans, you can bet on reduced effort, guaranteed efficiency, and speed that manual work couldn’t deliver.
Top 5 Marketing Automation Trends for 2023
In the contemporary business world, everyone knows that nothing substantial can be achieved without proper marketing. But, as the marketing landscape evolves, it becomes harder and harder to align people, technologies, and processes in order to keep up with the latest trends and achieve new marketing goals. This is where the concept of marketing automation comes into play.
How to Use a Proxy in Puppeteer
While web scraping and automation tools have developed significantly in recent years, handling dynamic websites has become a breeze. Headless browsers without a graphical user interface offer an efficient way of collecting public data, as you can control them programmatically. If combined with proxy servers, they're even better.
Get the latest news from data gathering world
Get Apify proxies for $8/GB
GET IN TOUCH
General:
hello@oxylabs.ioSupport:
support@oxylabs.ioCareer:
career@oxylabs.io
Certified data centers and upstream providers
Connect with us
Advanced proxy solutions
Resources
Innovation hub
oxylabs.io© 2024 All Rights Reserved