
How to Set Up Proxies With AIOHTTP: HTTP, SOCKS5 & Rotating Proxies
Aiohttp is a Python library that can make asynchronous web services and applications that work fast and are scalable. For more information, see the official documentation and our aiohttp web scraping tutorial.
This tutorial will show you how to use Python's aiohttp and asyncio libraries to integrate Oxylabs' Residential, Datacenter Proxies, and Web Unblocker, along with code examples to rotate Datacenter Proxies.

Prerequisites
Beforehand, please ensure that you have the following prerequisites in place:
Python installed (3.6 or above)
Oxylabs sub-user’s credentials
Installing AIOHTTP
Run the following pip command in the terminal to install the aiohttp library:
pip install aiohttpUse the following command in a Windows command prompt:
python -m pip install aiohttpAdditionally, you must install the asyncio package as it provides many tools for handling multiple tasks efficiently. For installation, use the following command:
pip install asyncioNow, the aiohttp library is all set to send web requests and receive web responses. The next step is to import the required packages in the Python file:
import aiohttp
import asyncio
Handling HTTP requests using AIOHTTP
The following example shows how to use aiohttp to handle HTTP protocol-based requests. We’ll send an HTTP GET request to the https://ip.oxylabs.io/ web page. After receiving the request, the web page returns the IP address of the requester.
Let’s start by creating the get_response() async function:
async def get_response():
    async with aiohttp.ClientSession() as session:
        async with session.get(
                'https://ip.oxylabs.io/'
        ) as response:
            print('Status Code: ', response.status)
            print('Body: ', await response.text())
When executed, the get_response() function creates a session by using the ClientSession() method and then sends an HTTP GET request to the target URL. Once the response to this GET request arrives, the function prints the status code value and the response text.
Note: You can also configure request timeouts in aiohttp to prevent requests from waiting indefinitely for a response.
Let’s call this get_response() to see the HTTP request in action:
asyncio.run(get_response())
The above output shows the success status, in our case 200, and the requester’s IP address.
Integrating AIOHTTP proxies (HTTP, HTTPS, and SOCKS5)
While web scraping, we often encounter IP restrictions from the websites that have implemented security measures on the server side. This is because when we repeatedly access the website with the same IP, that IP may seem suspicious, and we could therefore no longer access that website.
Oxylabs’ proxies can integrate with your HTTP requests to help maintain web access. You can simply enter your provided proxy server IP address and password-authenticated proxy credentials within the GET method.
There are three integration steps. We’ll re-use the code from the previous section, and we’ll add additional code lines to integrate proxies:
Step 1: First, import the following packages before using their functionalities:
import asyncio
import aiohttp
Step 2: Create variables for the proxy address, username, and password. These proxy settings will be used later in the GET request.
PROXY_ADDRESS = 'proxy_address'
USERNAME = 'username'
PASSWORD = 'password'
Note: For security, you can store sensitive proxy credentials, such as usernames and passwords, as environment variables rather than hardcoding them in your script.
Here, you have to replace the username and password with your Oxylabs sub-user’s credentials and the proxy_address with the address of the proxy server you want to use.
Residential Proxies
Proxy type: HTTP, HTTPS, or SOCKS5
Proxy address: pr.oxylabs.io
Proxy port: 7777
For example, in the case of Residential Proxies, you can use the following proxy server address:
PROXY_ADDRESS = 'pr.oxylabs.io:7777'You can use a country-specific proxy address as well. For example, if you replace the proxy address with us-pr.oxylabs.io and the port with 10000, then you’ll acquire the US exit node. For more country-specific entries or if you need a sticky session, please review our documentation.
Enterprise Dedicated Datacenter Proxies
Specify the following if you purchased Dedicated Datacenter Proxies via sales.
Proxy type: HTTP proxy or SOCKS5
Proxy address: a specific IP address (e.g., 1.2.3.4)
Proxy port: 60000
For Enterprise Dedicated Datacenter Proxies, you’ll have to choose an IP address from the acquired list. Visit our documentation for more details.
Self-Service Dedicated Datacenter Proxies
Specify the following if you purchased Dedicated Datacenter Proxies via the dashboard.
Proxy type: HTTP, HTTPS, or SOCKS5
Proxy address: ddc.oxylabs.io
Proxy port: 8001
For Self-Service Dedicated Datacenter Proxies, the port indicates the sequential number of an IP address from the acquired list. Check our documentation for more details.
Datacenter Proxies
Proxy type: HTTP, HTTPS, SOCKS5
Proxy address: dc.oxylabs.io
Proxy port: 8001
Under the pay-per-IP subscription method, each port is assigned to an IP address sequentially from your list. For example, port 8001 will use the first IP address on the list. For additional details, check our documentation.
With the pay-per-traffic subscription, port 8001 will randomly select an IP address but will stay consistent for the session's duration. To specify the proxy's location, for instance the United States, use the user authentication string in the correct format: user-USERNAME-country-US:PASSWORD. See our documentation for more details.
ISP Proxies
Proxy type: HTTP, HTTPS, or SOCKS5
Proxy address: isp.oxylabs.io
Proxy port: 8001
Web Unblocker
Proxy type: HTTP or HTTPS
Proxy address: unblock.oxylabs.io
Proxy port: 60000
You can utilize various features of Web Unblocker, such as geo-location settings, Custom Browser Instructions, and others, by passing the parameters as headers. For instance, to connect to an IP based in Germany, the code would look like this:
headers = {
    'x-oxylabs-geo-location': 'Germany'
}

async def get_response_using_proxy():
    async with aiohttp.ClientSession(headers=headers, connector=aiohttp.TCPConnector(ssl=False)) as session:
        # Remaining code...
You can also pass the headers within the session.get() function. Use the specified URL, https://ip.oxylabs.io/location, as target to see the geographic location of your IP address, along with other information.
Step 3: The final step is to submit an HTTP request with the target URL and the proxy dictionary.
The following aiohttp proxy integration code employs the Residential Proxy server setup specified in step 2 to send a GET request to https://ip.oxylabs.io/. Additionally, it prints the status code and the response text in the output.
async def get_response_using_proxy():
    async with aiohttp.ClientSession() as session:
        async with session.get(
                'https://ip.oxylabs.io/',
                proxy=f'http://{USERNAME}:{PASSWORD}@{PROXY_ADDRESS}'
        ) as response:
            print('Status Code: ', response.status)
            print('Body: ', await response.text())

asyncio.run(get_response_using_proxy())
When it comes to Web Unblocker, you must ignore the SSL certificate by passing the connector argument to aiohttp.ClientSeesion():
async def get_response_using_proxy():
    async with aiohttp.ClientSession(connector=aiohttp.TCPConnector(ssl=False)) as session:
        # Remaining code...
Testing proxy connection
In the previous section, we demonstrated all the steps to integrate proxies with Python and the aiohttp library. Let’s test the code to see the output:
import aiohttp
import asyncio

PROXY_ADDRESS = 'proxy_address'
USERNAME = 'username'
PASSWORD = 'password'

async def get_response_using_proxy():
    async with aiohttp.ClientSession() as session:
        async with session.get(
                'https://ip.oxylabs.io/',
                proxy=f'http://{USERNAME}:{PASSWORD}@{PROXY_ADDRESS}'
        ) as response:
            print('Status Code: ', response.status)
            print('Body: ', await response.text())

asyncio.run(get_response_using_proxy())
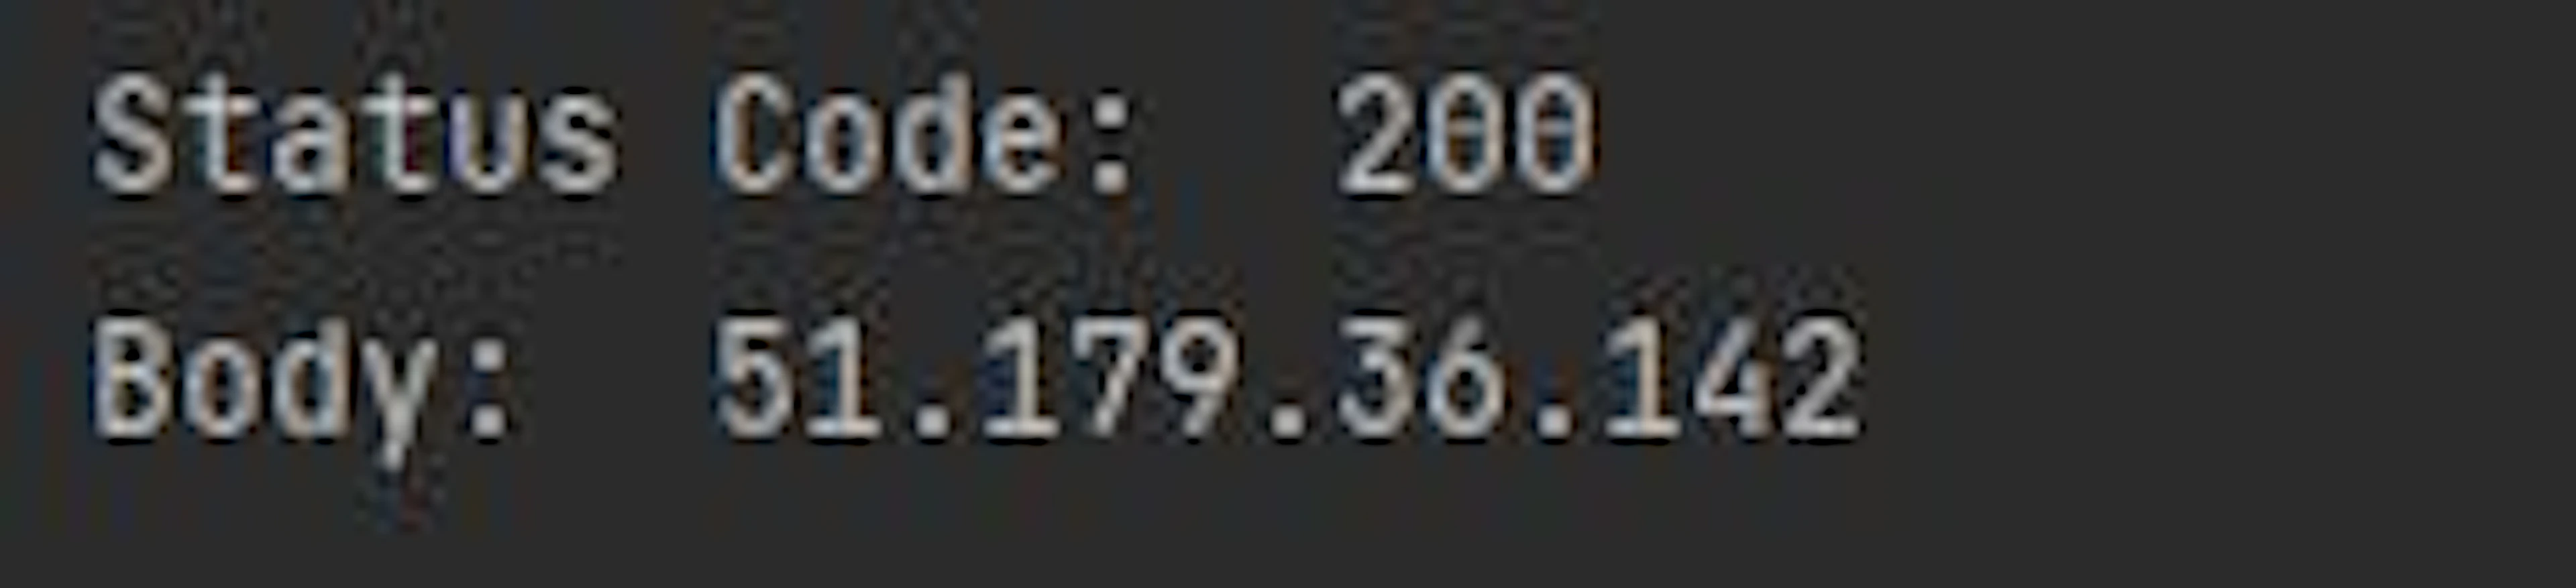
Running this code should give a similar output:
Proxy integration using basic authentication
In the previous example, you can see that we’ve used the username, password, and proxy address in a single to perform proxy authentication with the GET request. Aiohttp also provides us with another way to perform user authentication – the BasicAuth method. The following example uses the BasicAuth method to pass the username and password with the request.
import asyncio
import aiohttp

PROXY_ADDRESS = 'proxy_address'
USERNAME = 'username'
PASSWORD = 'password'

async def get_response_using_proxy():
    async with aiohttp.ClientSession() as session:
        async with session.get(
                'https://ip.oxylabs.io/',
                proxy=f'http://{PROXY_ADDRESS}',
                proxy_auth=aiohttp.BasicAuth(USERNAME, PASSWORD)
        ) as response:
            print('Status Code: ', response.status)
            print('Body: ', await response.text())

asyncio.run(get_response_using_proxy())
How to rotate proxies with Python and AIOHTTP
Some websites restrict web data access if certain IP addresses raise suspicion, which can lead to failed requests. There’s a possibility your access will be restricted if you use a single IP for repetitive scraping requests.
Oxylabs’ Residential Proxies can randomly change the proxy server address with each request or maintain the same IP through a sticky session for up to 24 hours. These options are also available with Shared Datacenter Proxies, although an IP can be retained indefinitely. As a result, proxy rotation is performed internally by Oxylabs’ Residential and Shared Datacenter Proxies, so you don't need to take care or rotating proxies externally. For additional information, see our documentation for Residential and Shared Datacenter Proxies.
On the other hand, Dedicated Datacenter Proxies don’t offer an inherent rotation functionality, but you can use our Proxy Rotator to quickly construct that.
As an alternative, Python aiohttp can be used for proxy rotation. Although the library has no built-in rotation feature, you may rotate proxy servers using the following two techniques.
Selecting a random proxy from the proxy list
The most straightforward way to rotate proxies is to have a proxy list and randomly select any of the proxies from it.
If you have a list of proxies, the following code will allow you to rotate them for every web request:
import asyncio
import random
import aiohttp

proxy_list = [
    'http://username:passwordW@PROXY_ADDRESS_1:60000',
    'http://username:password@PROXY_ADDRESS_2:60000',
                    .
                    .
                    .
    'http://username:password@PROXY_ADDRESS_N:60000'
]

proxy = random.choice(proxy_list)

async def get_response_using_proxy():
    async with aiohttp.ClientSession() as session:
        async with session.get(
                'https://ip.oxylabs.io/',
                proxy=proxy
        ) as response:
            print('Status Code: ', response.status)
            print('Body: ', await response.text())

asyncio.run(get_response_using_proxy())
The above code creates a list of different IP addresses with usernames and passwords. Then it uses the random.choice() method to randomly select one proxy endpoint from the proxy_list. Once the proxy is fetched from the list of proxies randomly, the request is sent using this selected proxy server endpoint.
The random.choice() method can select the same proxy endpoints multiple times, so there’s a chance to use a particular proxy address for multiple requests.
Iterating over a proxy list
The previous proxy rotation approach is non-deterministic due to its unpredictability. Let’s use a more predictable rotation approach instead by employing a round-robin-style strategy.
With this method, you’ll build a list of proxy endpoints and cycle over the list indices until the list is finished. The subsequent value of i is mapped to the 0th index using modular arithmetic. It continues until all iterations of the for loop have been completed.
The following code demonstrates this concept:
import asyncio
import aiohttp

proxy_list = [
   'http://username:password@PROXY_ADDRESS_1:60000',
   'http://username:password@PROXY_ADDRESS_2:60000',
                .
                .
                .
   'http://username:password@PROXY_ADDRESS_N:60000'
]

async def get_response_using_proxy(target_url, proxy):
    async with aiohttp.ClientSession() as session:
        async with session.get(
                target_url,
                proxy=proxy,
        ) as response:
            print('Status Code: ', response.status)
            print('Body: ', await response.text())

number_of_requests = 10
length = len(proxy_list)
for i in range(number_of_requests):
    index = i % length
    asyncio.run(get_response_using_proxy('https://ip.oxylabs.io/', proxy_list[index]))
The for loop sends HTTP requests equal to the number_of_requests. Note how the index is determined throughout each cycle. The index value is kept within the proxy's boundaries using the expression i%length. It maps all i values in the range of 0 and length-1, resulting in a smooth proxy rotation.
How to reuse proxies
With proxy rotation, we select a different proxy on each request sent by aiohttp. We can reuse the same proxy until the access gets interrupted and then use another one.
Let’s see an example:
import asyncio
import aiohttp

proxy_list = [
    'http://username:password@PROXY_ADDRESS_1:60000',
    'http://username:password@PROXY_ADDRESS_2:60000',
                    .
                    .
                    .
    'http://username:password@PROXY_ADDRESS_N:60000'
]

async def get_response_using_proxy(target_url, proxy):
    async with aiohttp.ClientSession() as session:
        async with session.get(
                target_url,
                proxy=proxy
        ) as response:
            print('Status Code: ', response.status)
            print('Body: ', await response.text())
            return response.status

index = 0
number_of_requests = 10
length = len(proxy_list)
for _ in range(number_of_requests):
    status_code = asyncio.run(get_response_using_proxy('https://ip.oxylabs.io/location', proxy_list[index]))
    if status_code != 200:
        index = index + 1  # selecting new proxy index
        index = index % length  # taking index within the proxy list size
    else:
        continue  # to reuse the same proxy
In this code, the for loop keeps on sending the requests with a single proxy. If a request returns a status code other than 200 (success code), it changes the index and uses the next proxy from the list.
Conclusion
Any scraping task performs exceedingly better when combined with proxies. One of the simpler ways is integrating proxies with the aiohttp library in Python to extract data at a greater scale.
Please feel free to contact us via email or live chat if you need assistance or have any questions.
Please be aware that this is a third-party tool not owned or controlled by Oxylabs. Each third-party provider is responsible for its own software and services. Consequently, Oxylabs will have no liability or responsibility to you regarding those services. Please carefully review the third party's policies and practices and/or conduct due diligence before accessing or using third-party services.
Frequently Asked Questions
What is aiohttp used for?
Python's aiohttp library can be used to create asynchronous web services and applications. Compared to conventional synchronous web development frameworks, it enables developers to create quick and scalable applications that can manage high levels of concurrency and process more requests per second.
Is aiohttp better than Requests library?
Is asyncio better than threads?
Why is asyncio not thread-safe?
Is aiohttp a framework?
Useful resources
HTTPX vs Requests vs AIOHTTP
Find out about the critical features of HTTPX, Requests, and AIOHTTP and how they differ from each other.
Asynchronous Web Scraping With Python & AIOHTTP
In this tutorial, we will focus on describing the asynchronous approach to scraping multiple URLs and by comparing it to the synchronous one, demonstrate why it can be more beneficial.
How to Make Web Scraping Faster – Python Tutorial
Read this article where we discuss a few useful ways of making public data collection faster as well as provide sample codes that you can implement in your scraping activities.

Get the latest news from data gathering world