175M+ ethically sourced IPs built for the highest reliability.
High-speed, cost-effective proxies built for any scraping workload.
Premium static residential proxies from trusted ASNs for most difficult targets.
Dedicated IPs from premium ASNs for demanding scraping.

AI-powered proxy solution for optimized web scraping performance.

20M+ IP addresses from real mobile devices for precise targeting.

Free Chrome proxy manager extension that works with any proxy provider.

Free Android proxy manager app that works with any proxy provider.

Free community-driven tools to improve your web scraping projects.
Web Scraper API
All-in-one web data collection platform for every stage of web scraping.
Fast Search API
Ultra-fast organic search results scraper tailored for AI workflows.
Headless Browser
Advanced browser automation solution for AI agents and scraping.
AI Studio
A suite of AI-powered tools for various scraping projects.

Documentation
All features, parameters, and integration details, backed by code samples in every coding language.
Tutorials, samples, and guides.
Latest fixes and features.


How to Build Custom GPTs with Oxylabs' Web Scraper API
OpenAI’s introduction of custom-tailored ChatGPT models has paved the way for user-driven Artificial Intelligence (AI) tools, but it isn’t always smooth sailing. While advanced features like web browsing elevate GPTs to new heights, they can occasionally stumble, returning zero data due to various anti-scraping blocks websites implement.
If you want to ensure data quality and consistent access to public web content for your AI projects, then you can seamlessly fuse Oxylabs’ Web Scraper API with custom GPTs.


What are GPTs?
GPTs are personalized ChatGPT versions that can take custom instructions, have specific skills, and use additional knowledge for any imaginable purpose. For example, you can create a GPT that shares new lunch recipes with you, learns the ins and outs of your business to help you navigate further developments, or connects to a third-party API to extend GPT’s capacities.
GPTs' integrated chat allows you to create a custom version without any coding. If needed, you can always customize actions with code. GPTs are currently available with paid plans and come with additional built-in tools for web browsing, DALL·E image generation, code interpretation, data retrieval, and custom actions.
Limitations of GPTs
As is the case with any technology, GPTs face certain limitations. When building a custom GPT, some critical limits include:
| Request and response payloads must each be under 100,000 characters. |
| Requests will timeout after 45 seconds. |
| Requests and responses are limited to text content only. |
| The GPT editor allows you to attach up to 20 files. Each file can be as large as 512 MB and contain up to 2,000,000 tokens. |
| GPTs are accessible exclusively on chatgpt.com and cannot be embedded in other websites. |
Moreover, when it comes to integrating a web scraping API, you should be aware that:
| The current limit for GPT-4's context is 8,000 tokens in the standard model and up to 32,000 tokens in the extended context model. If your goal is to feed GPTs with scraped HTML files, which can easily exceed the 8,000 token limit, then parsed HTML data is a necessity. |
| At the moment, custom GPTs lack a straightforward basic HTTP authentication setup process. Users must manually encode their credentials, which complicates the authentication workflow. |
How to integrate Oxylabs' Web Scraper API with GPTs
While GPTs can access live websites, they may run into obstacles such as CAPTCHAs and other anti-scraping blocks, restraining access to content and failing the search. Hence, GPTs' ability to integrate with Oxylabs' Web Scraper API can fuel your AI-based projects by retrieving public web data without interruptions.
In this section, you’ll learn how to set up GPTs with our Web Scraper API.
1. Create a GPT
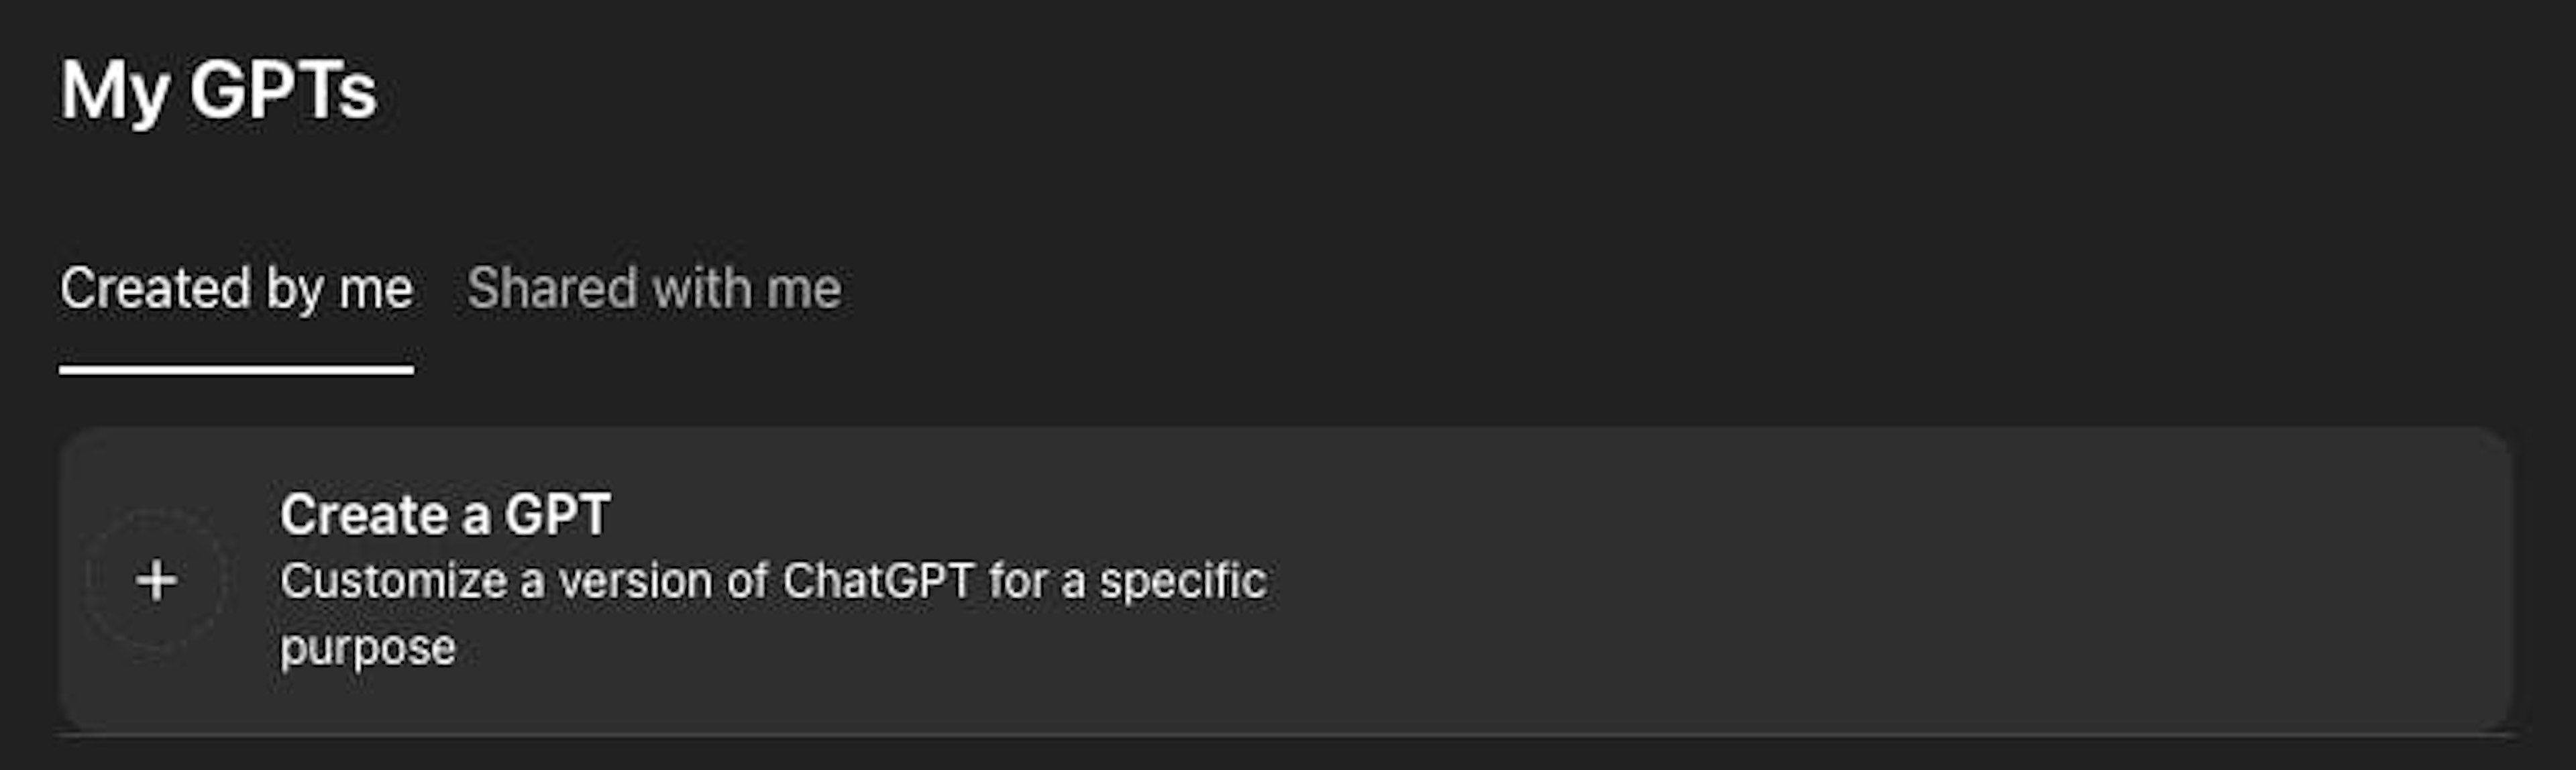
To start off, create a GPT and head to the Configure tab:
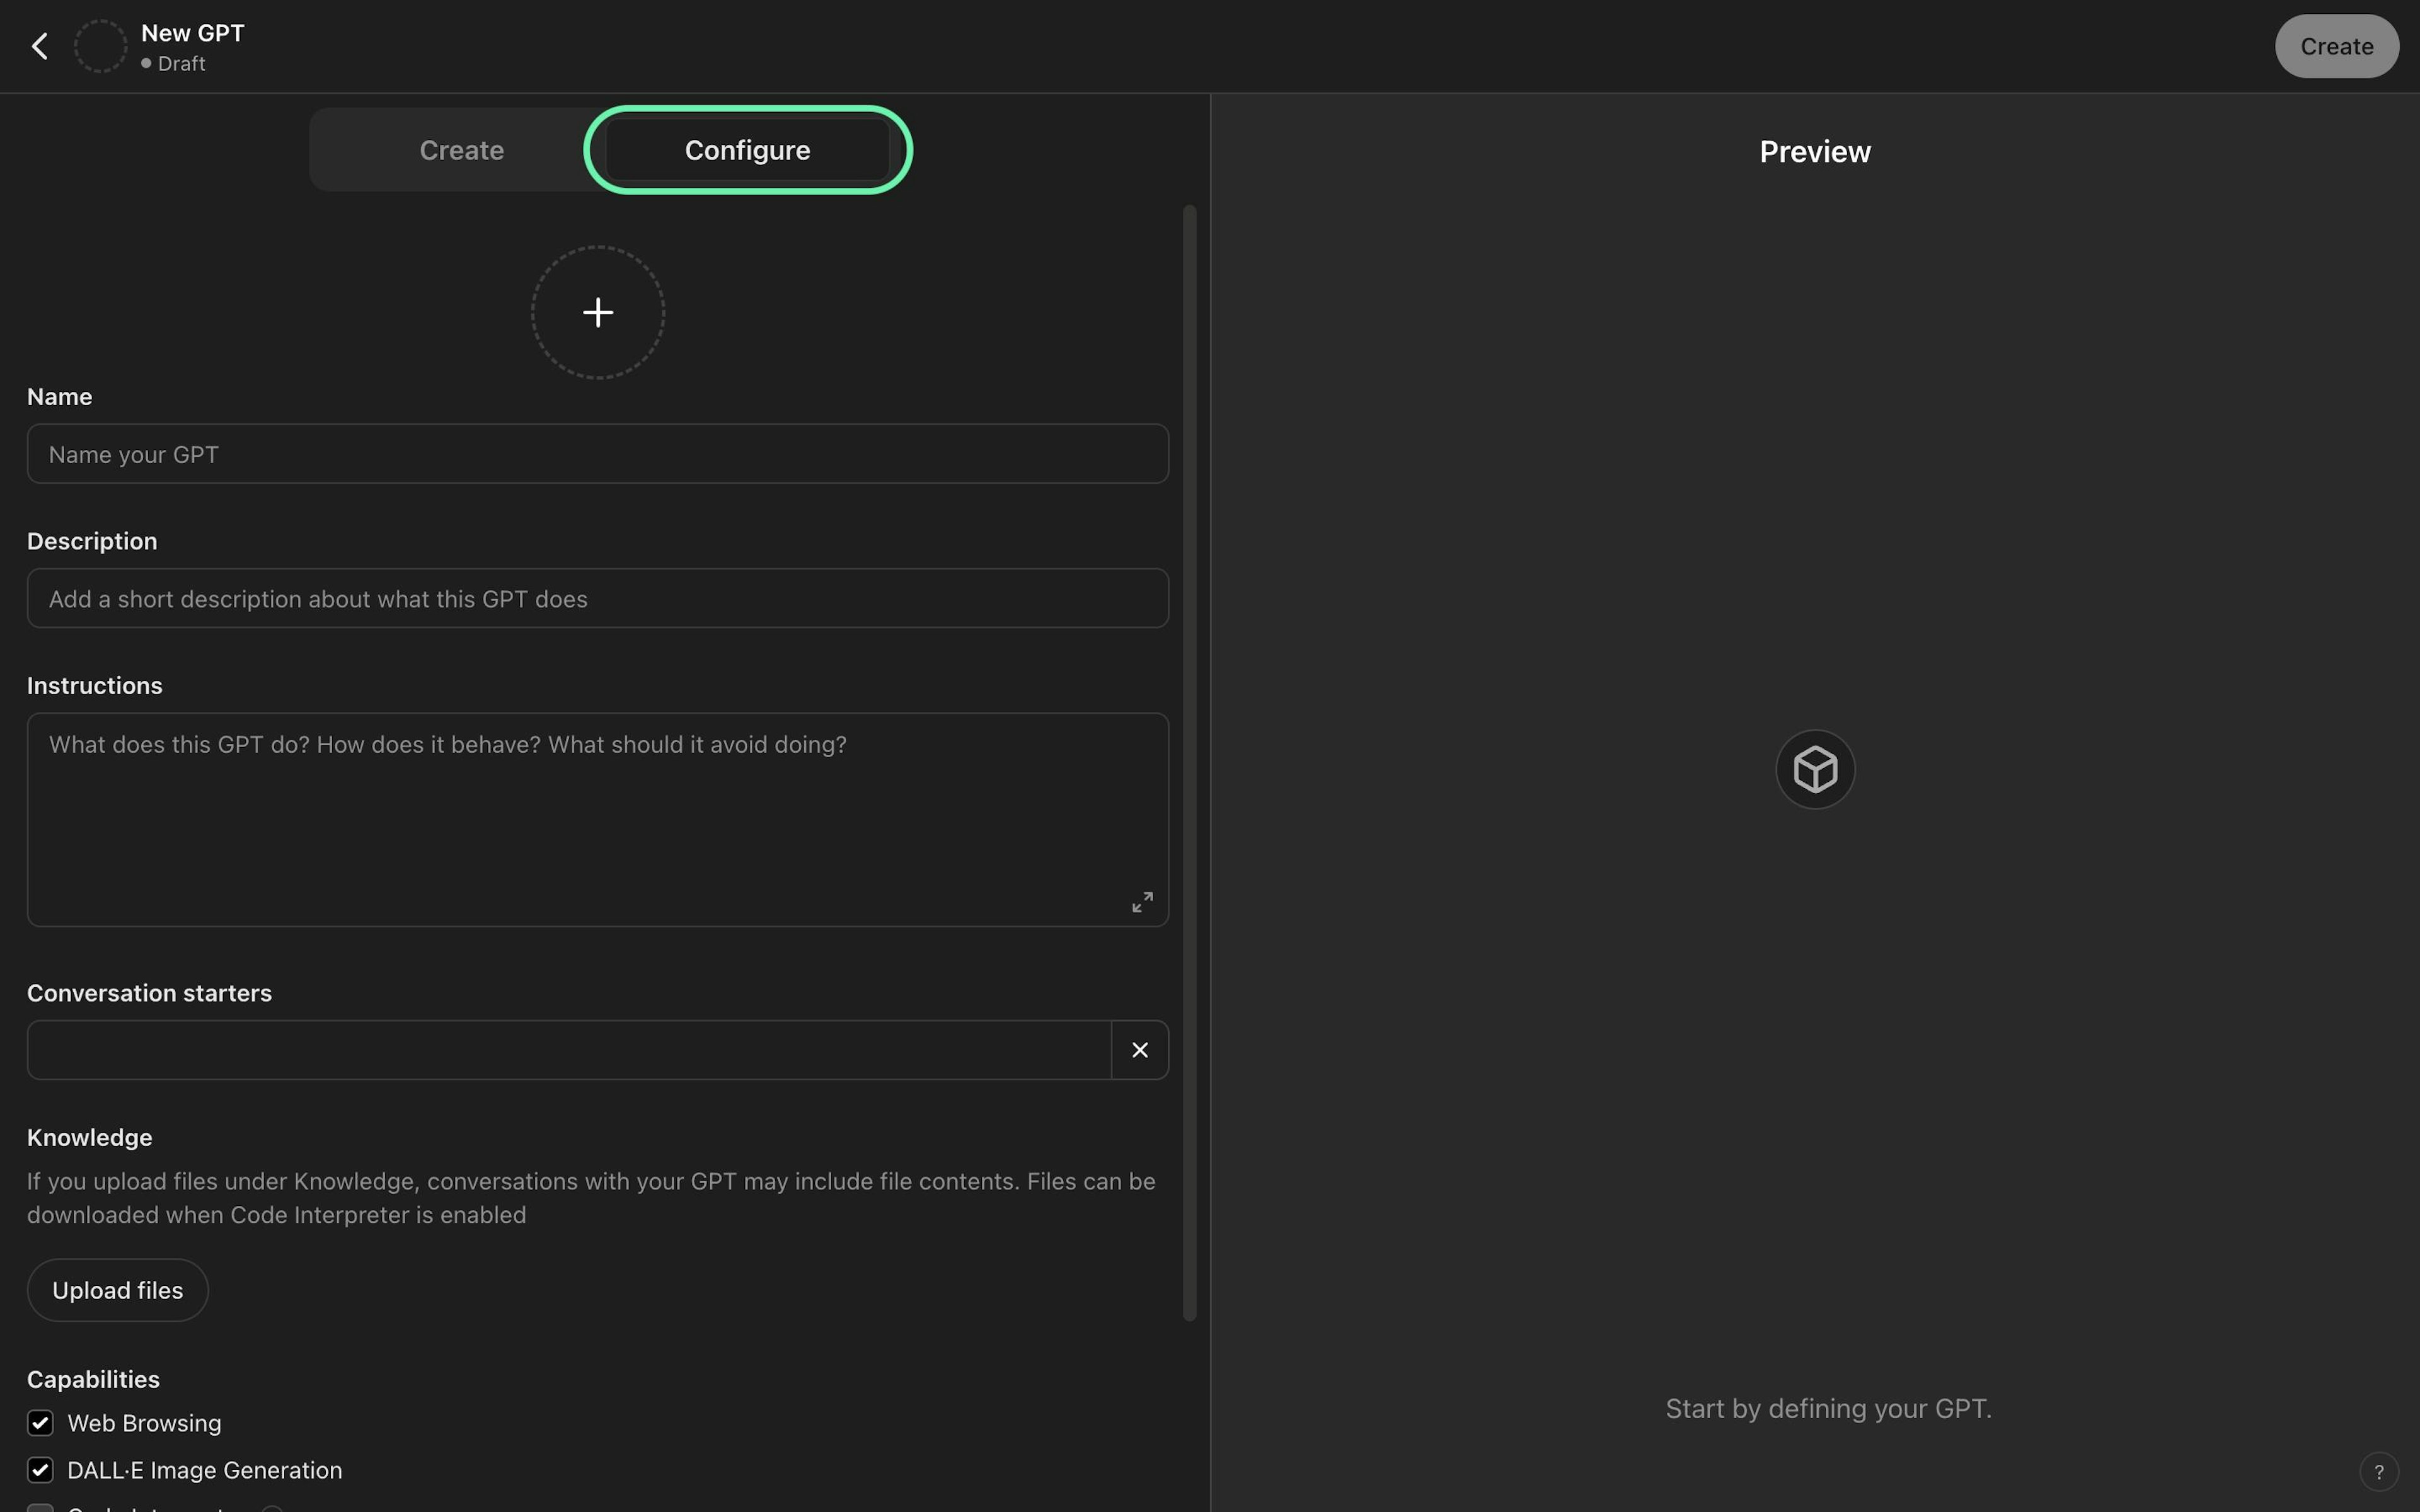
Give a name for your GPT. For this integration tutorial, let’s create an Oxylabs API testing tool to see how everything works. You can skip the description, as it isn’t necessary in this scenario.
2. Add instructions
The Instructions field is crucial for creating custom GPTs. Define the GPT's actions, behavior, and any restrictions, if necessary. For a basic integration with Oxylabs' Web Scraper API, use the following instructions:
You are a tool for testing the Oxylabs Scraper API integration with GPT.

Your main goal:
You are used by Oxylabs API users who want to test the integration for web scraping. Your goal is to send a request to the API and output the scraped product titles.

Follow this process:
1. Ask the user to provide a URL for scraping.
2. Send a request to the Oxylabs Web Scraper API using the 'realtime.oxylabs.io' endpoint. The API takes scraping instructions as a JSON Payload. Use the user's provided URL as a value for the 'url' key in the Payload. Payload 'source' field must be 'universal', 'parse' must be `true`and 'parsing_instructions' must be:
``` {
        "_fns": [
            {
                "_fn": "xpath",
                "_args": "//h4/text()"
            }
        ]
    }```
3. You must include this header in your call to the API: "Content-Type": "application/json"
4. If there's no URL provided, use 'https://sandbox.oxylabs.io/products'
These commands provide specific information to GPT on how it should act and send a request to the API. Without these details, GPT may not work properly.
This API testing tool is written with the goal of using the Web Scraper API to scrape Oxylabs Scraping Sandbox. On this site, all the product titles are inside the <h4> HTML tag; hence, the parsing instructions use an XPath selector, namely //h4/text(). Its purpose is to select all product titles on the page and extract their text from an element.
Tip: If you want to include a code snippet like in the above example, you should wrap your code in triple backticks (`). This helps GPT understand where the code begins and ends.
3. Add Conversation starters, custom Knowledge base, and Capabilities
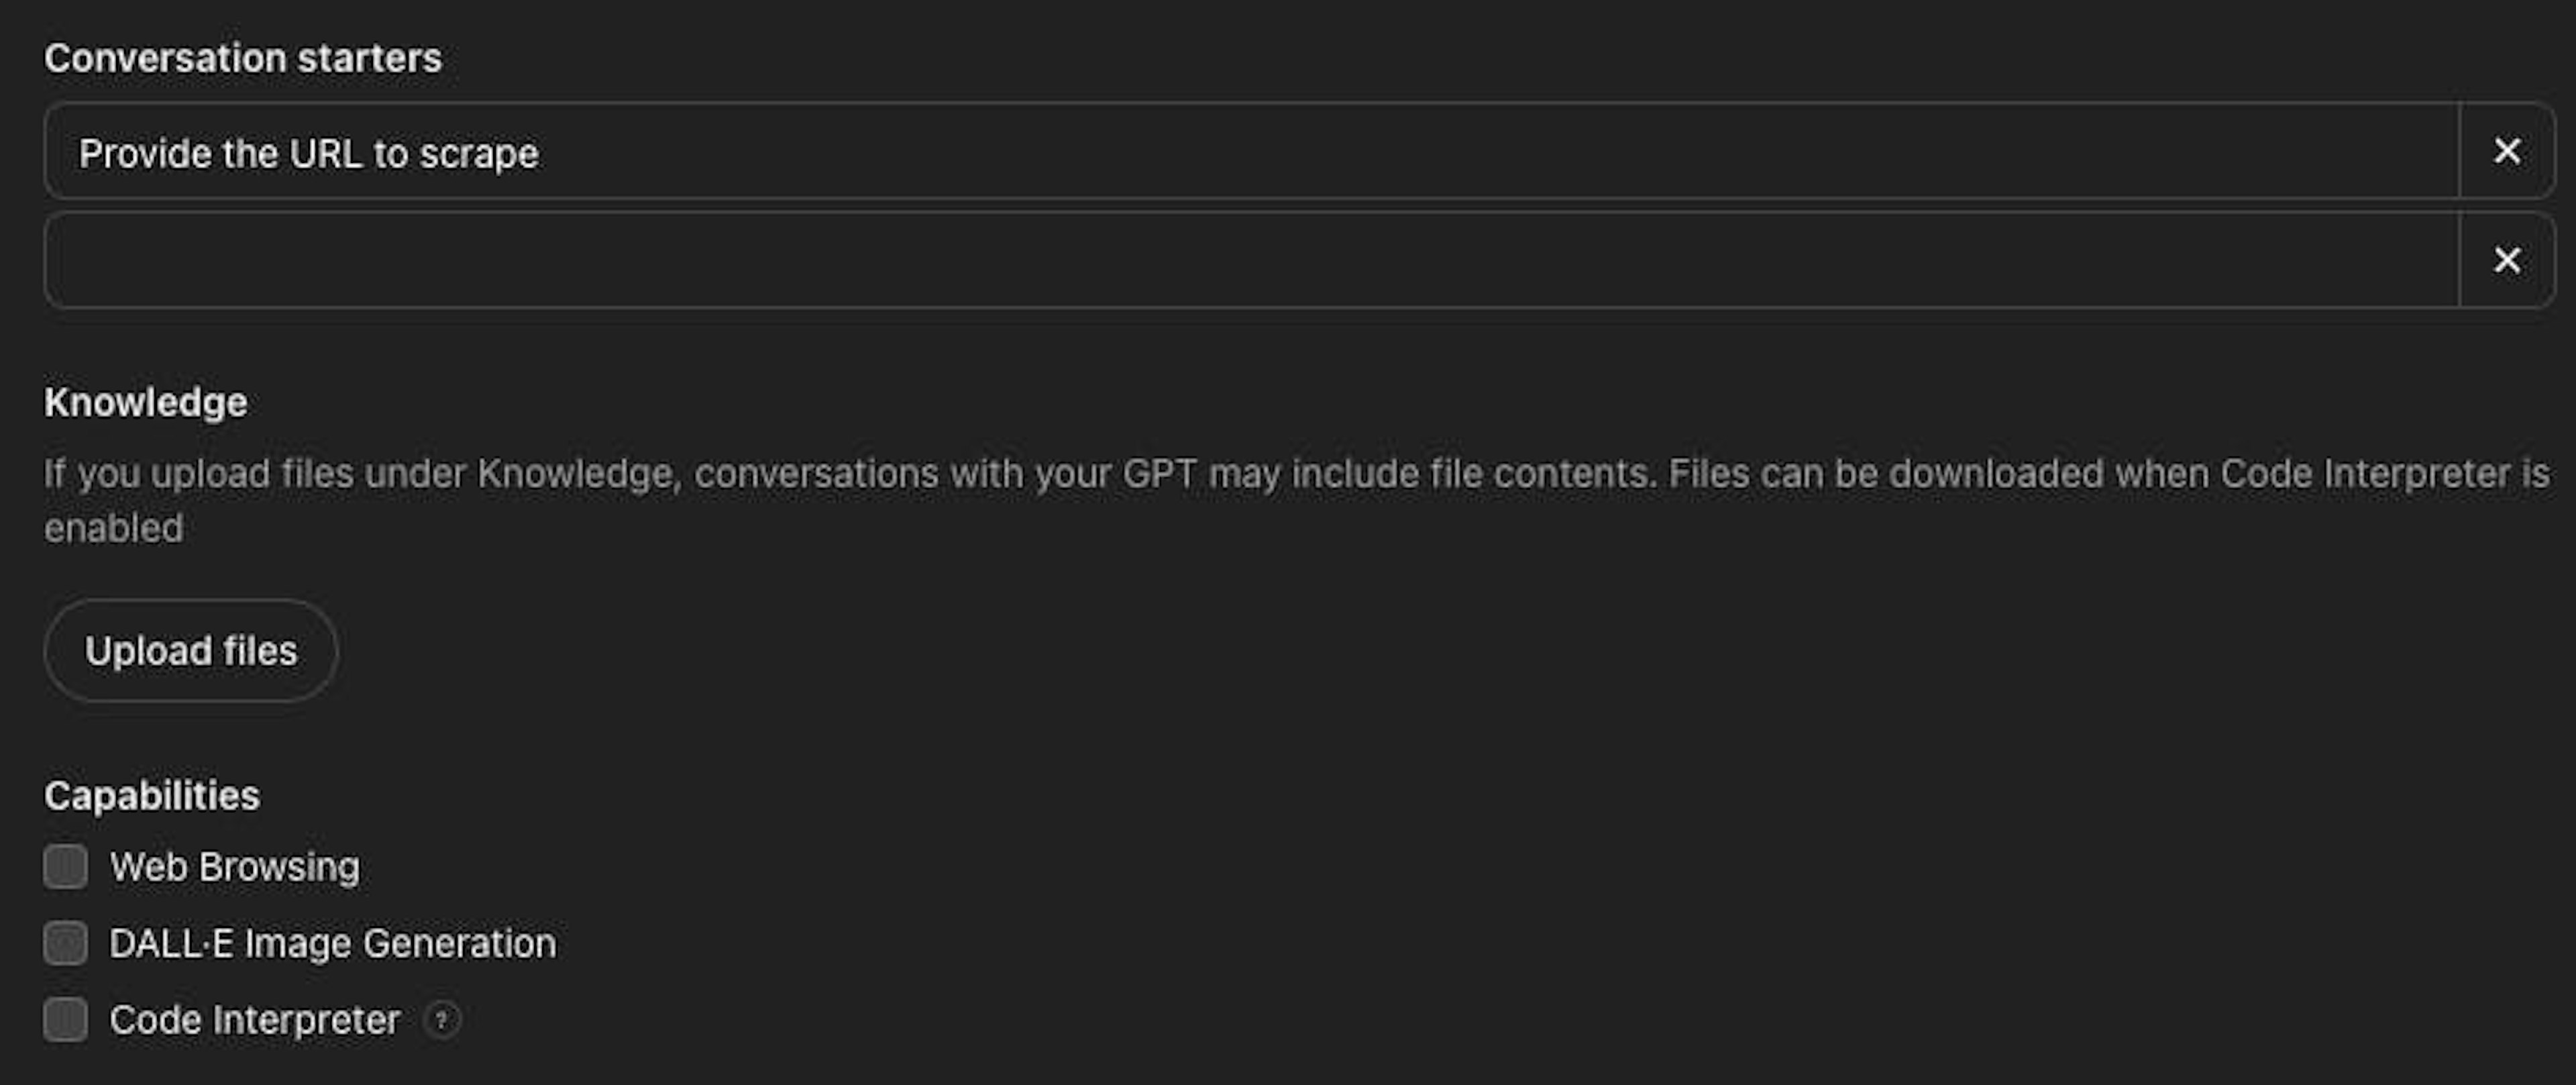
Let’s add a simple conversation starter that asks the user to provide a URL for scraping. For this tutorial, you should also deselect the Web Browsing and DALL·E Image Generation since the goal is to create a simple API connection testing tool without additional features.
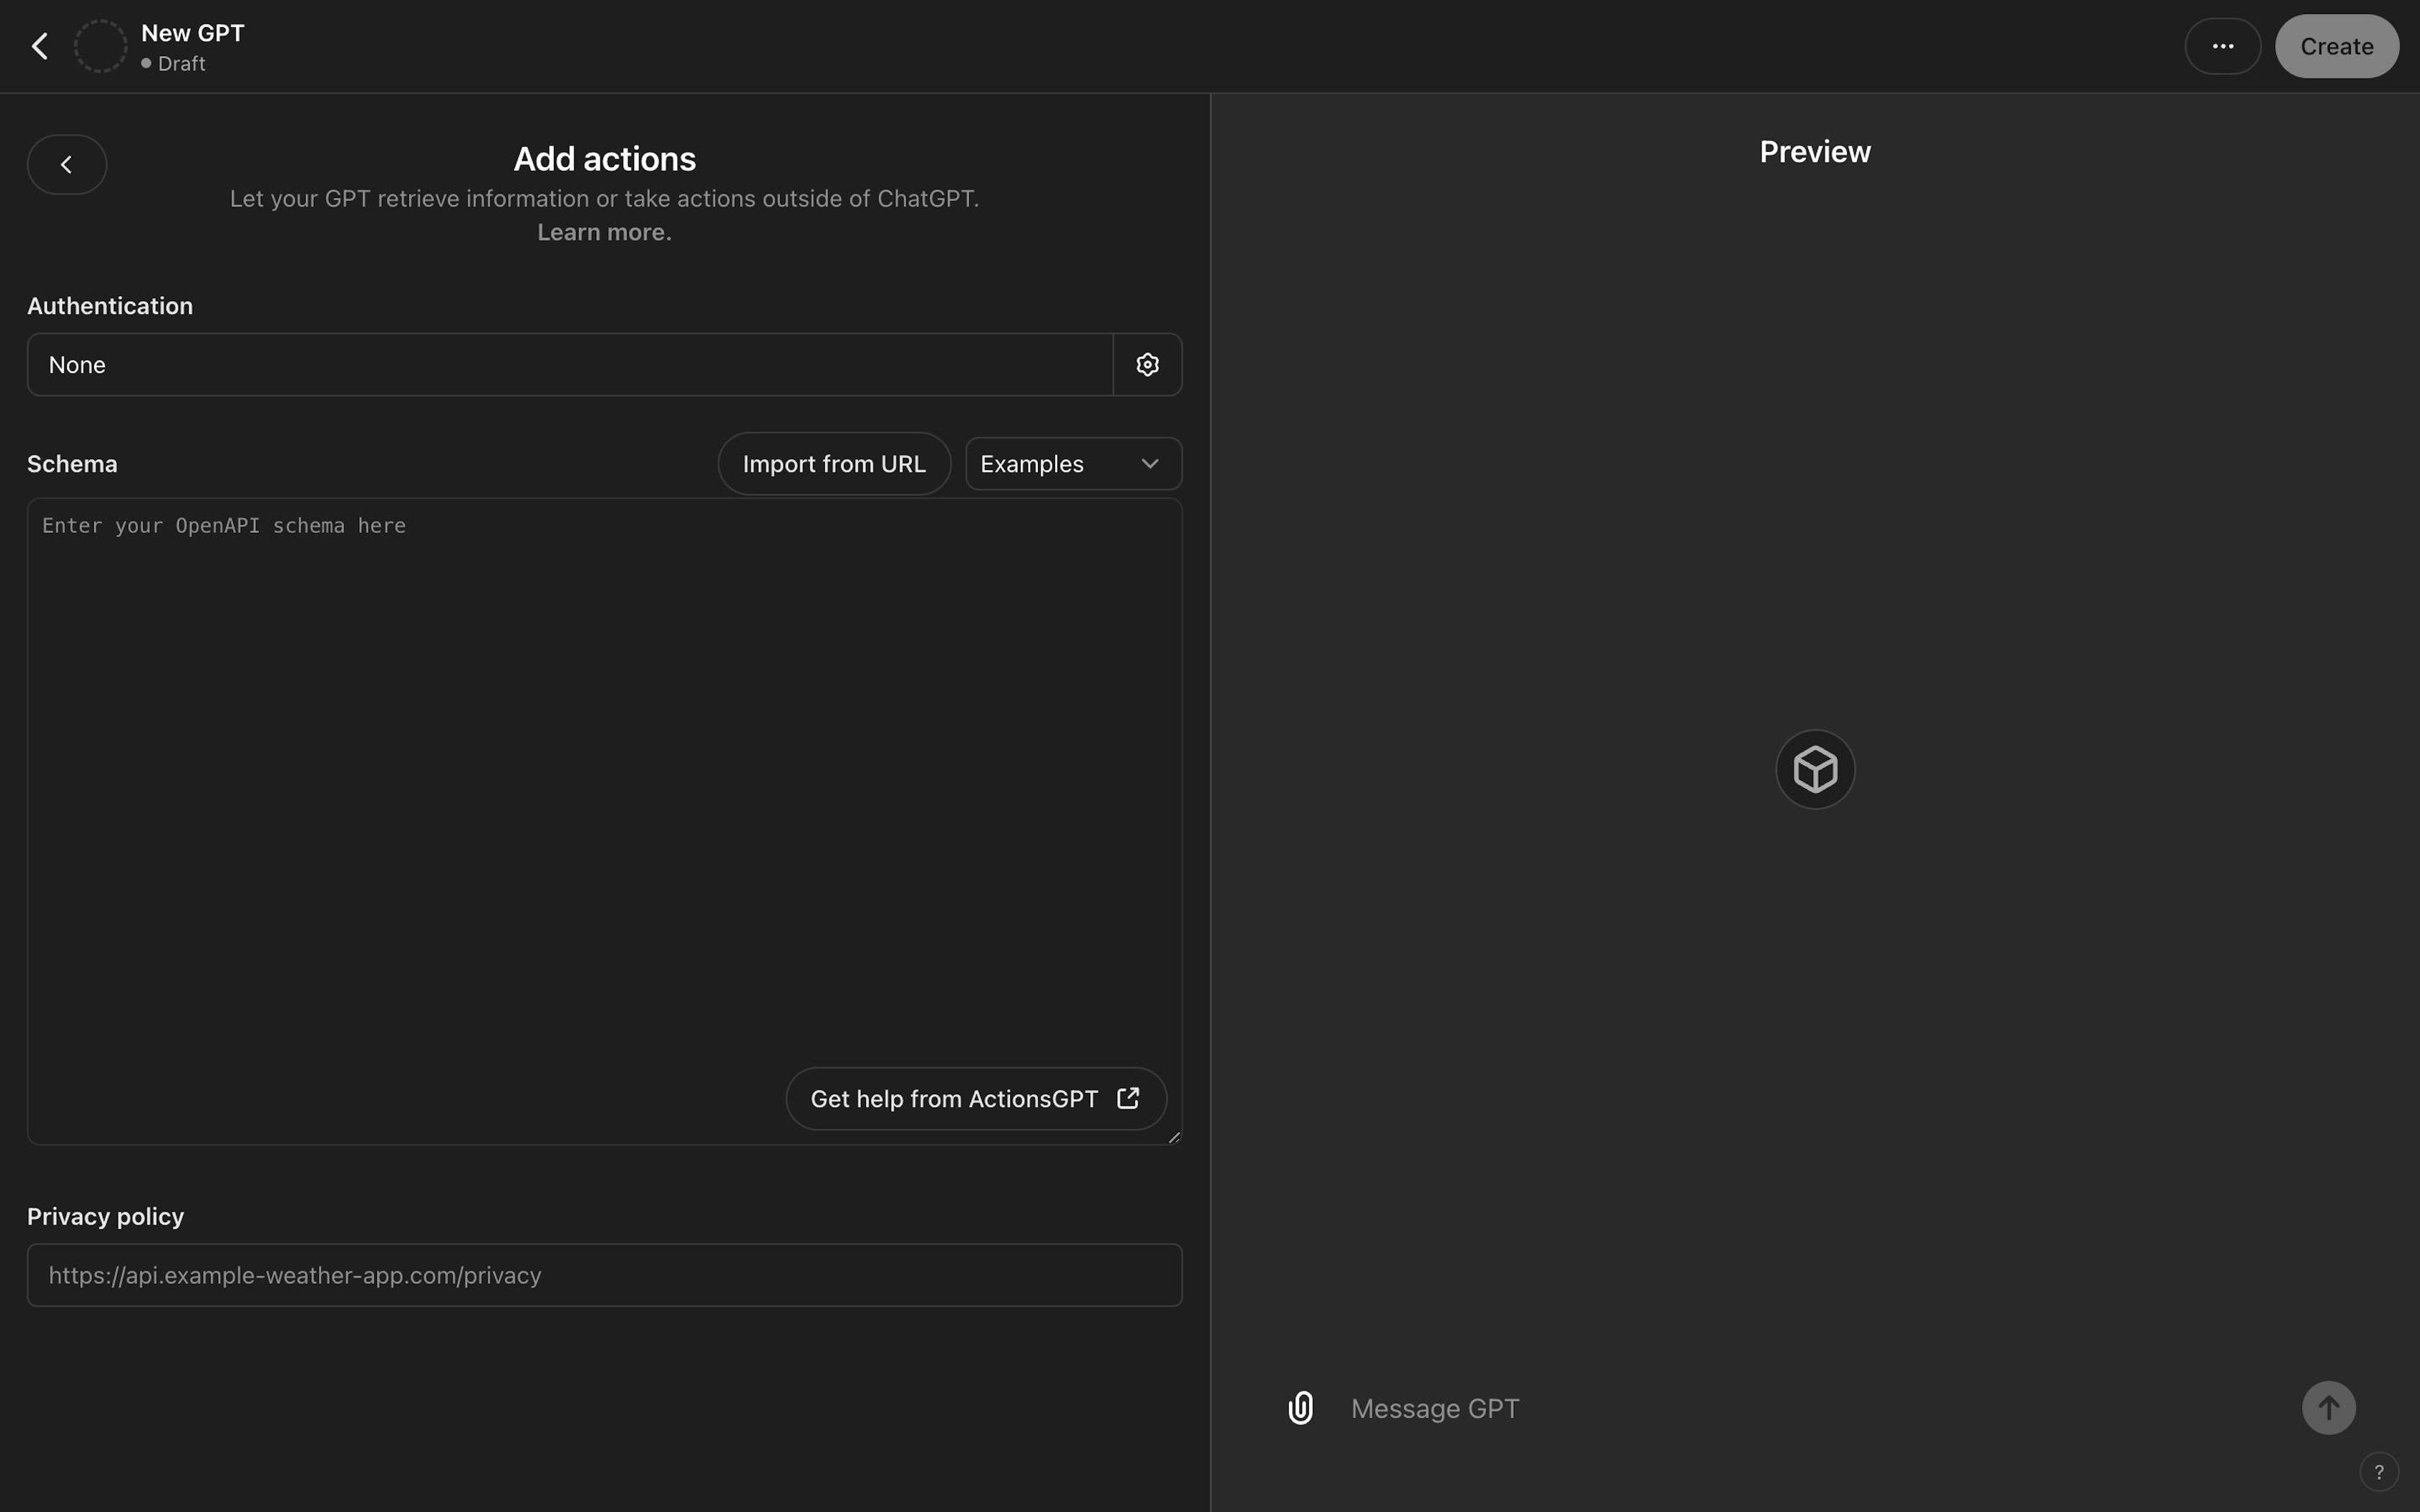
4. Create a new action

Click the Create new action button at the bottom, and a new window will open. Here, you must set up the Authentication for the API and provide an OpenAPI schema:
4.1 Authentication
If you don’t have your authentication credentials, you can start with a free trial by claiming it on our dashboard. Since our APIs use basic HTTP authentication to verify users, you can configure the Authentication settings as follows:
Authentication Type: API Key
API Key: <base64-encoded username:password string>
Auth Type: Basic
Begin by manually encoding your username:password credentials in a base64 format. If you’re using a macOS device, open your terminal and run the below command. Remember to use your actual API credentials instead of username and password:
echo -n 'username:password' | base64Note: for macOS, we recommend using single quotes or no quotes at all since double quotes may be included in the encoded string, essentially making your credentials incorrect.
If you’re on a Windows device, open up PowerShell and use the following code sample:
[Convert]::ToBase64String([Text.Encoding]::UTF8.GetBytes('username:password'))Once you execute the code, the terminal will output your credentials as a base64-encoded string. For instance, the encoded username:password string looks like this:
dXNlcm5hbWU6cGFzc3dvcmQ=Copy the encoded string from your terminal and go to Your custom GPT → Configure → Actions → Authentication. In the Authentication window, select API Key as the Authentication Type, and in the API Key field, paste your encoded API credentials.
Then, select Basic for Auth Type. Here’s what the authentication window should look:
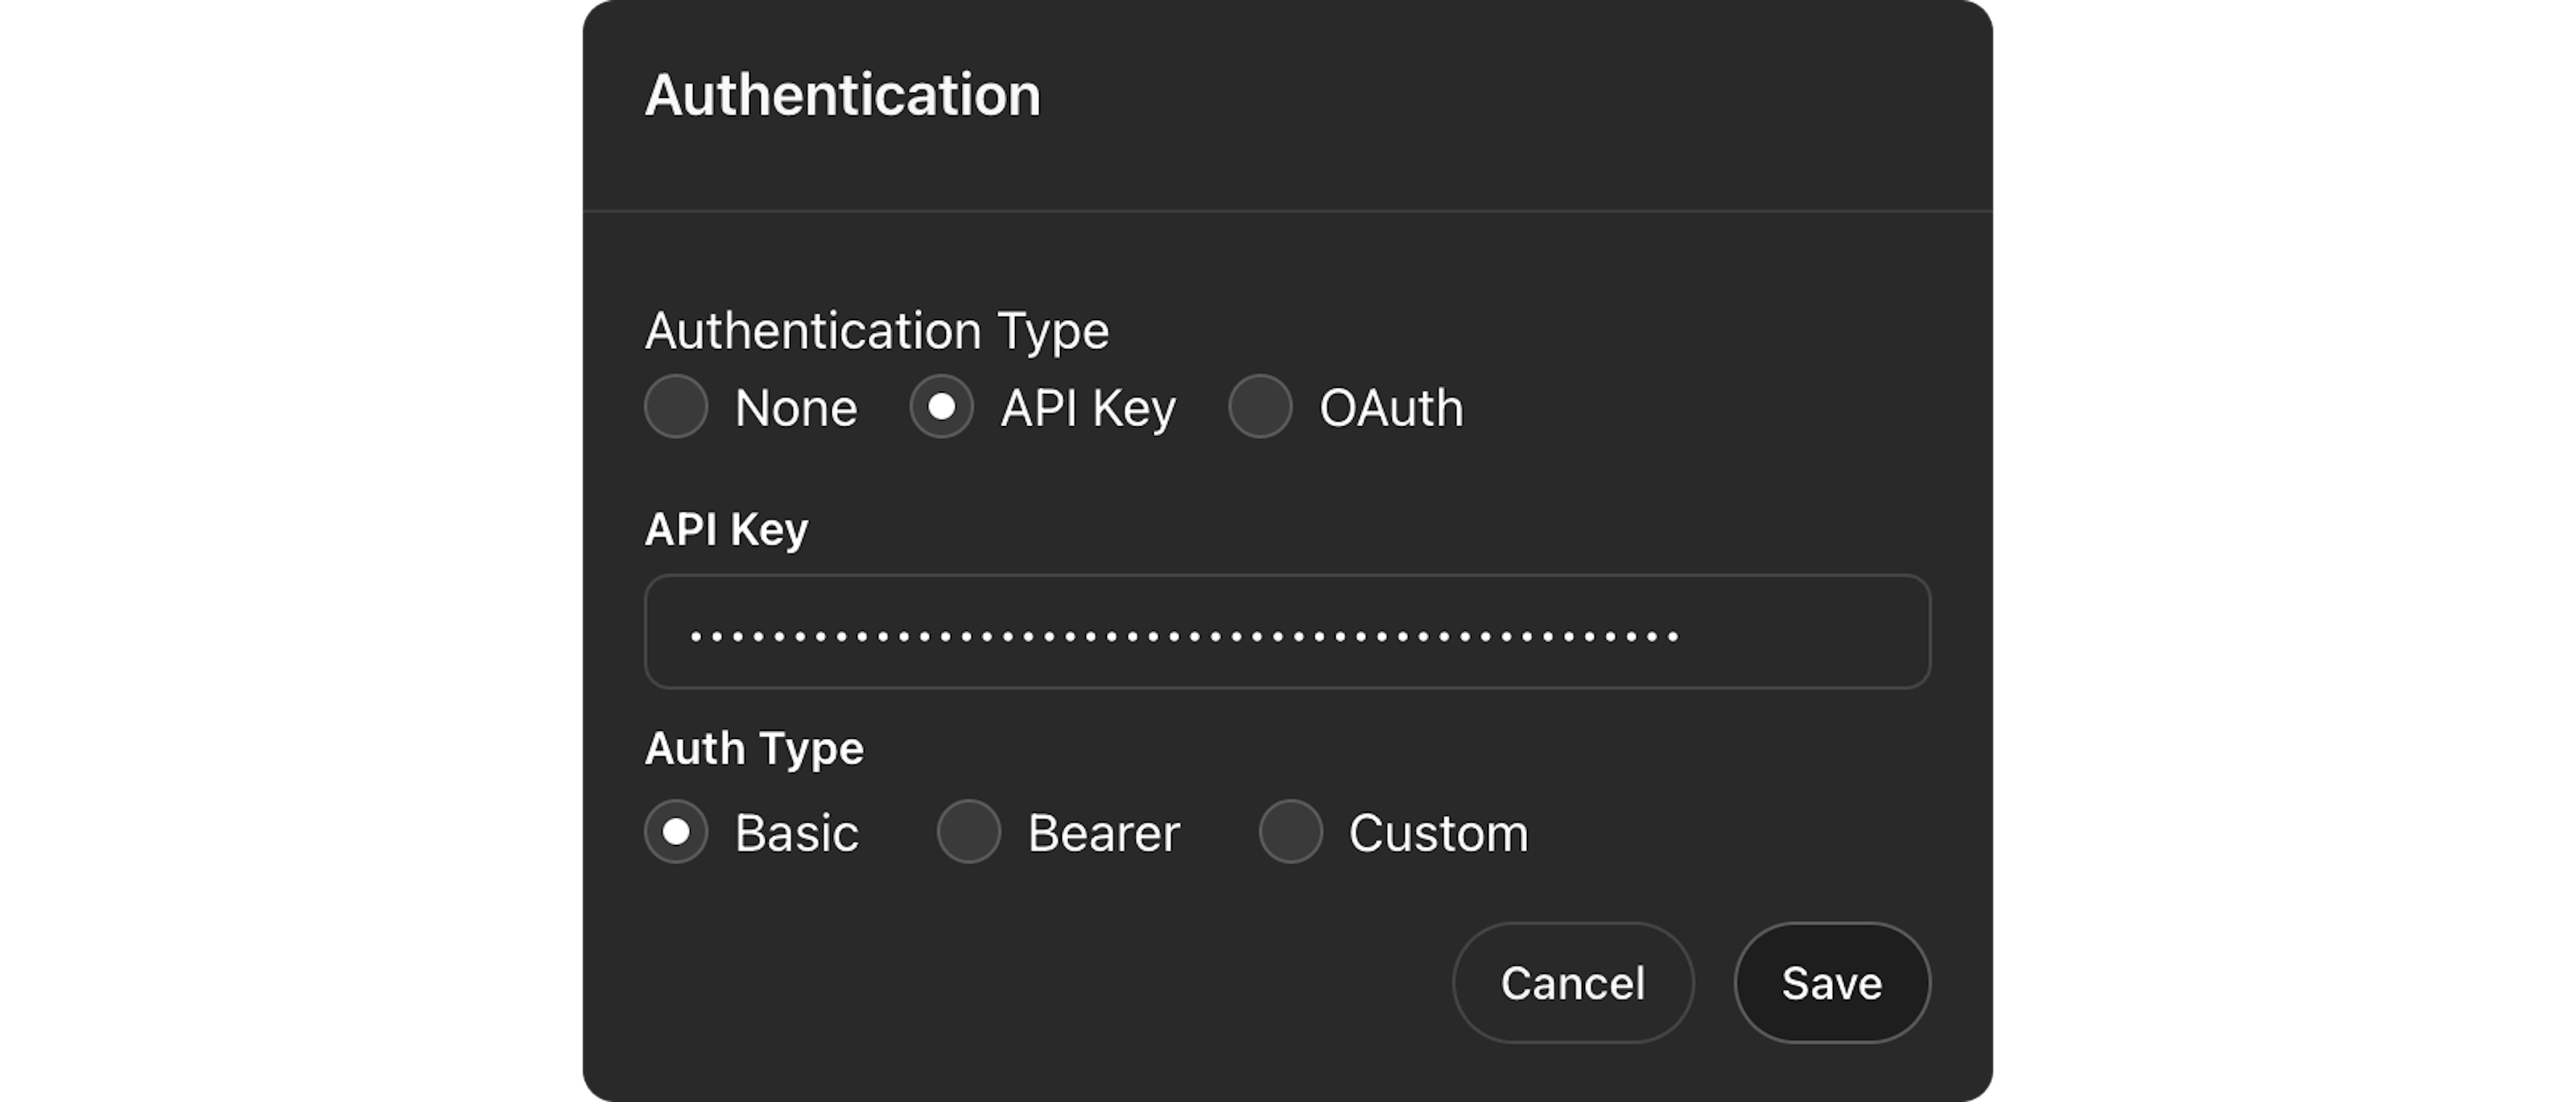
Now, you can Save the settings.
4.2 OpenAPI schema
The next step is to provide the OpenAPI schema that the GPT will use to understand how to make calls to the API. See this OpenAI documentation page to learn more.
For example, you can use the following OpenAPI schema in JSON format to define the API testing tool:
{
  "openapi": "3.1.0",
  "info": {
    "title": "API testing with Basic Authentication",
    "description": "This API sends a POST request with a payload containing 'source', 'url', 'parse', and 'parsing_instructions' parameters using basic authentication.",
    "version": "1.0.0"
  },
  "servers": [
    {
      "url": "https://realtime.oxylabs.io",
      "description": "Main server"
    }
  ],
  "paths": {
    "/v1/queries": {
      "post": {
        "operationId": "sendPostRequest",
        "summary": "Sends data to the specified target.",
        "description": "This endpoint sends a POST request with 'source', 'url', 'parse', and 'parsing_instructions' parameters using basic authentication.",
        "security": [
          {
            "basicAuth": []
          }
        ],
        "requestBody": {
          "required": true,
          "content": {
            "application/json": {
              "schema": {
                "$ref": "#/components/schemas/Payload"
              }
            }
          }
        },
        "responses": {
          "200": {
            "description": "Successfully sent the data",
            "content": {
              "application/json": {
                "schema": {
                  "type": "object",
                  "properties": {
                    "queryId": {
                      "type": "string",
                      "description": "ID of the created query"
                    }
                  }
                }
              }
            }
          },
          "401": {
            "description": "Unauthorized - incorrect or no authentication credentials provided"
          },
          "500": {
            "description": "Internal Server Error - something went wrong on the server side"
          }
        }
      }
    }
  },
  "components": {
    "securitySchemes": {
      "basicAuth": {
        "type": "http",
        "scheme": "basic"
      }
    },
    "schemas": {
      "Payload": {
        "type": "object",
        "properties": {
          "source": {
            "type": "string",
            "description": "The scraper source of the request."
          },
          "url": {
            "type": "string",
            "description": "The URL to be sent."
          },
          "parse": {
            "type": "boolean",
            "description": "Must be set to true."
          },
          "parsing_instructions": {
            "type": "object",
            "properties": {
              "titles": {
                "type": "object",
                "properties": {
                  "_fns": {
                    "type": "array",
                    "items": {
                      "type": "object",
                      "properties": {
                        "_fn": {
                          "type": "string"
                        },
                        "_args": {
                          "type": "string"
                        }
                      },
                      "example": {
                        "_fn": "xpath",
                        "_args": "//h4/text()"
                      }
                    }
                  }
                },
                "example": {
                  "_fns": [
                    {
                      "_fn": "xpath",
                      "_args": "//h4/text()"
                    }
                  ]
                }
              }
            }
          }
        }
      }
    }
  }
}
Key components of the schema include:
| Parameter | Description |
|---|---|
servers |
Provides the base URL for API requests (e.g., https://realtime.oxylabs.io). |
paths |
Sets the endpoint path, such as /v1/queries, for sending POST requests. |
paths:security |
Uses basic HTTP authentication. |
paths:requestBody |
Defines expected responses (e.g., 200, 401, 500). |
components |
Specifies basic authentication and details the structure of the request payload (e.g., Payload schema). |
Once you have everything set up, click the Test button at the bottom to send a test request that uses https://sandbox.oxylabs.io/products as the target URL. If everything works correctly, GPT will print out the scraped and parsed product titles:
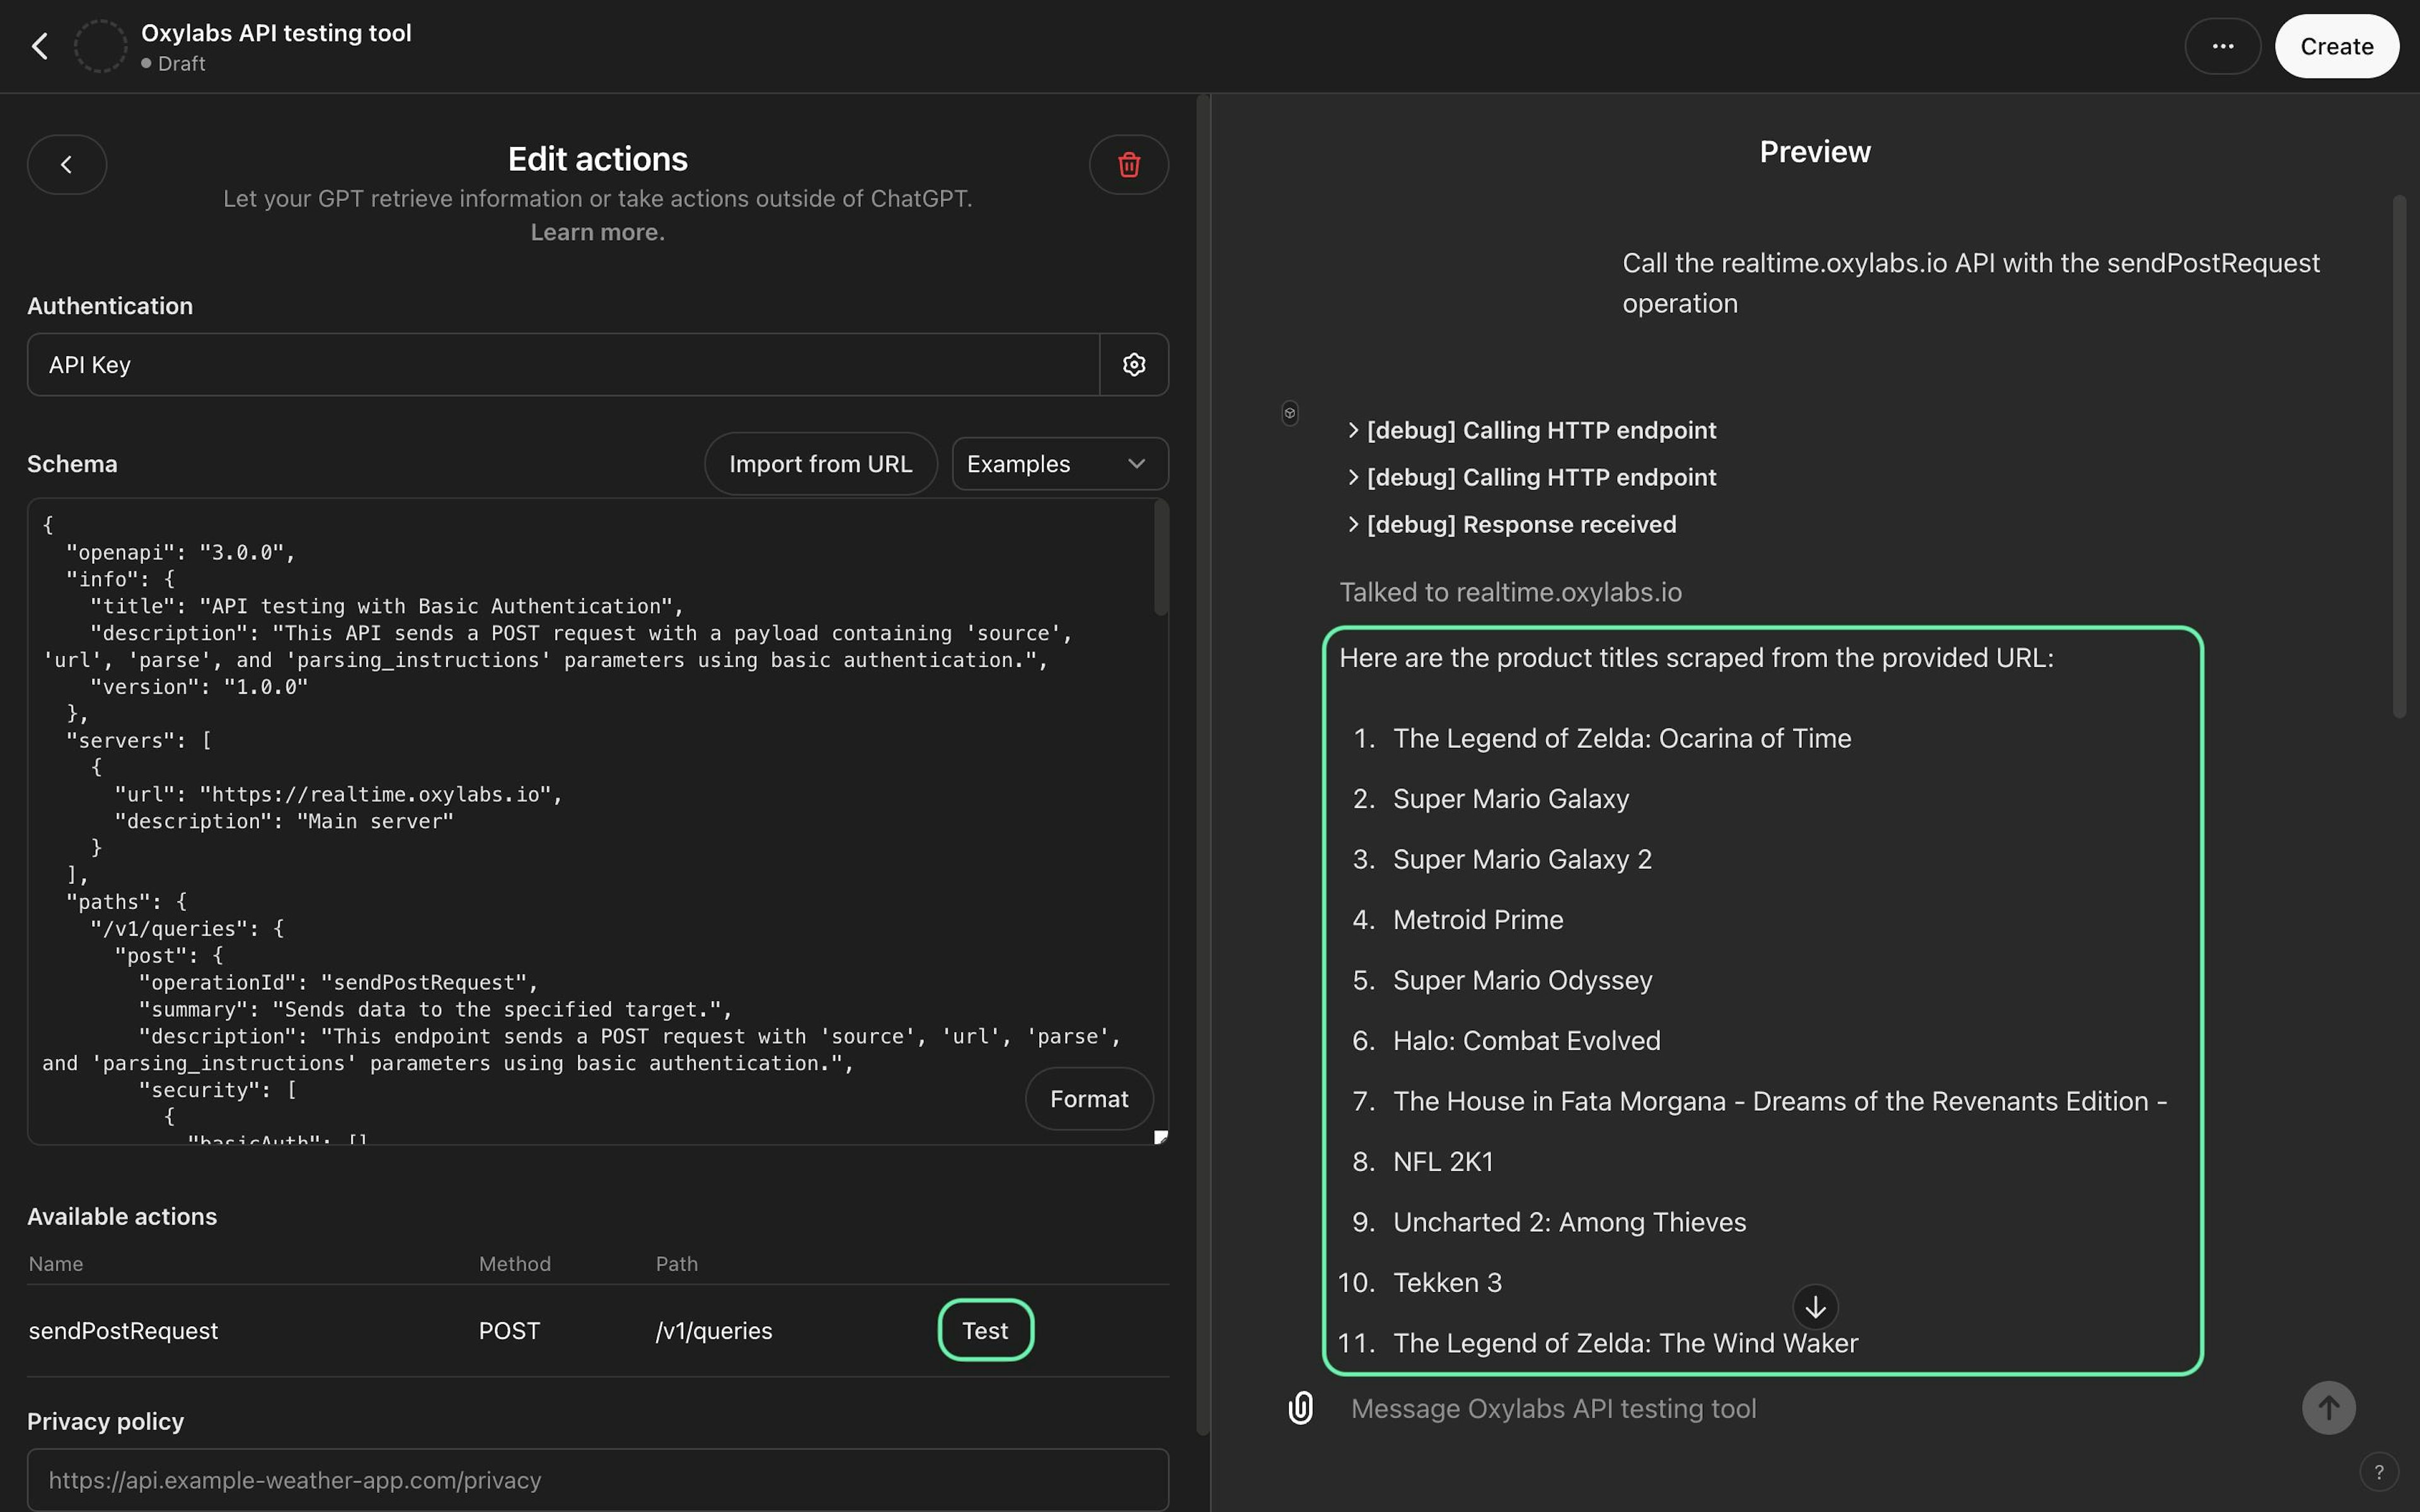
That’s it! You’ve successfully integrated Oxylabs' Web Scraper API with a custom GPT.
Wrap up
GPTs are a game changer in the AI industry, but the limits of the web browsing feature can make or break your modified GPT solution. Therefore, it’s crucial to integrate sophisticated web scraping APIs, such as Oxylabs solution, that can scrape public web data without blocks and interruptions. Additionally, if you want to continue learning about this topic, take a look at our What is AI Scraping? Benefits & Use Cases blog post.
While GPTs ease the process of creating custom AI tools, building your own LLMs from scratch can give you more flexibility for a truly custom solution. Check out this article about the main public data sources for LLM training, Web Scraping With LangChain, and how to build a RAG chatbot if you want to continue reading on the topic.
Got questions or need assistance with Oxylabs Web Scraper API? Drop a line to our 24/7 support at support@oxylabs.io or start a live chat.
Please be aware that this is a third-party tool not owned or controlled by Oxylabs. Each third-party provider is responsible for its own software and services. Consequently, Oxylabs will have no liability or responsibility to you regarding those services. Please carefully review the third party's policies and practices and/or conduct due diligence before accessing or using third-party services.
Frequently Asked Questions
How to get ChatGPT to access the internet?
First, you must have a paid subscription to use the ChatGPT internet access feature. Once you purchase a Plus subscription or higher, you can use the web browsing feature directly in ChatGPT or by building a custom GPT. Additionally, you can connect your custom GPTs to an external API, such as Oxylabs' Web Scraper API, to scrape live websites. Another alternative is to use WebPilot, which offers AI chat powered by web search.
Useful Resources
How to Use ChatGPT for Web Scraping in 2025
ChatGPT web scraping is quickly gaining momentum. Let’s see how you can use ChatGPT to write code for web scraping, along with some tips and tricks.
LLM Web Scraping: Integrate Assistants API with Scraped Data
Learn to develop AI-based assistants that use real-time website data to answer questions. Find out about the Assistants API and LLM web scraping for successful AI projects.
What Is Web Scraping & How Is It Used in 2025
The concept of web scraping is becoming familiar to every modern company aiming to base its decisions on data. This article will explain web scraping and how to effectively incorporate it into your business.

Get the latest news from data gathering world
Proxies
Advanced proxy solutions
Data Collection
Datasets
Resources
Innovation hub