175M+ ethically sourced IPs built for the highest reliability.
High-speed, cost-effective proxies built for any scraping workload.
Premium static residential proxies from trusted ASNs for most difficult targets.
Dedicated IPs from premium ASNs for demanding scraping.

AI-powered proxy solution for optimized web scraping performance.

20M+ IP addresses from real mobile devices for precise targeting.

Free Chrome proxy manager extension that works with any proxy provider.

Free Android proxy manager app that works with any proxy provider.

Free community-driven tools to improve your web scraping projects.
Web Scraper API
All-in-one web data collection platform for every stage of web scraping.
Fast Search API
Ultra-fast organic search results scraper tailored for AI workflows.
Headless Browser
Advanced browser automation solution for AI agents and scraping.
AI Studio
A suite of AI-powered tools for various scraping projects.

Documentation
All features, parameters, and integration details, backed by code samples in every coding language.
Tutorials, samples, and guides.
Latest fixes and features.


How to Set Up a Proxy on iPhone & iPad
In this guide, we’ll show you how to set up Oxylabs Datacenter or Residential Proxies for iOS users. Keep in mind that iOS allows proxy servers on Wi-Fi network connection only, so you won’t be able to use proxies on cellular data.

Configuring proxy settings on a Wi-Fi network
The following screenshots were taken using iOS 16.1.
NOTE: iOS allows using an HTTP proxy only, so you won’t be able to set up a SOCKS5 proxy. To learn more about both types, head over to SOCKS5 vs HTTP proxy article.
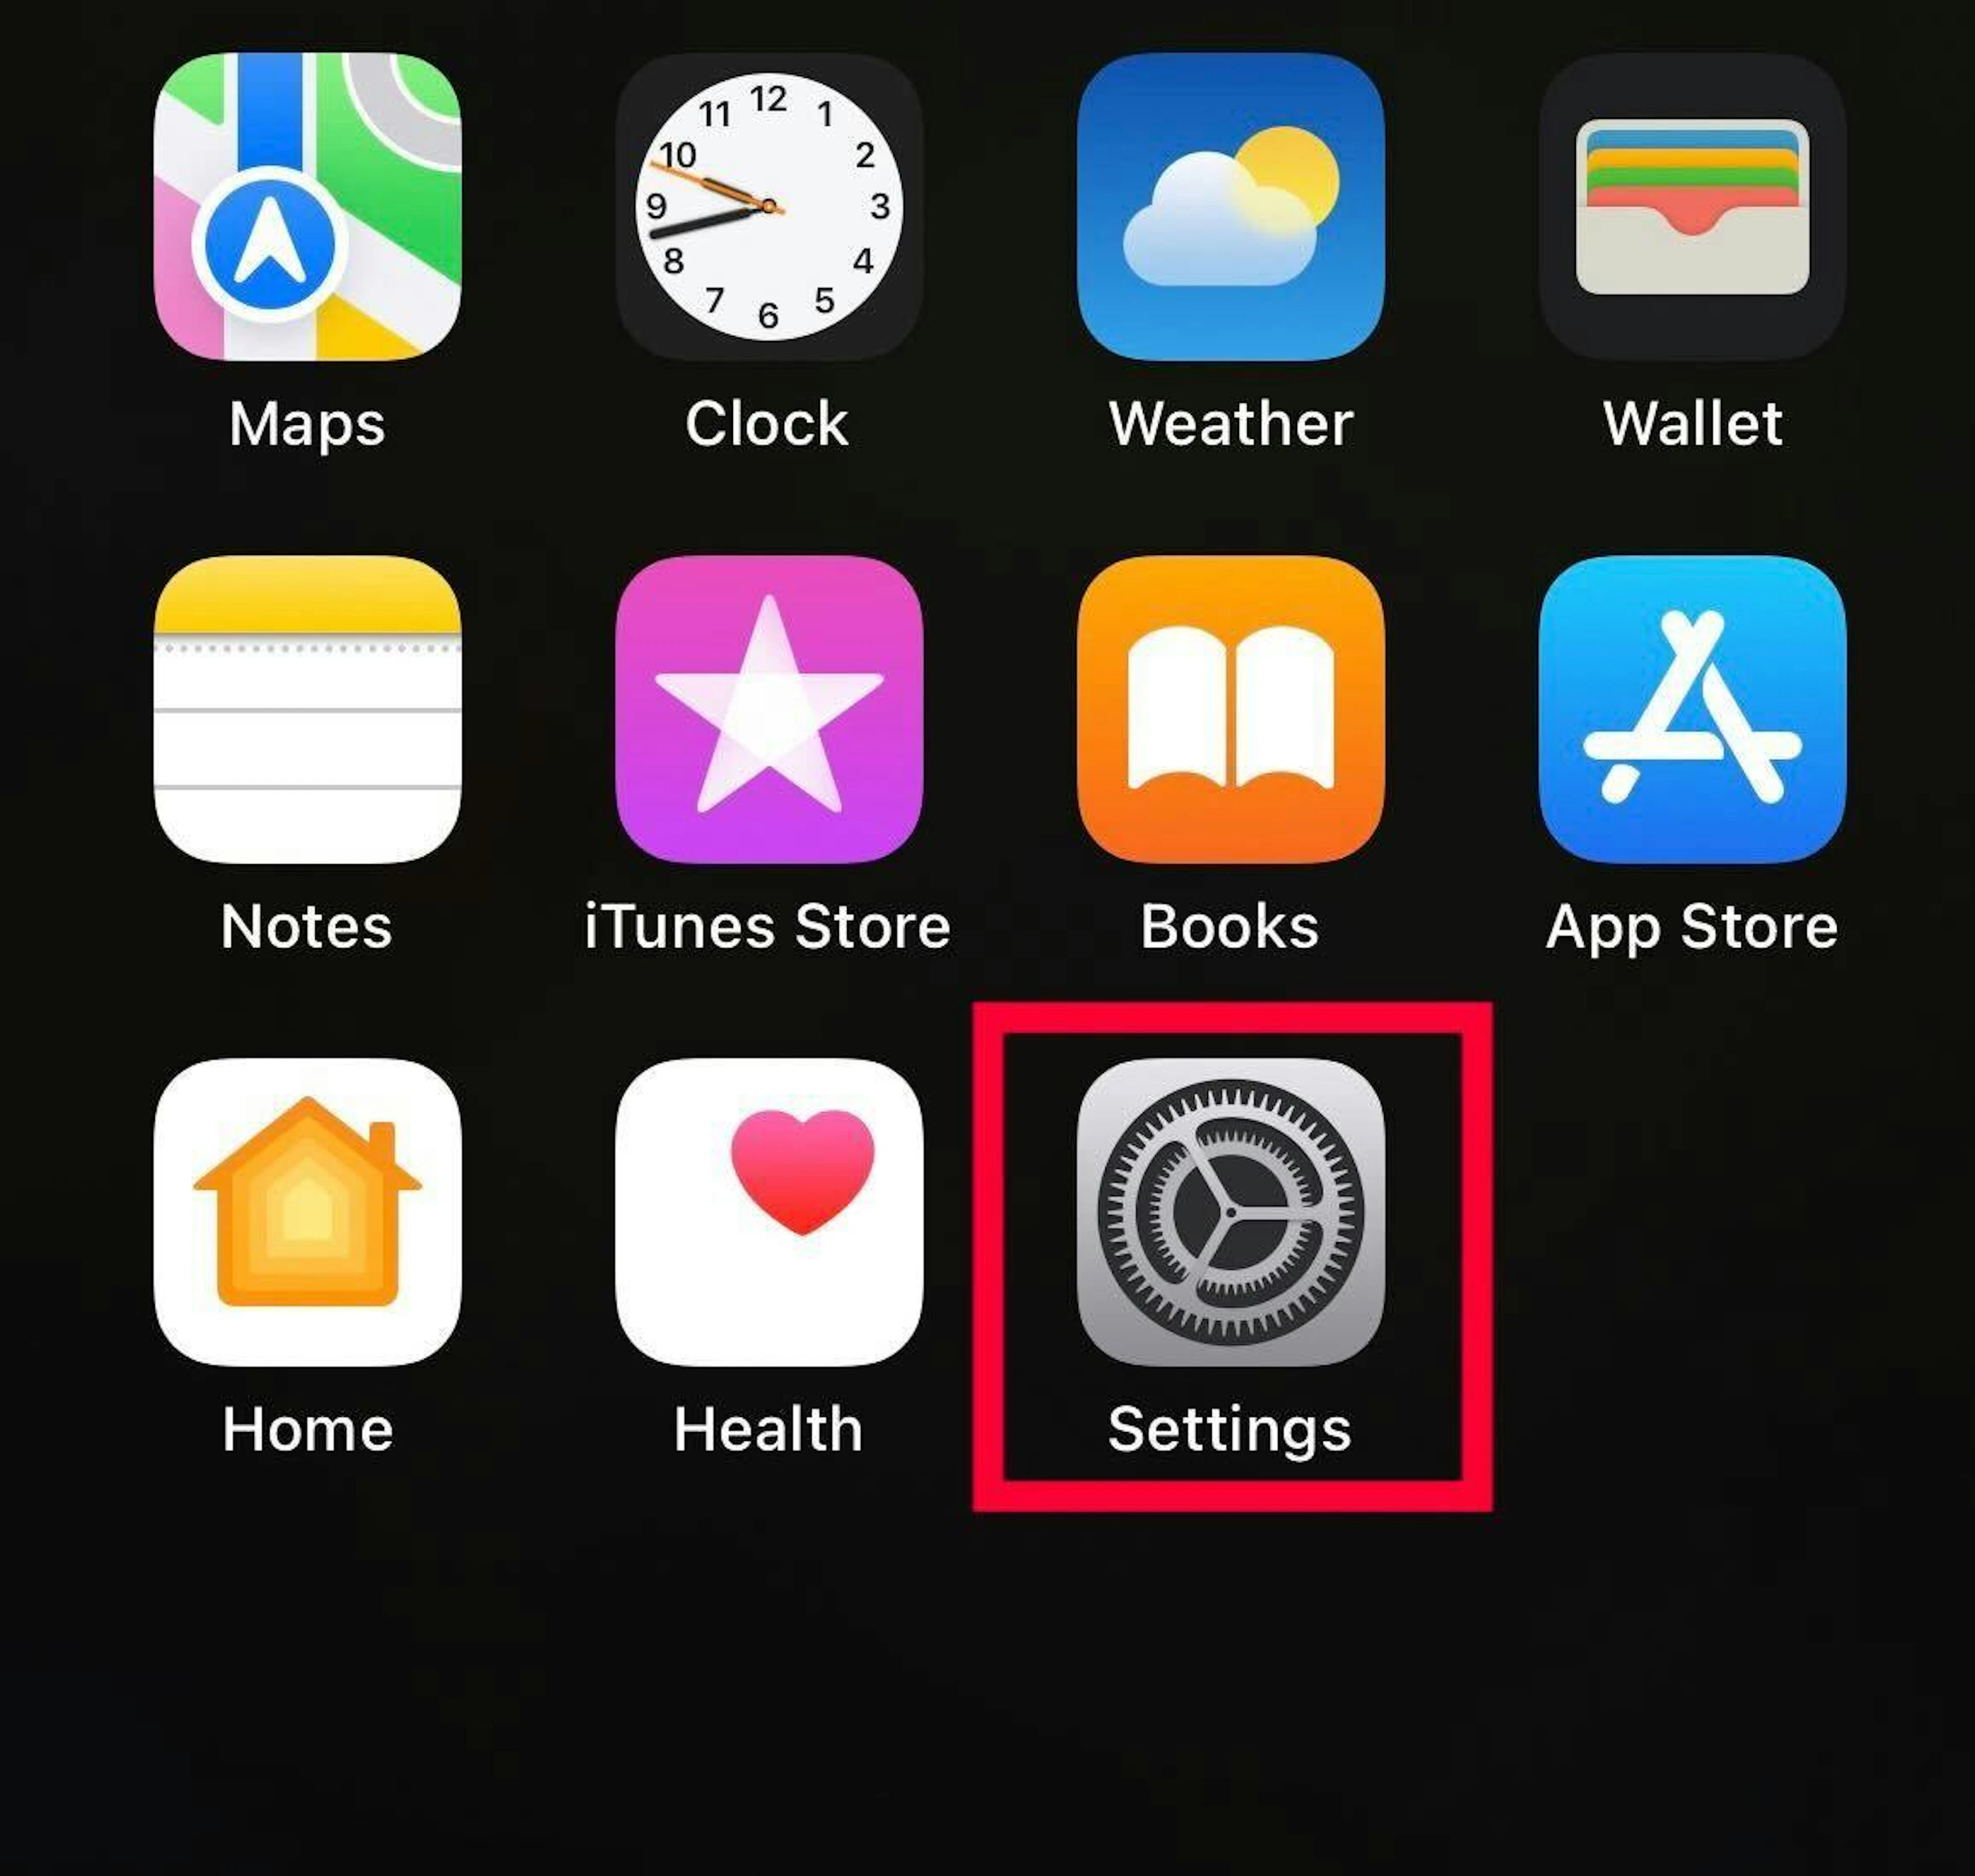
1. Open iPhone Settings.
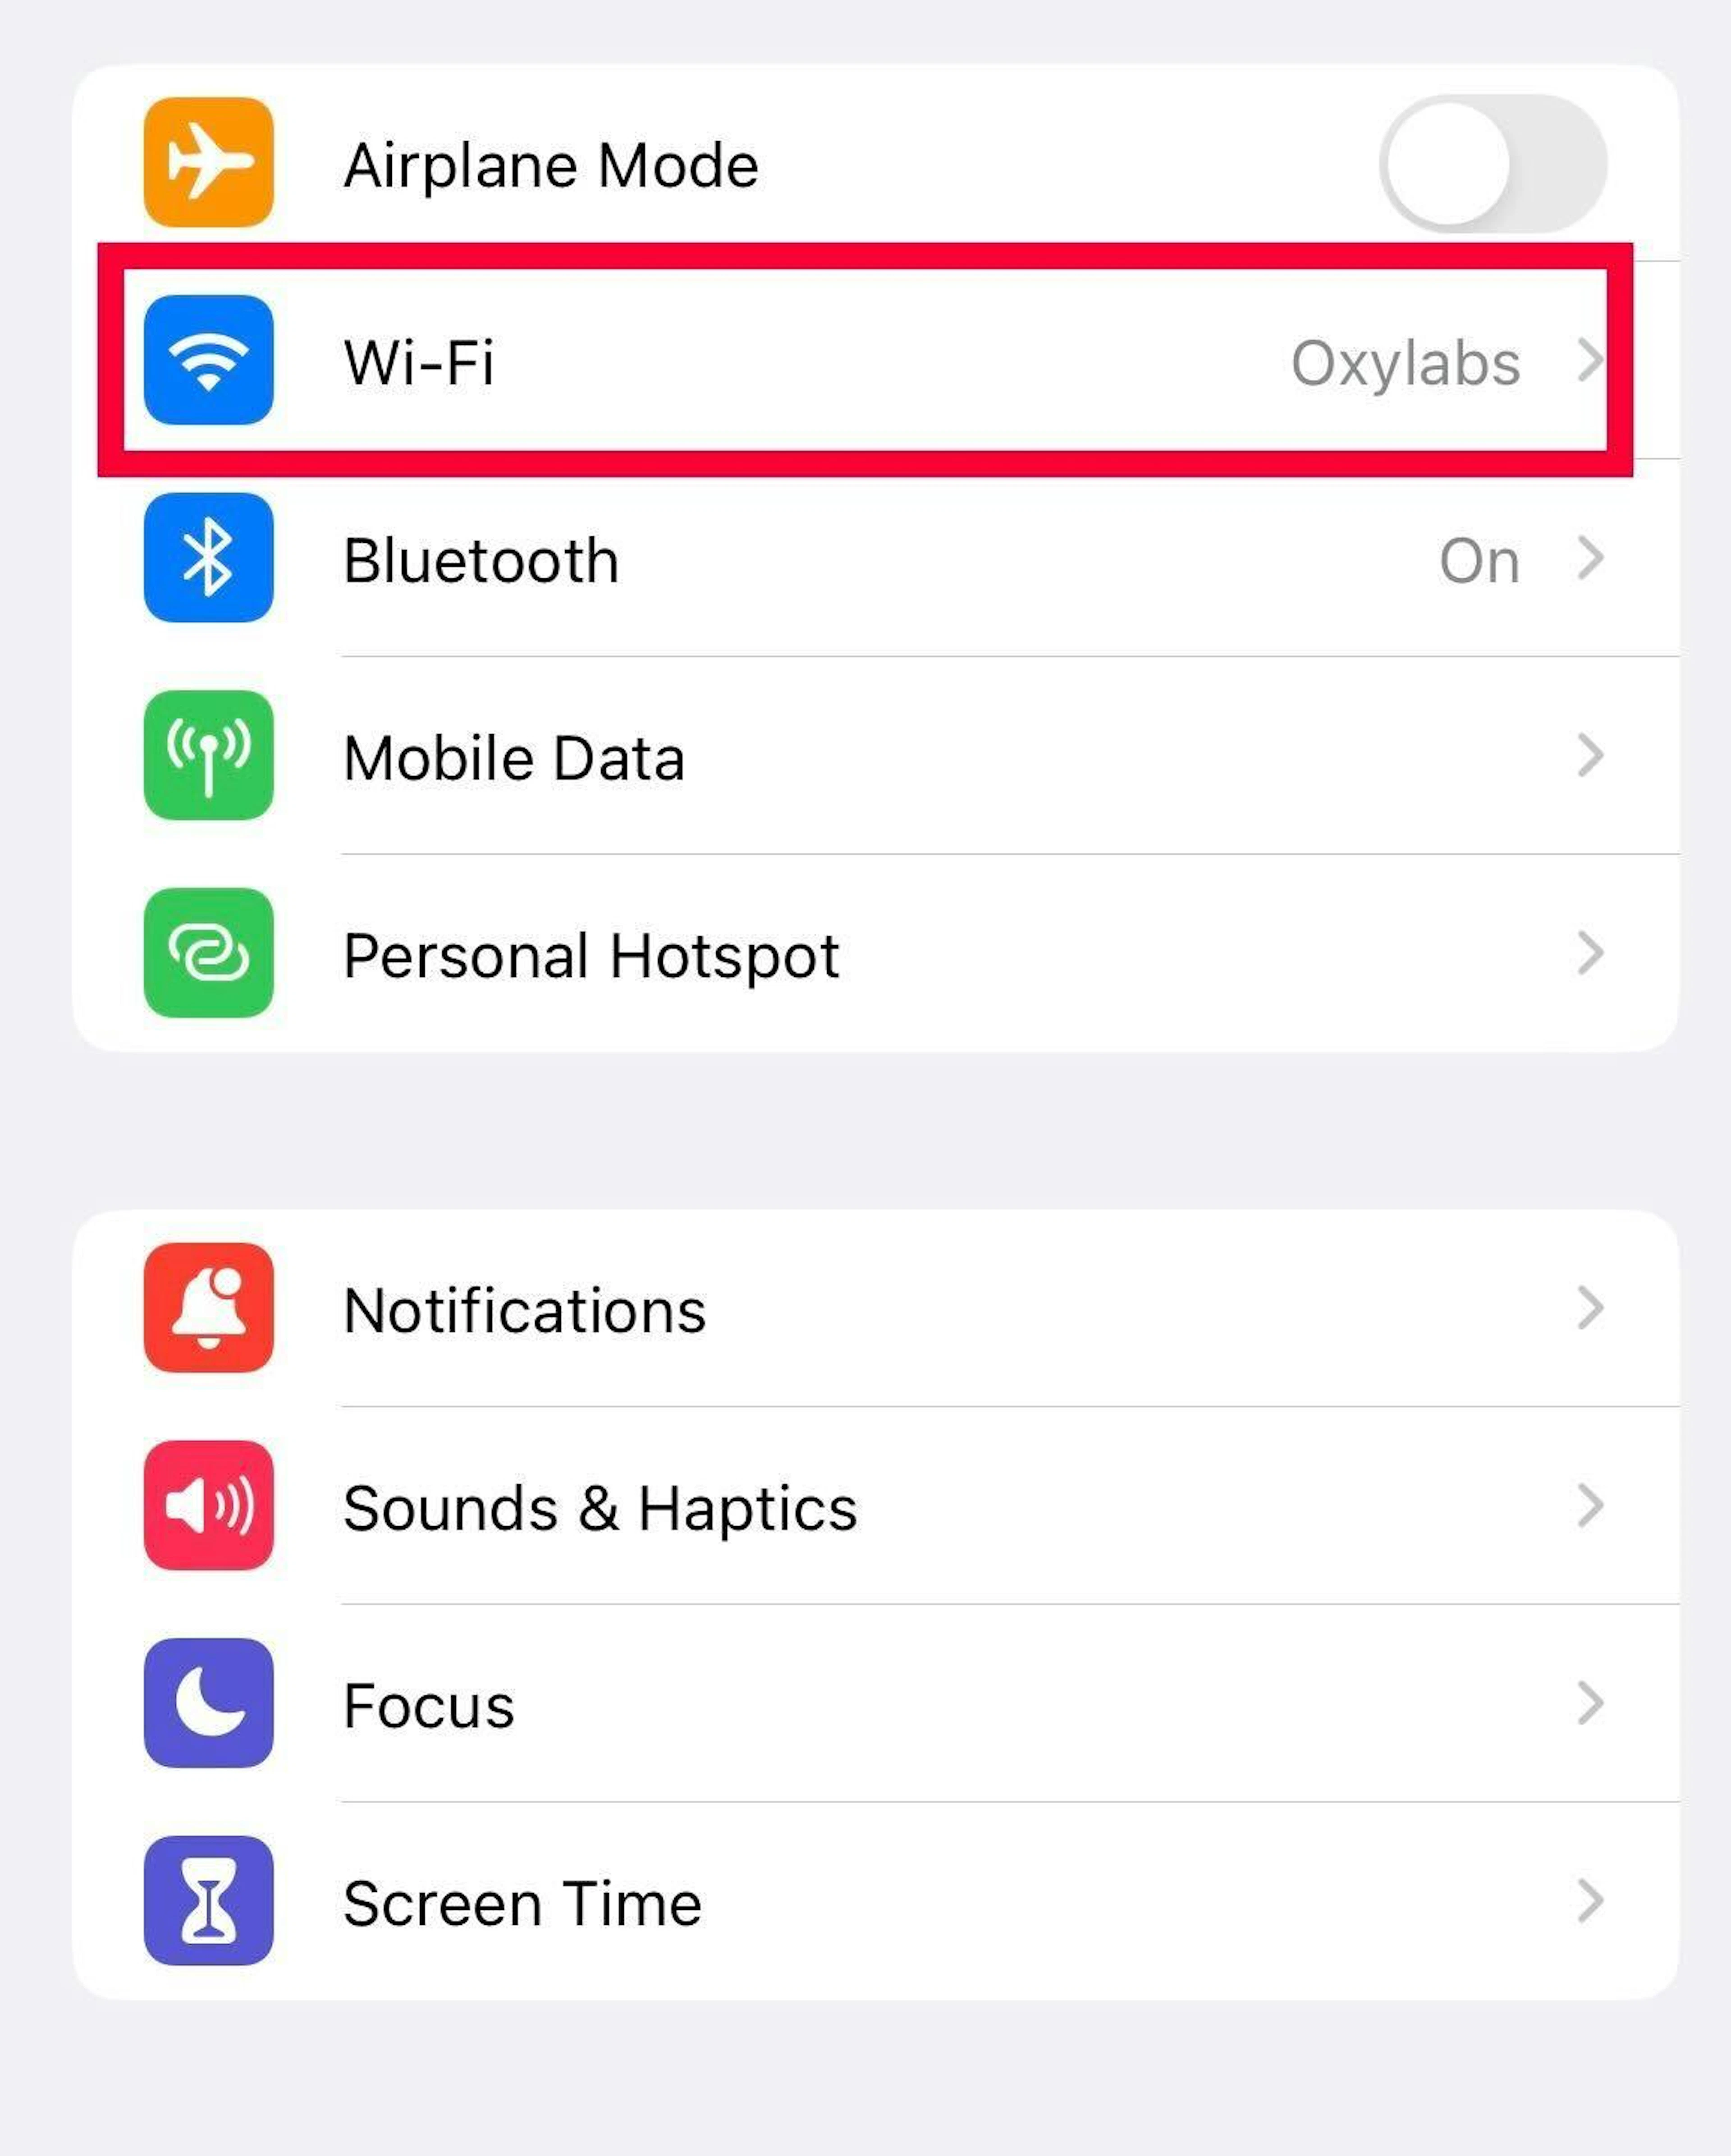
2. Select Wi-Fi.
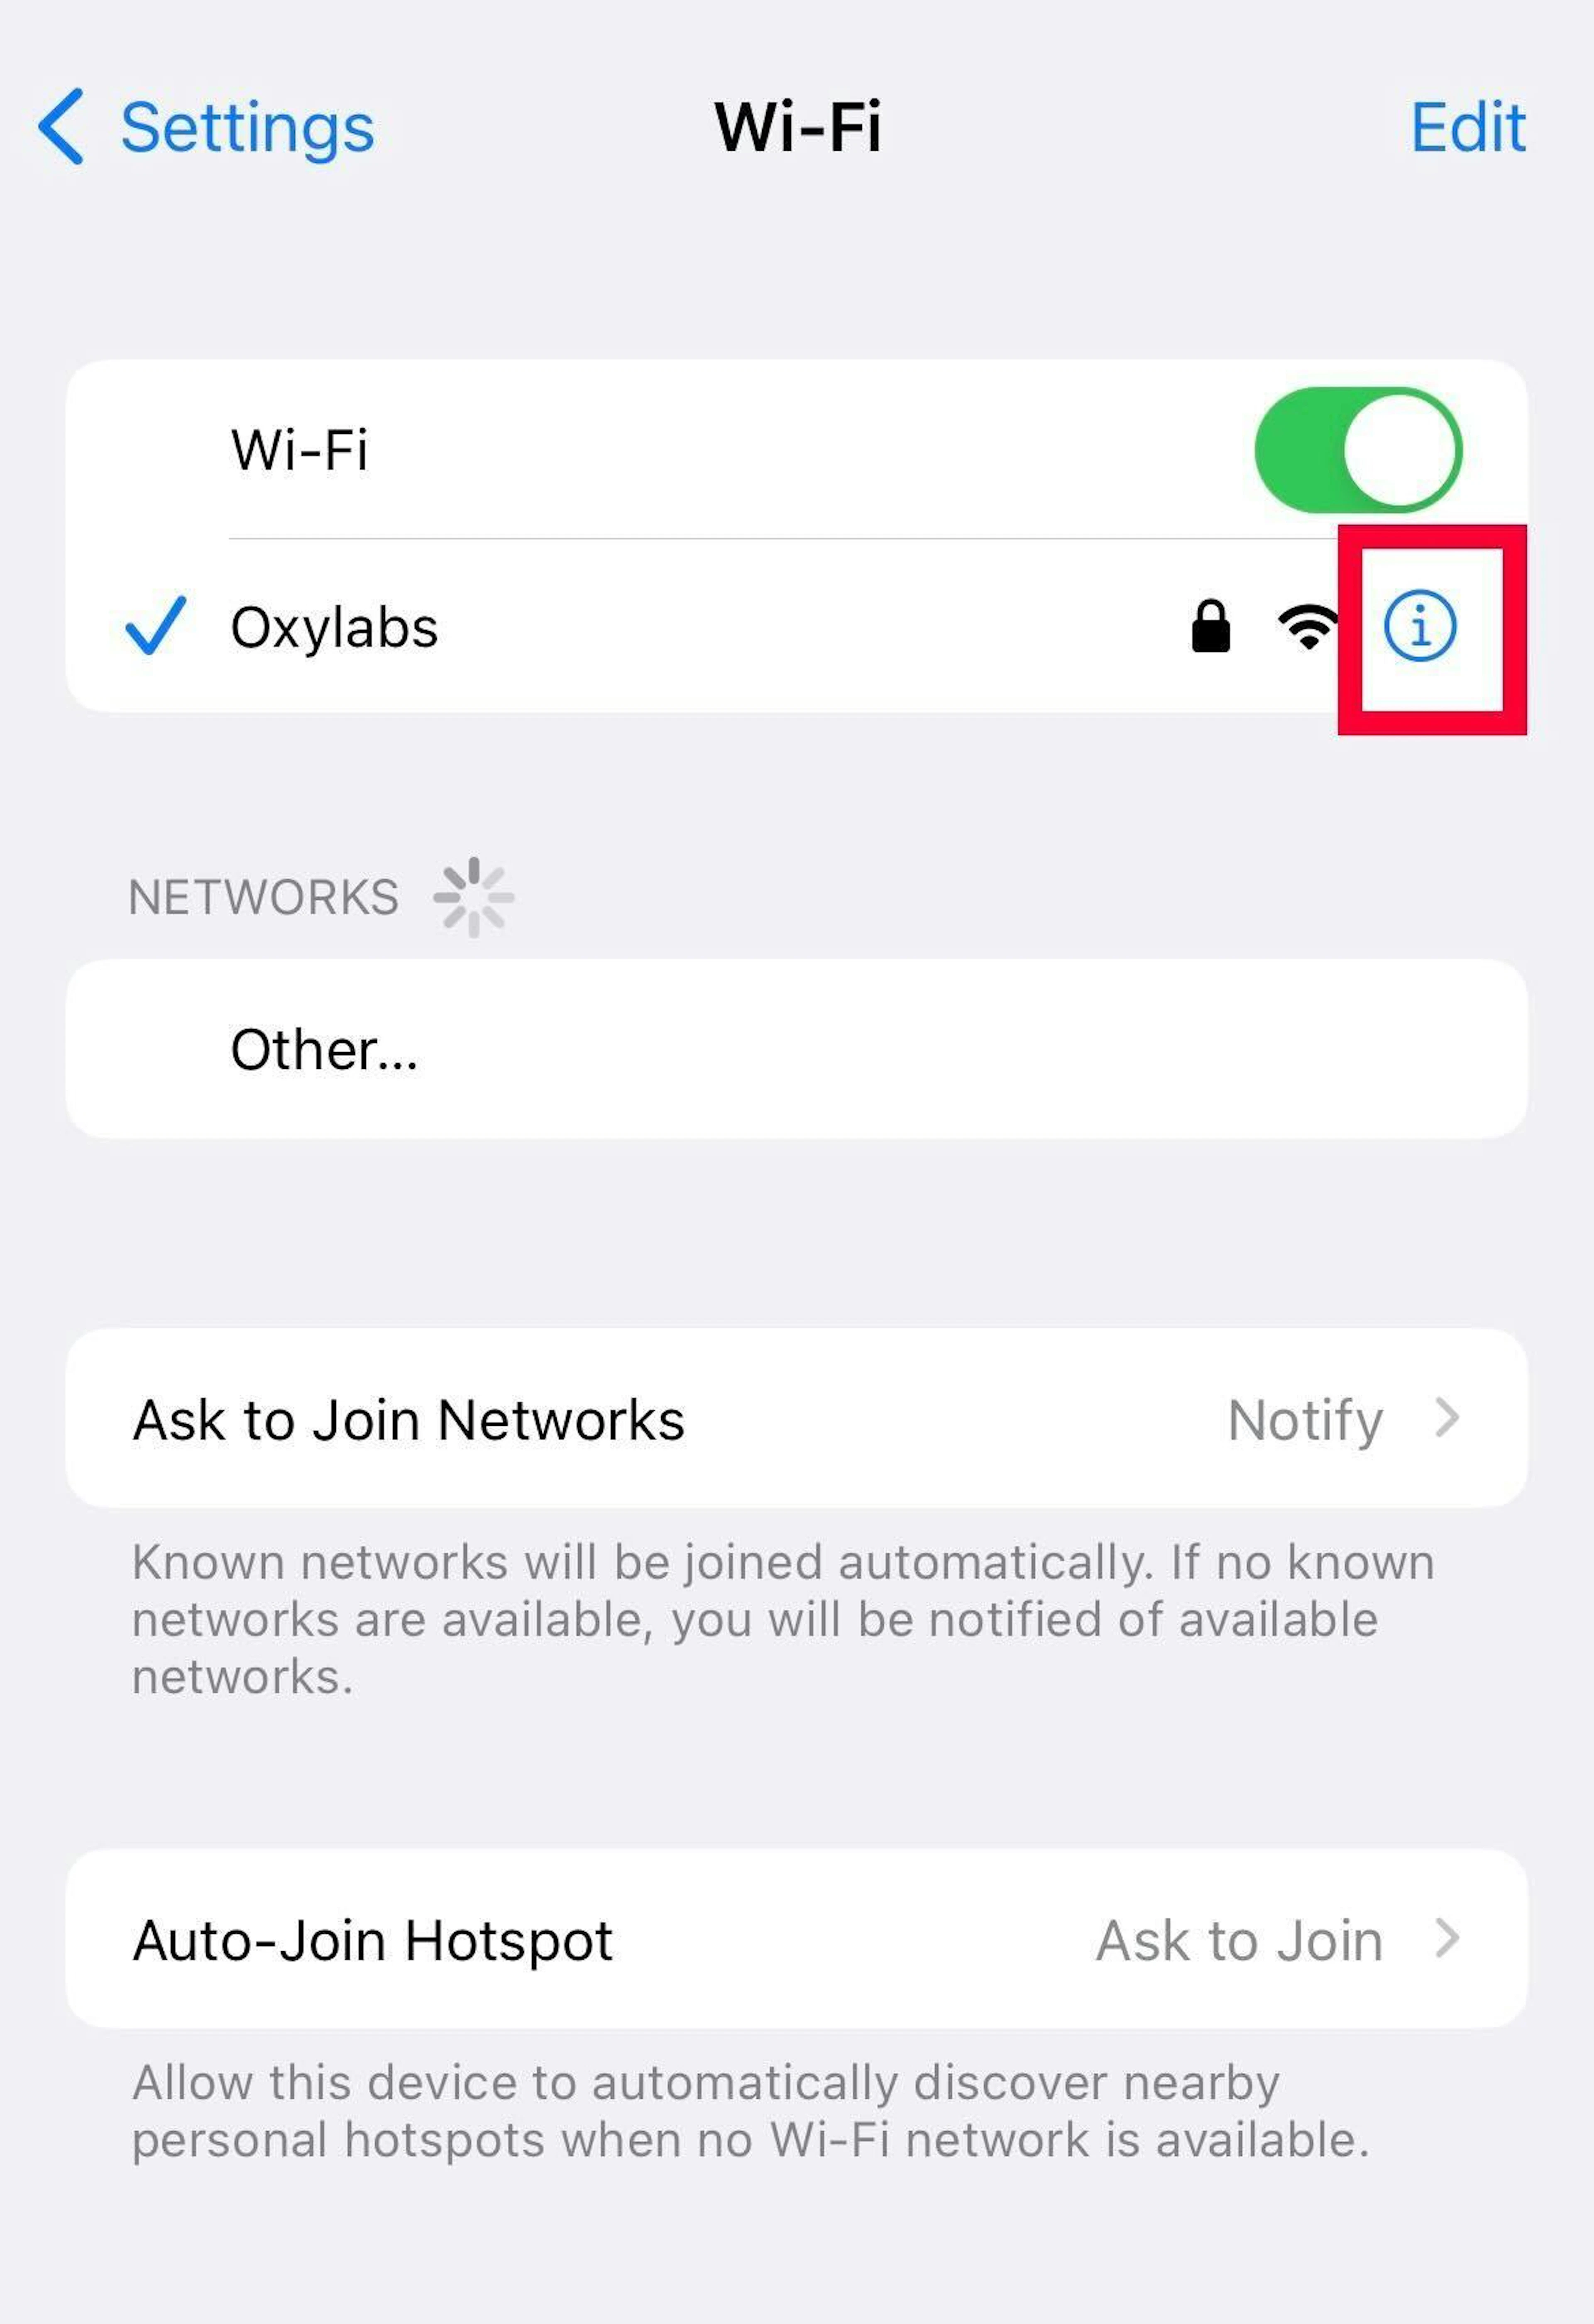
3. Click the blue info icon next to the Wi-Fi network you’re currently connected to (a connection is indicated by a blue checkmark.)
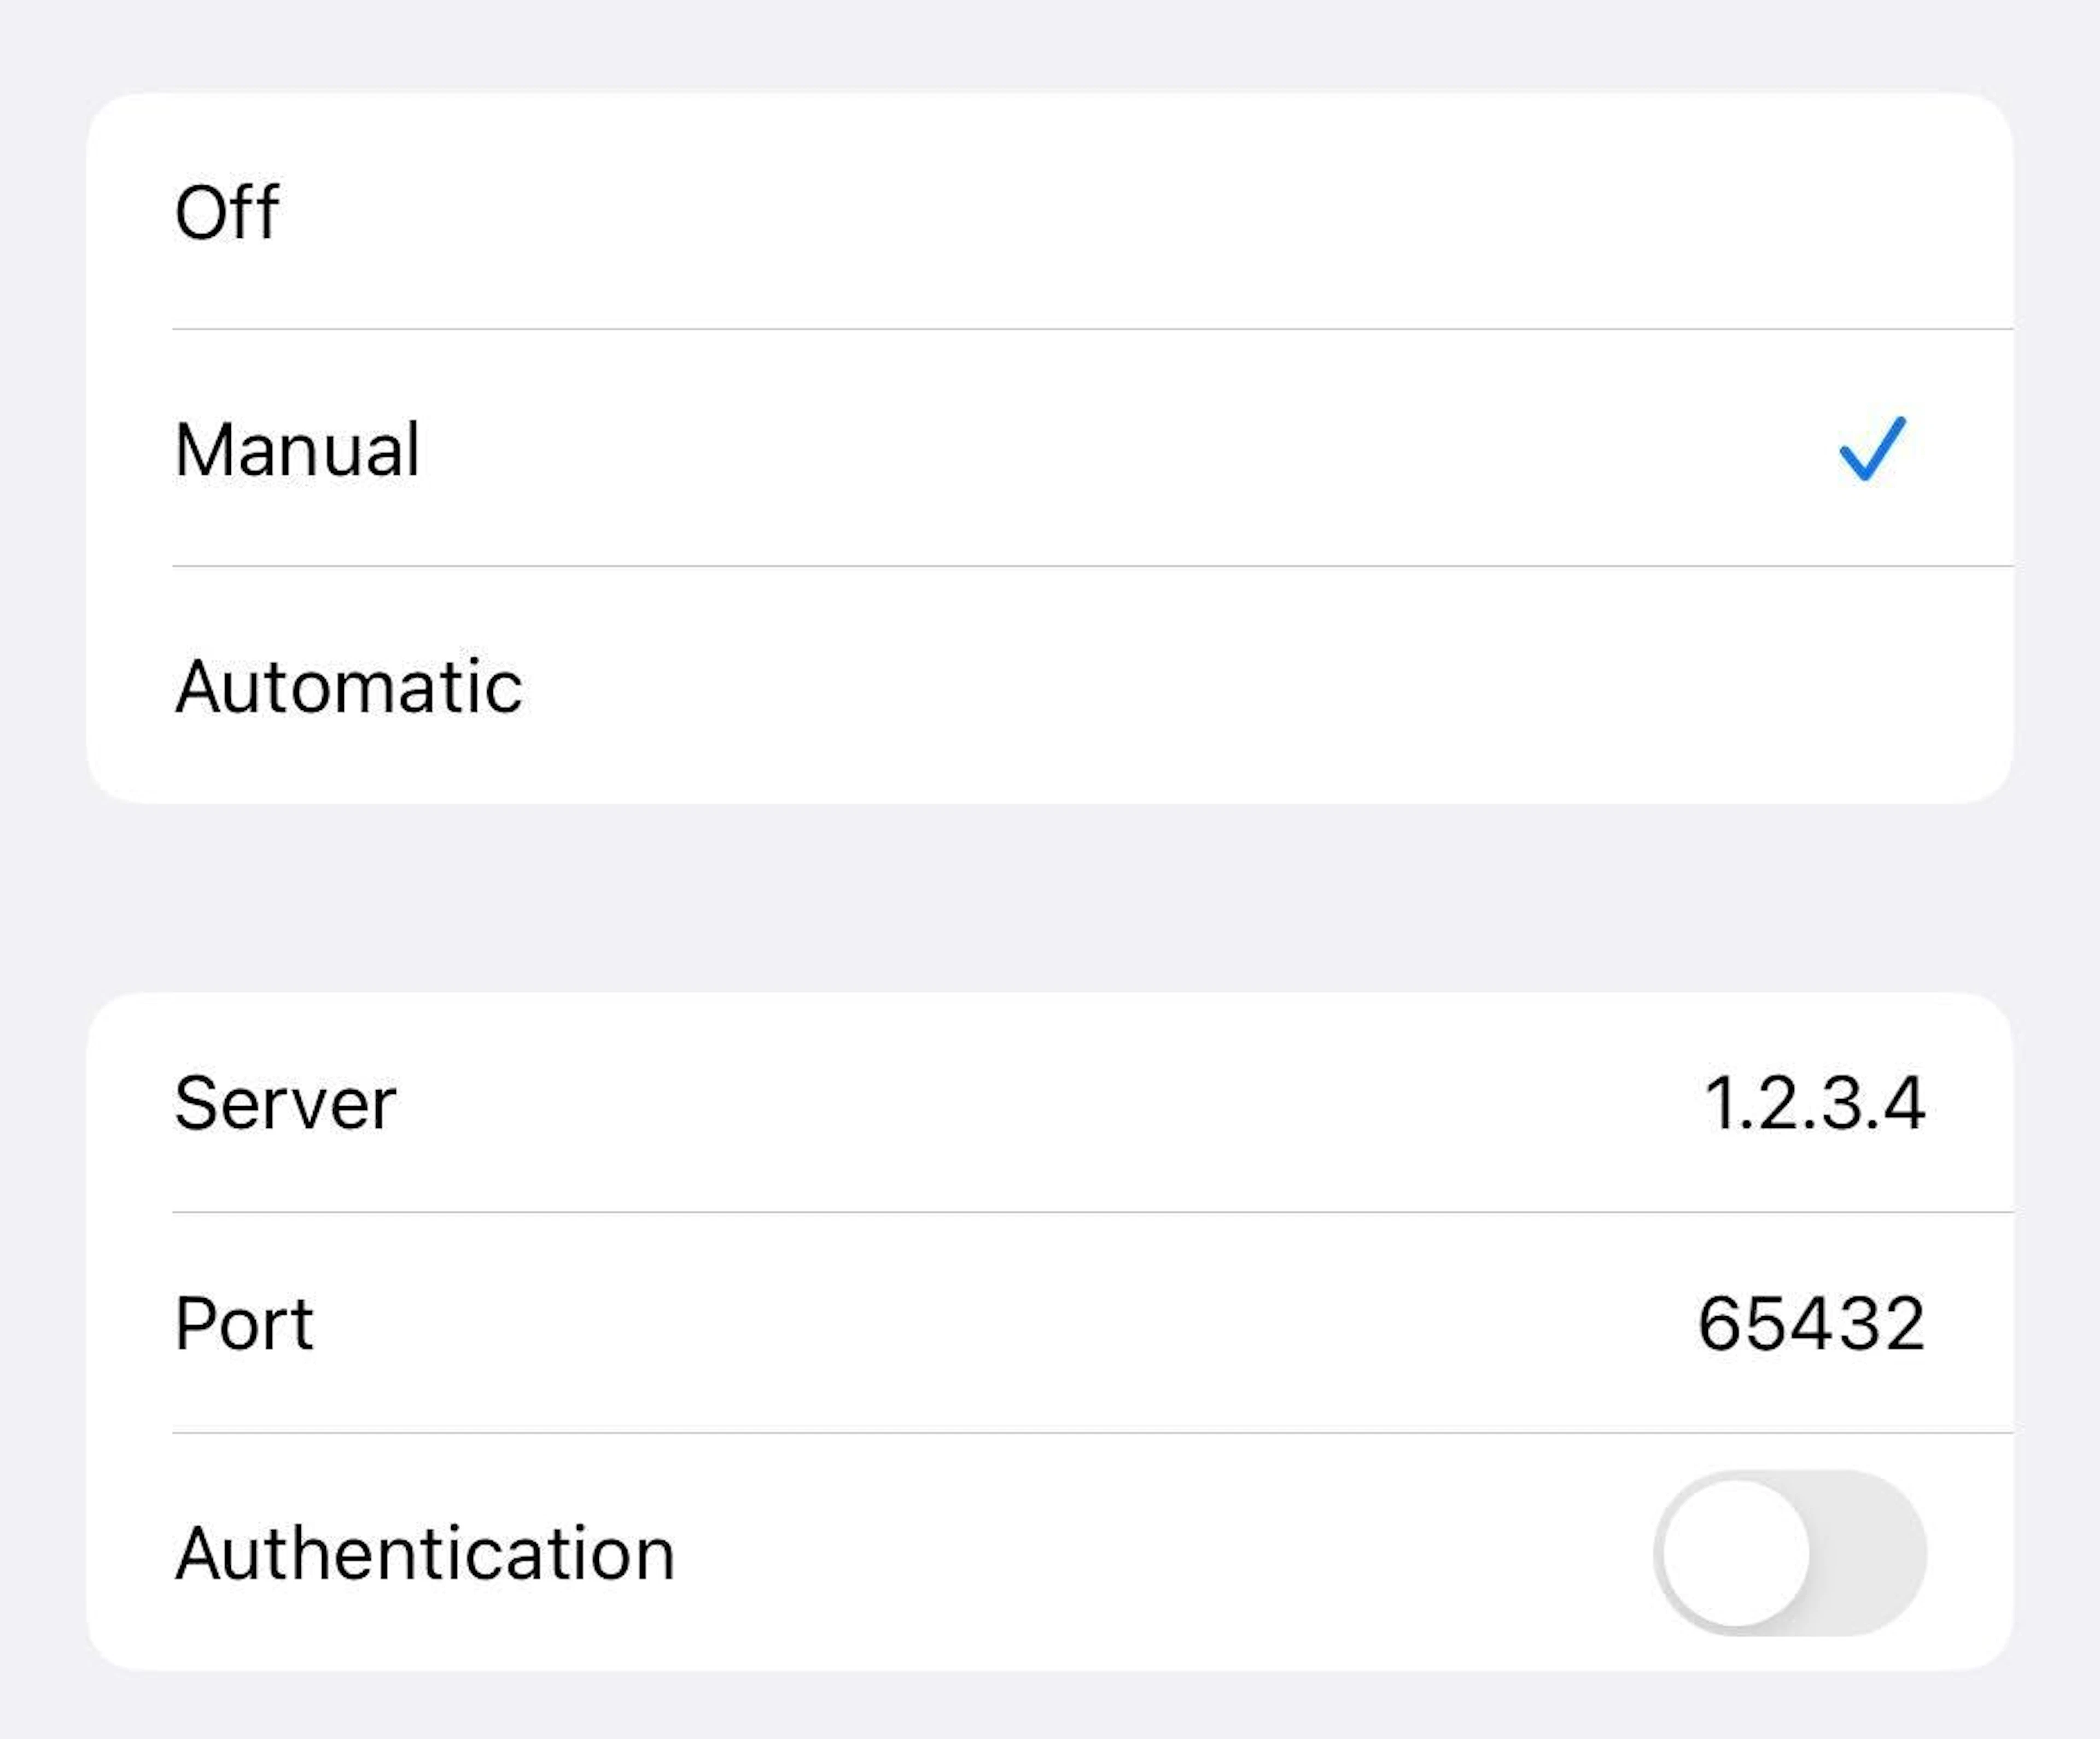
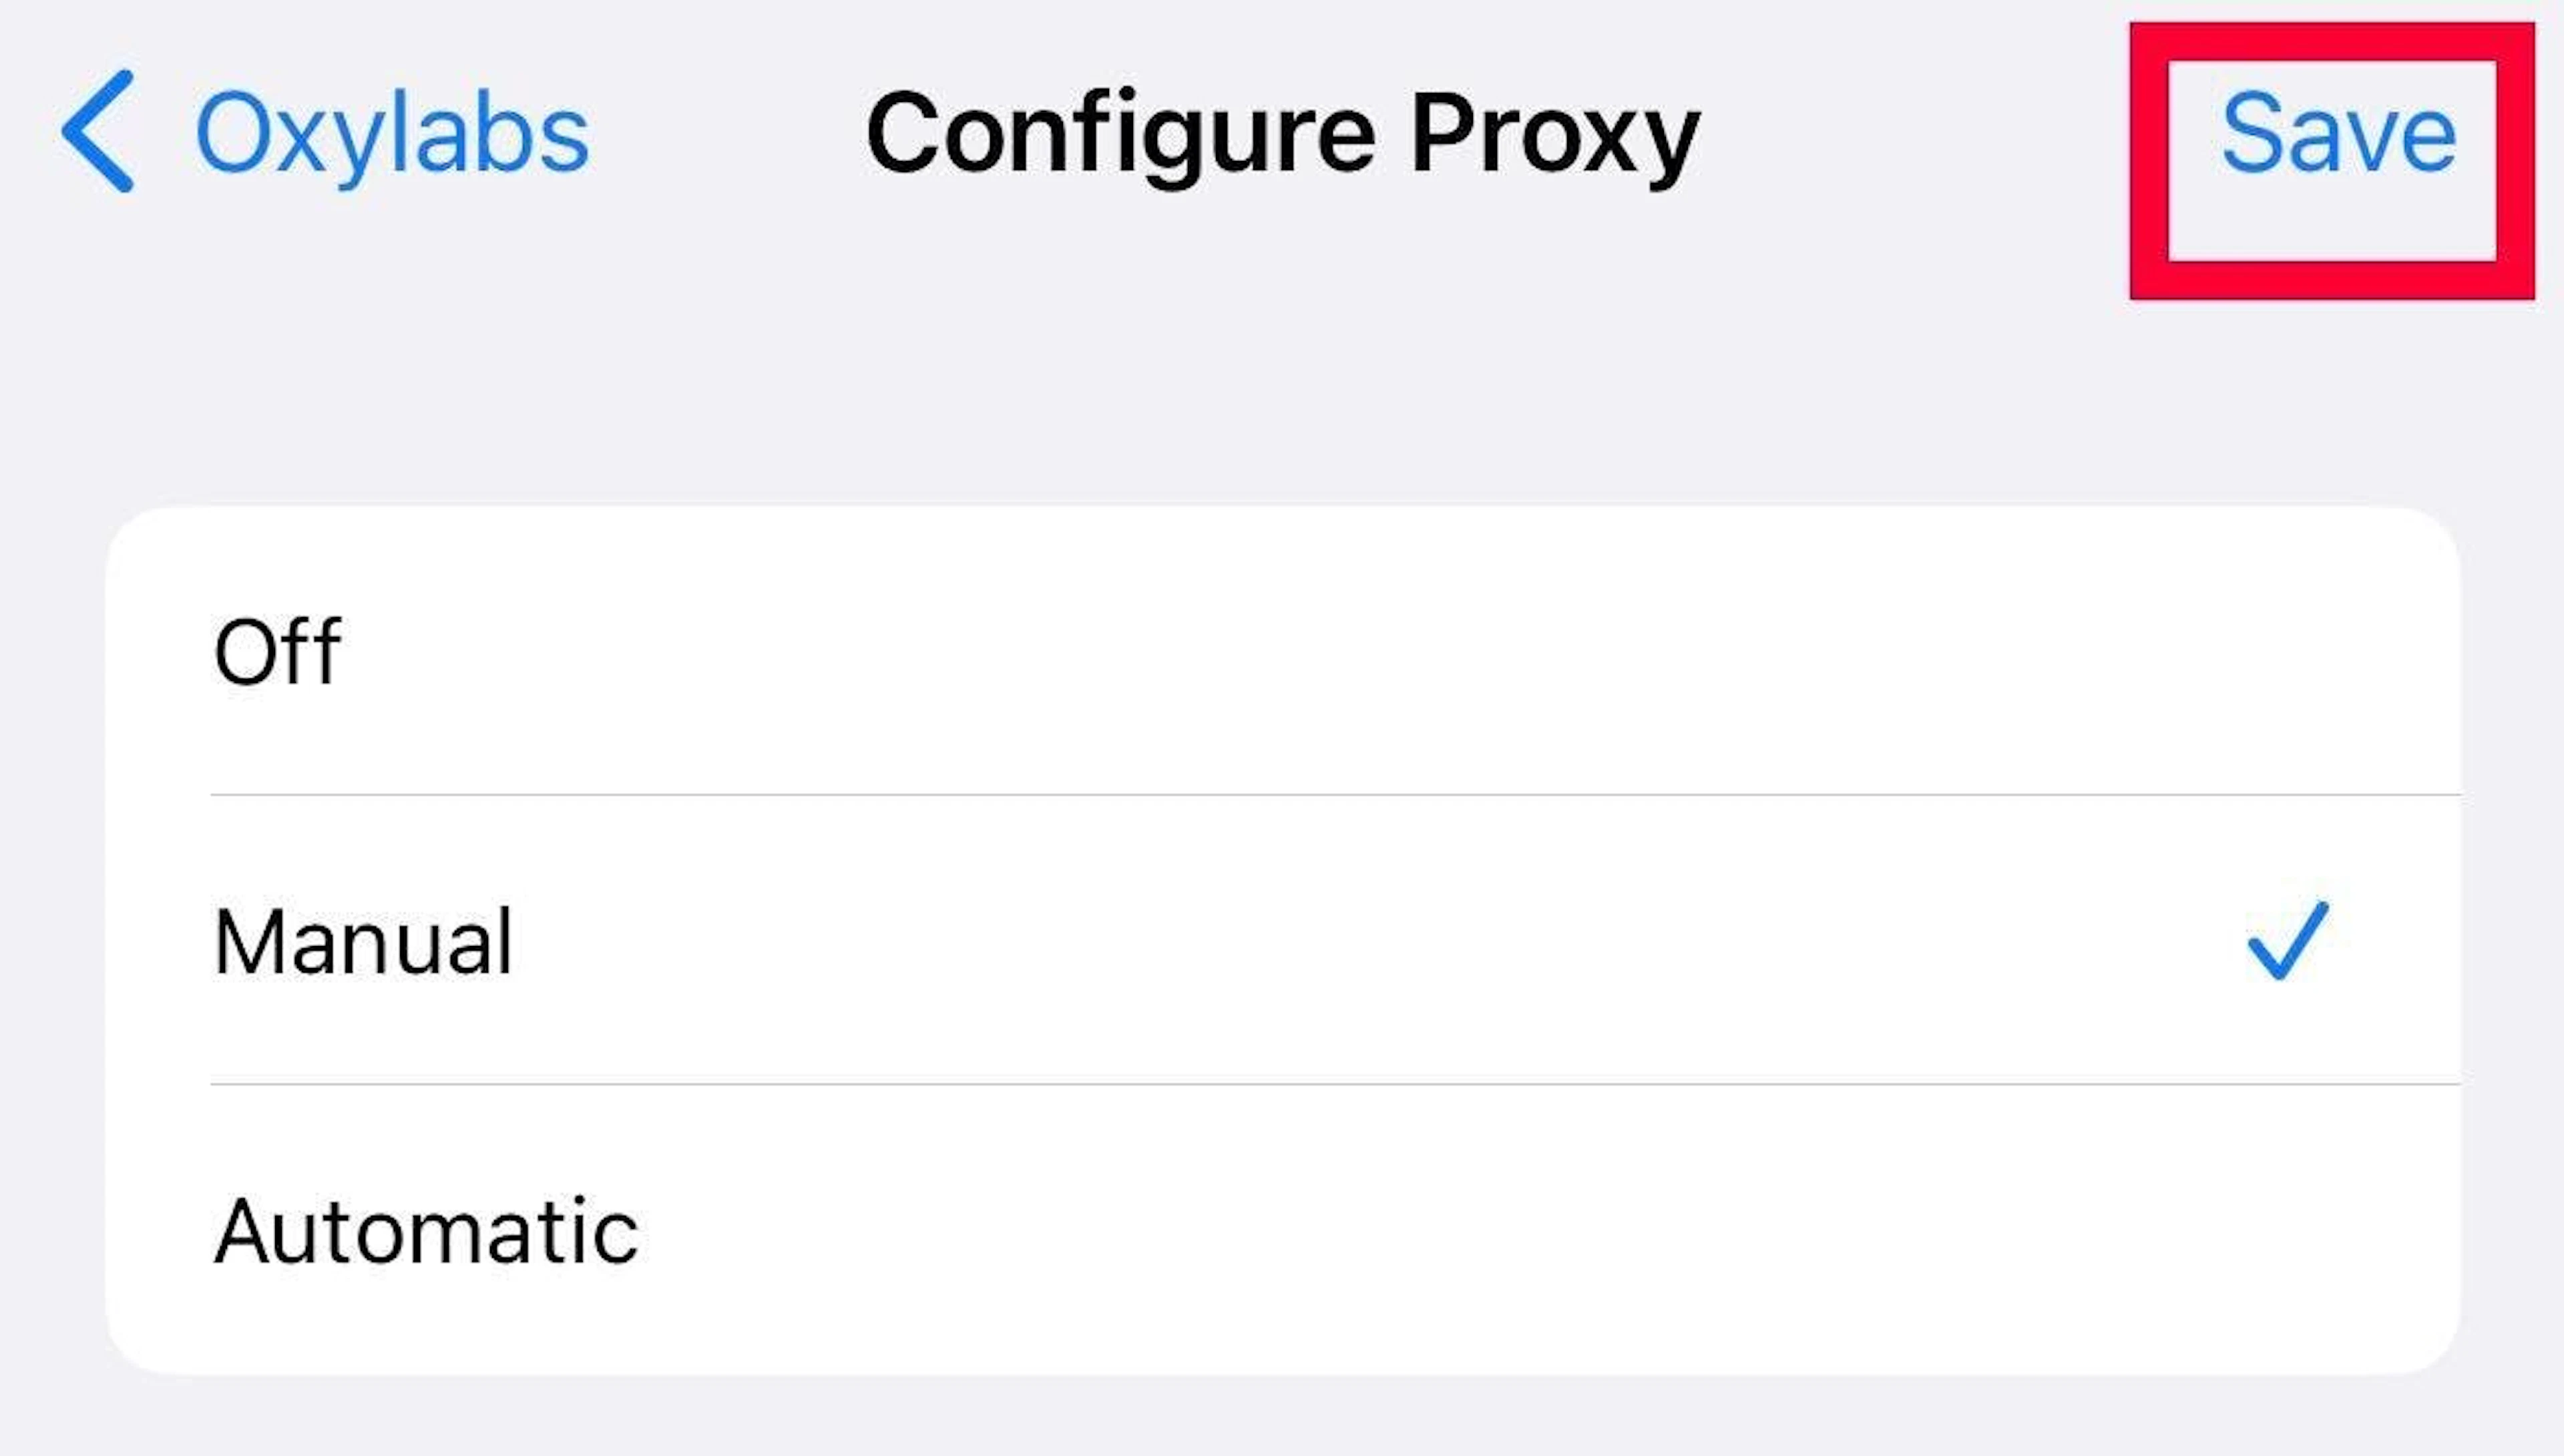
4. Out of the three options, select the Manual configuration.
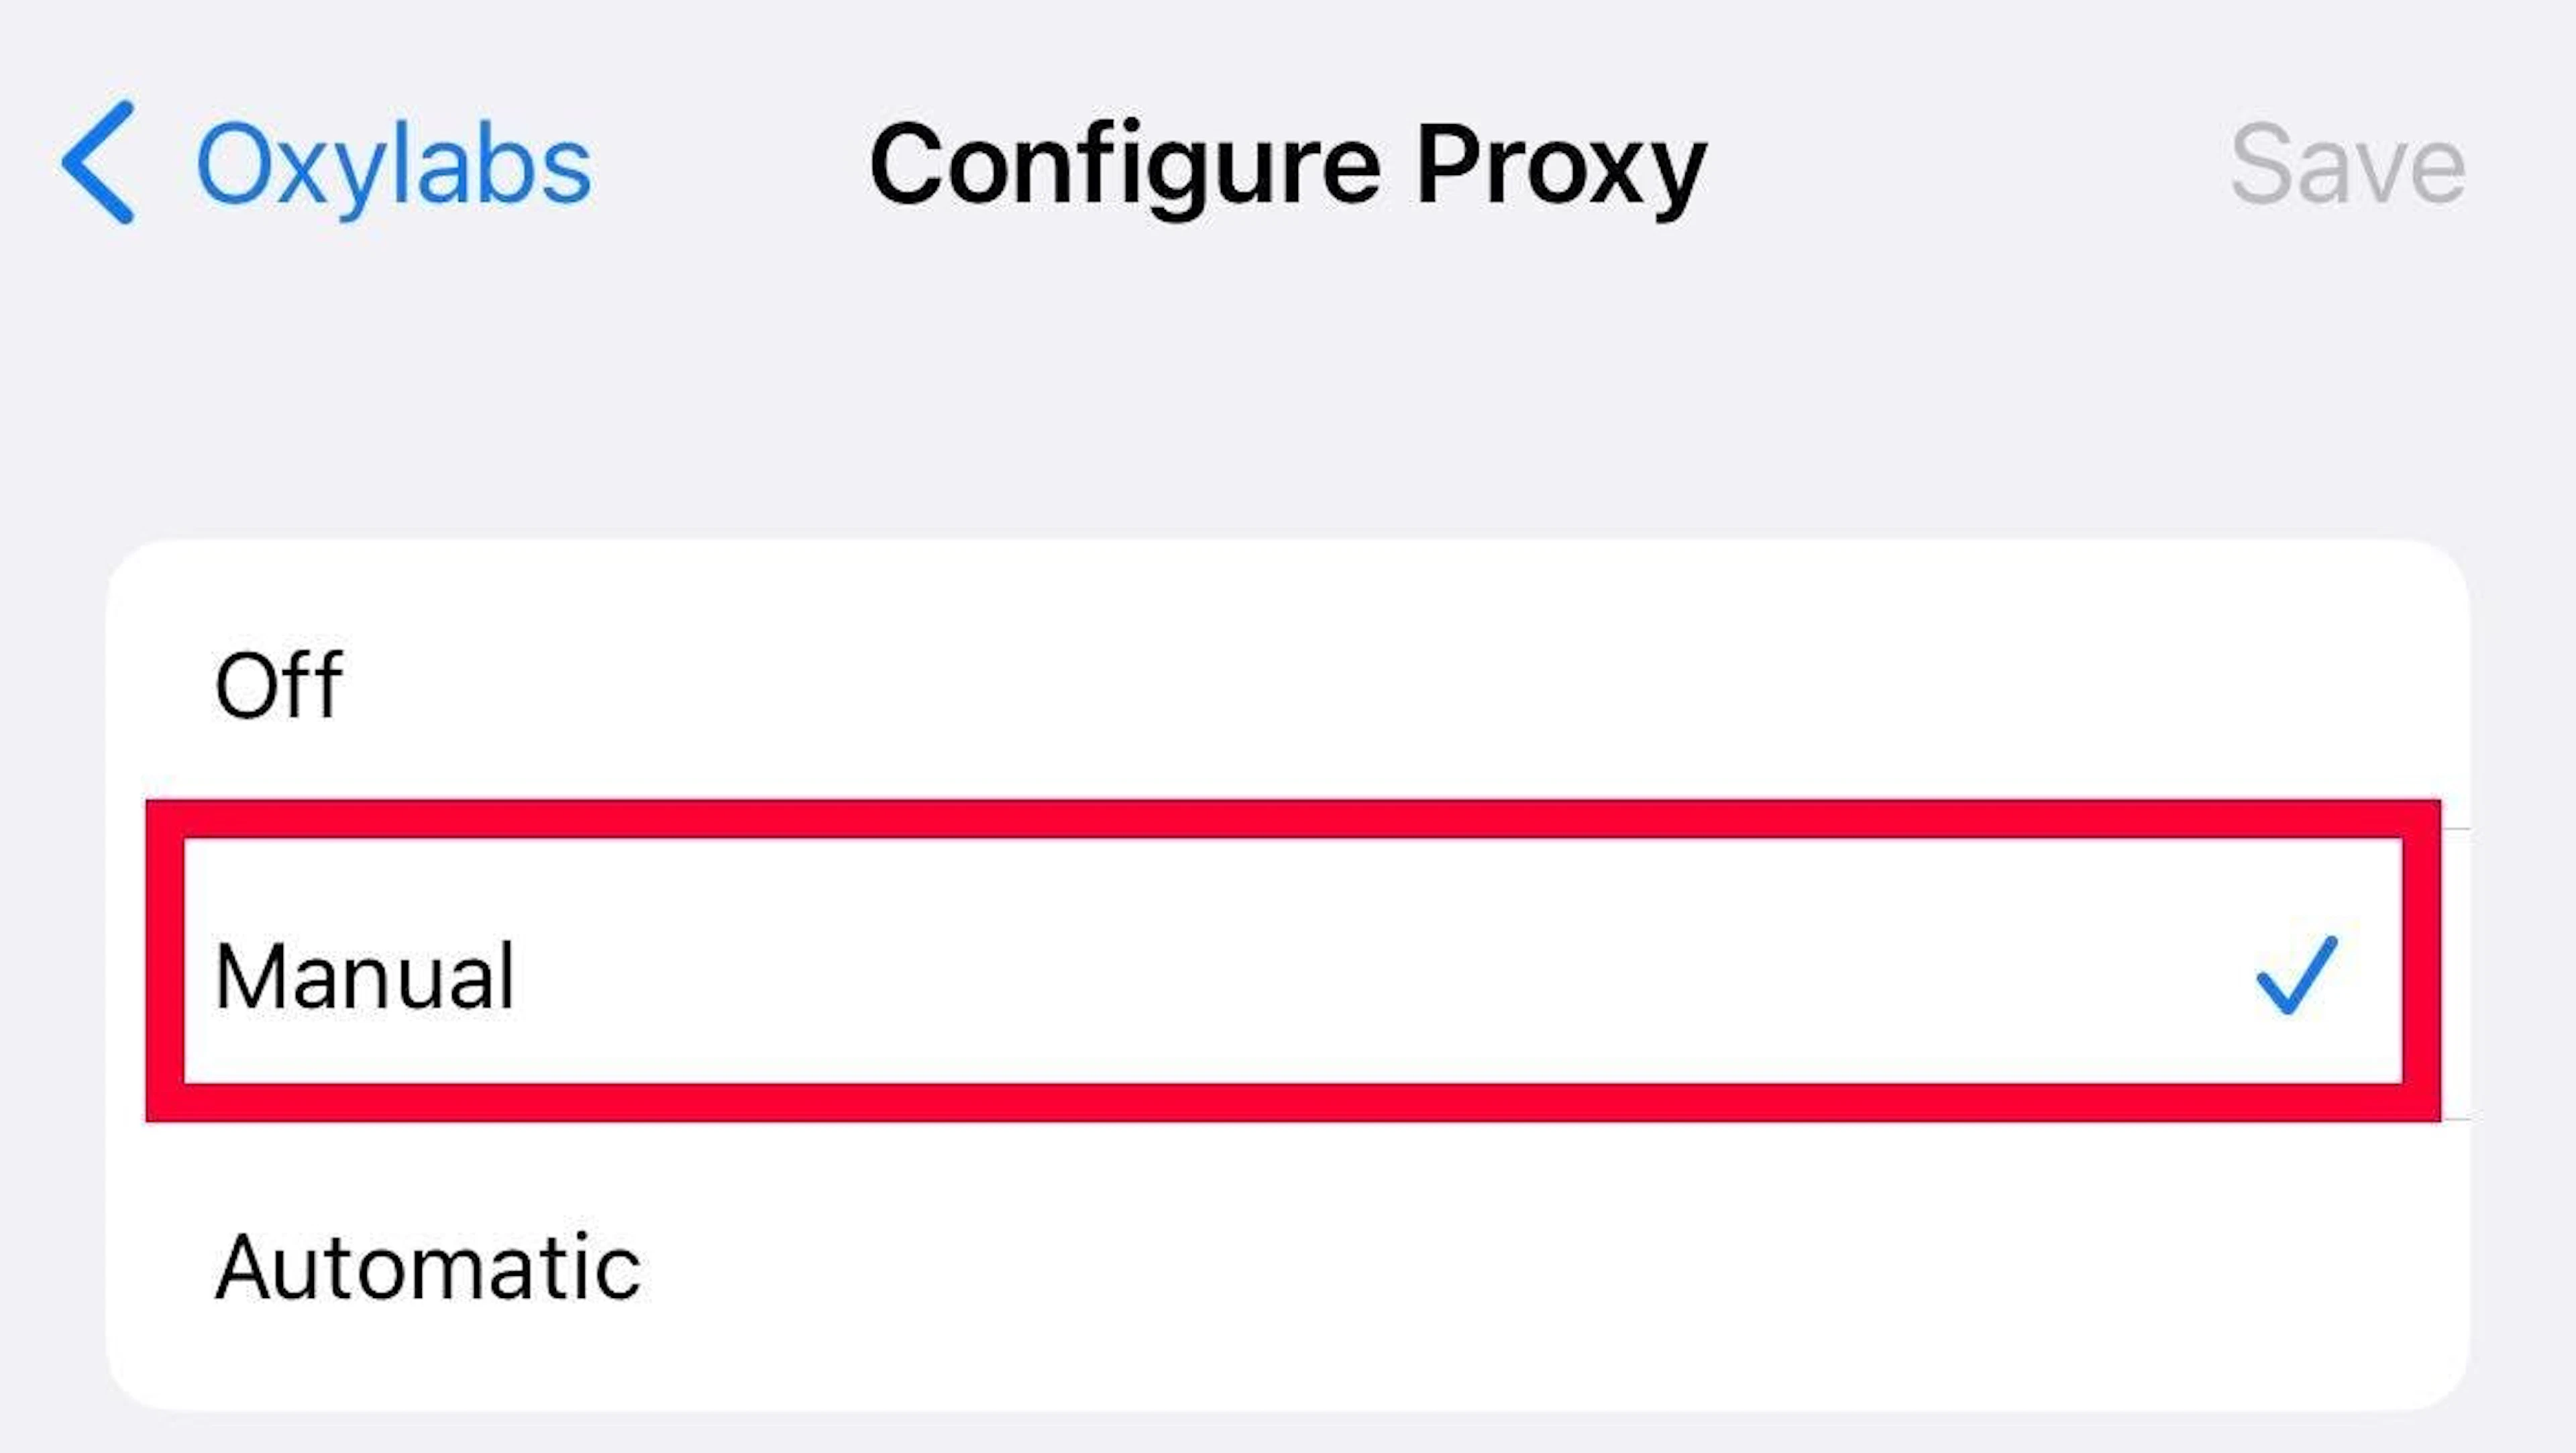
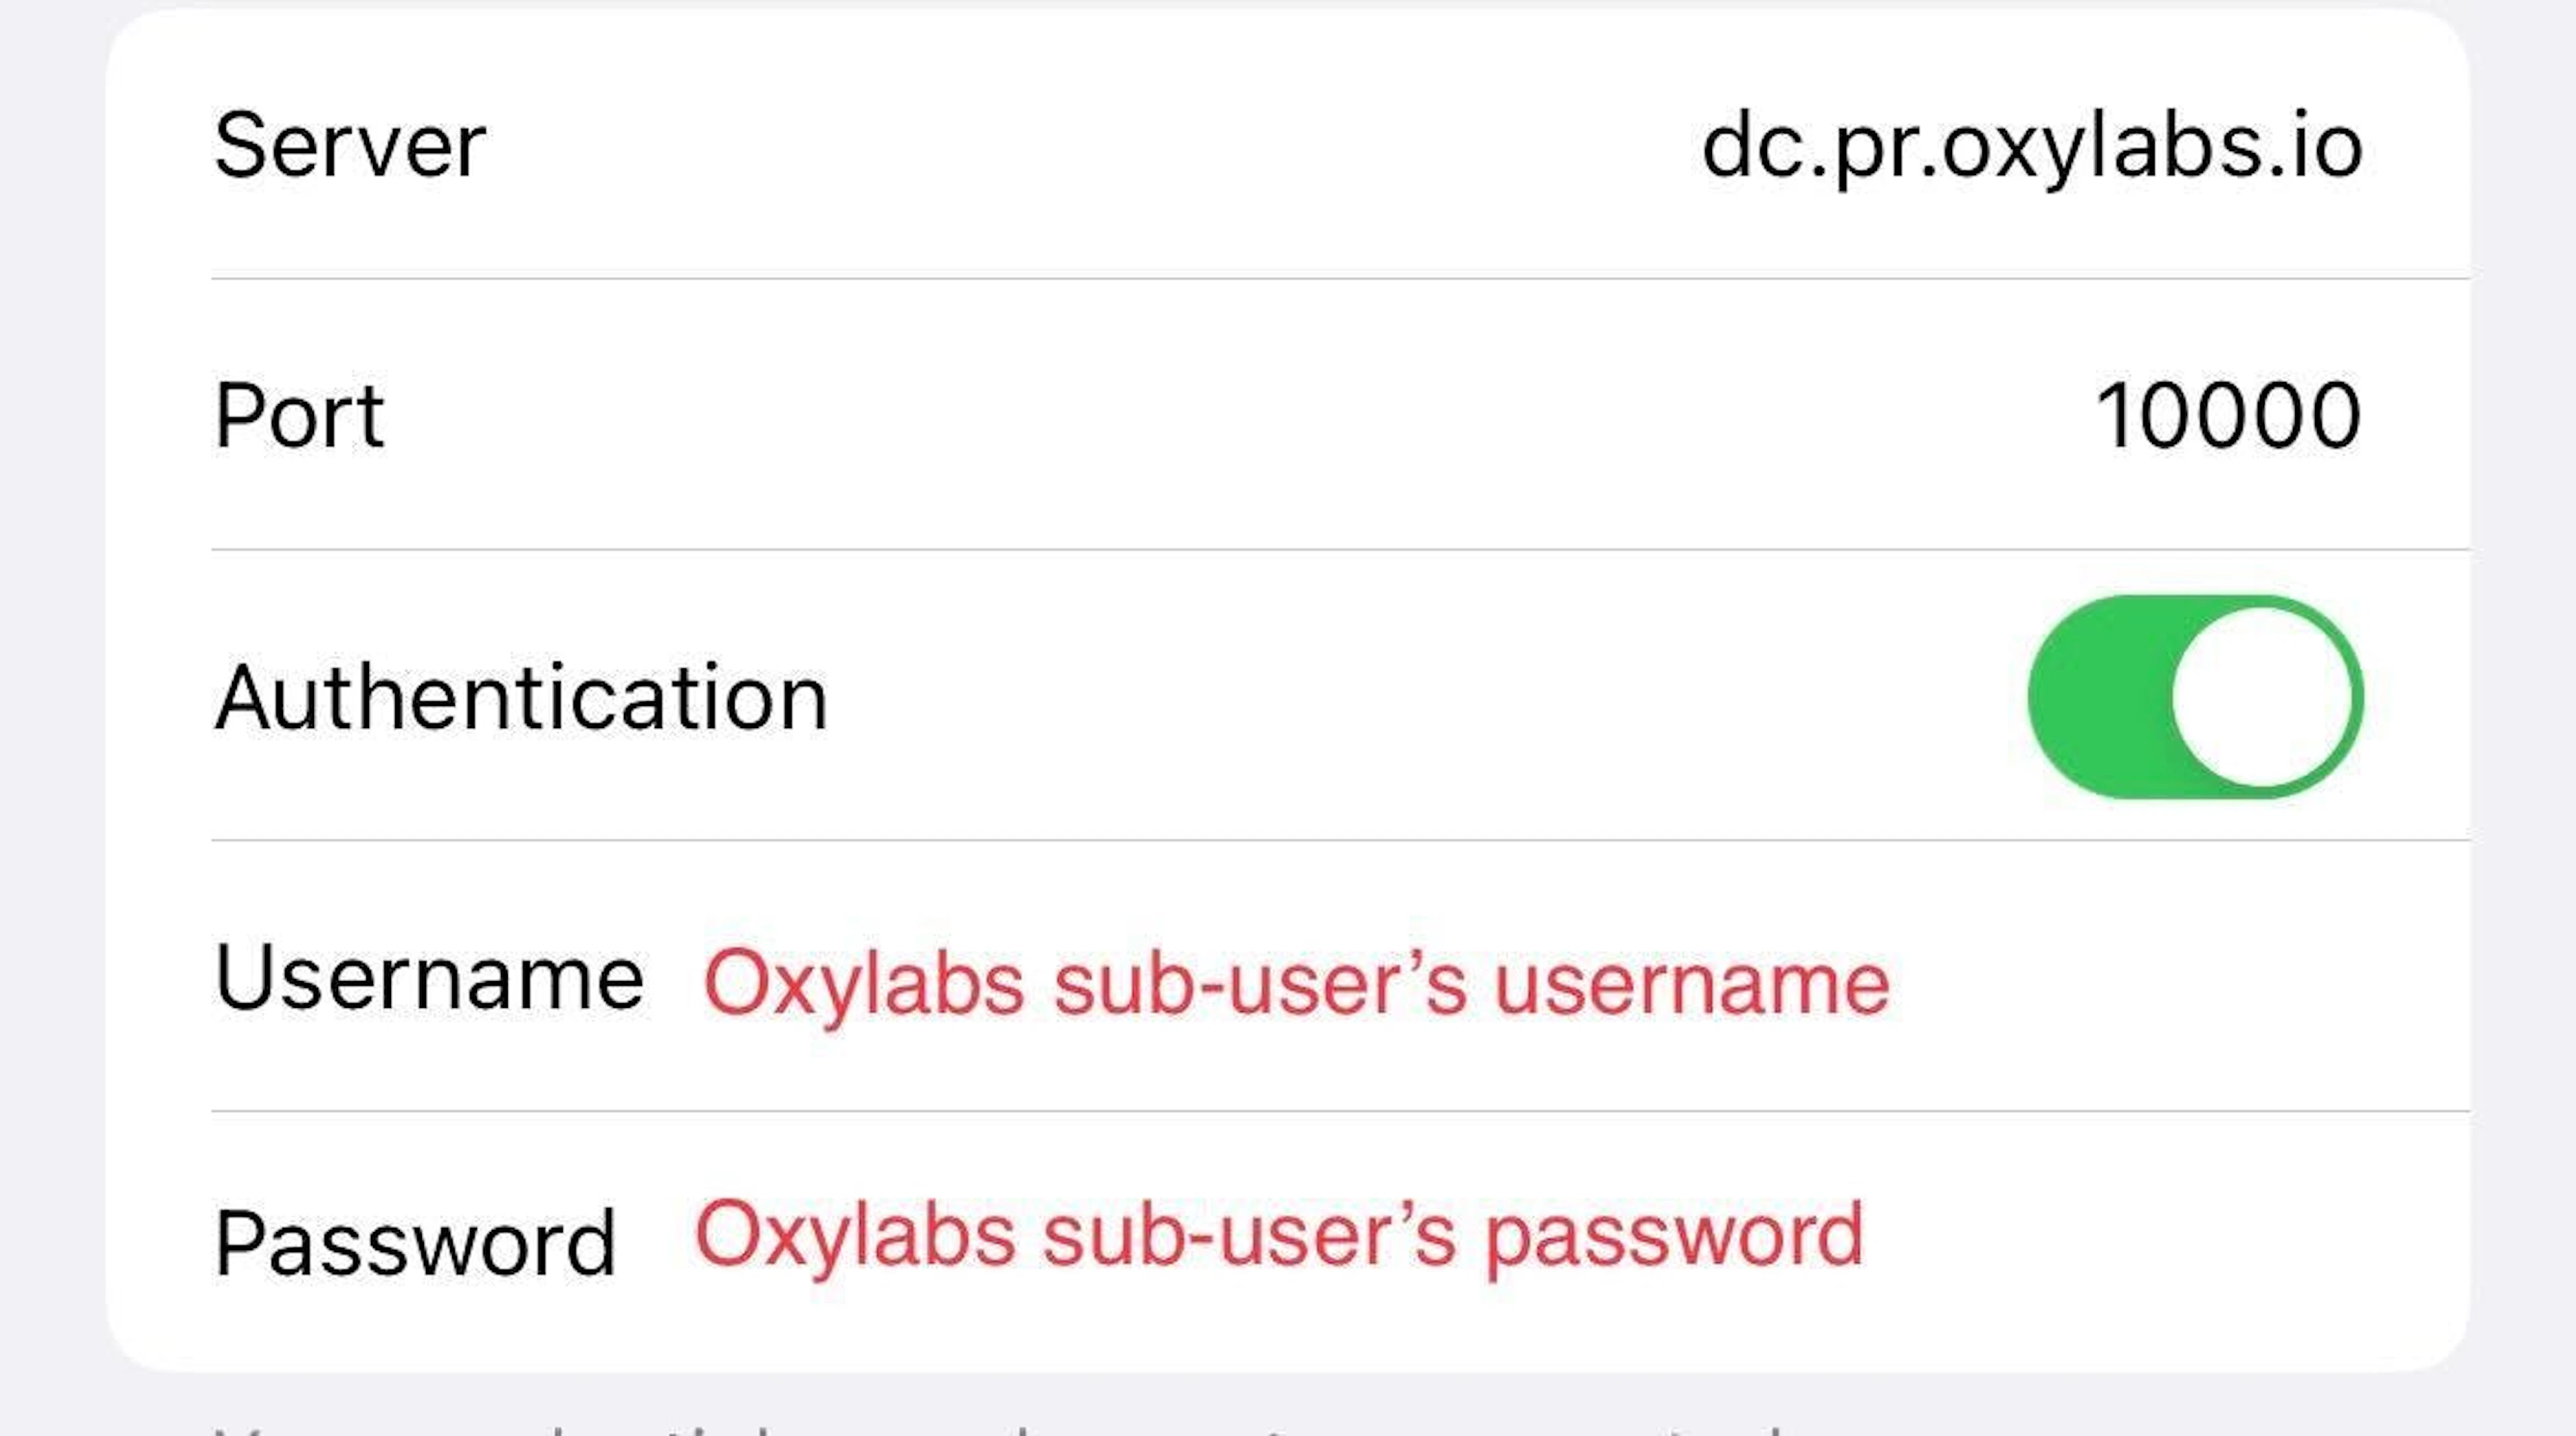
5. Once you do, iOS proxy server configuration settings will appear – here, you’ll need to enter your proxy server details and credentials.
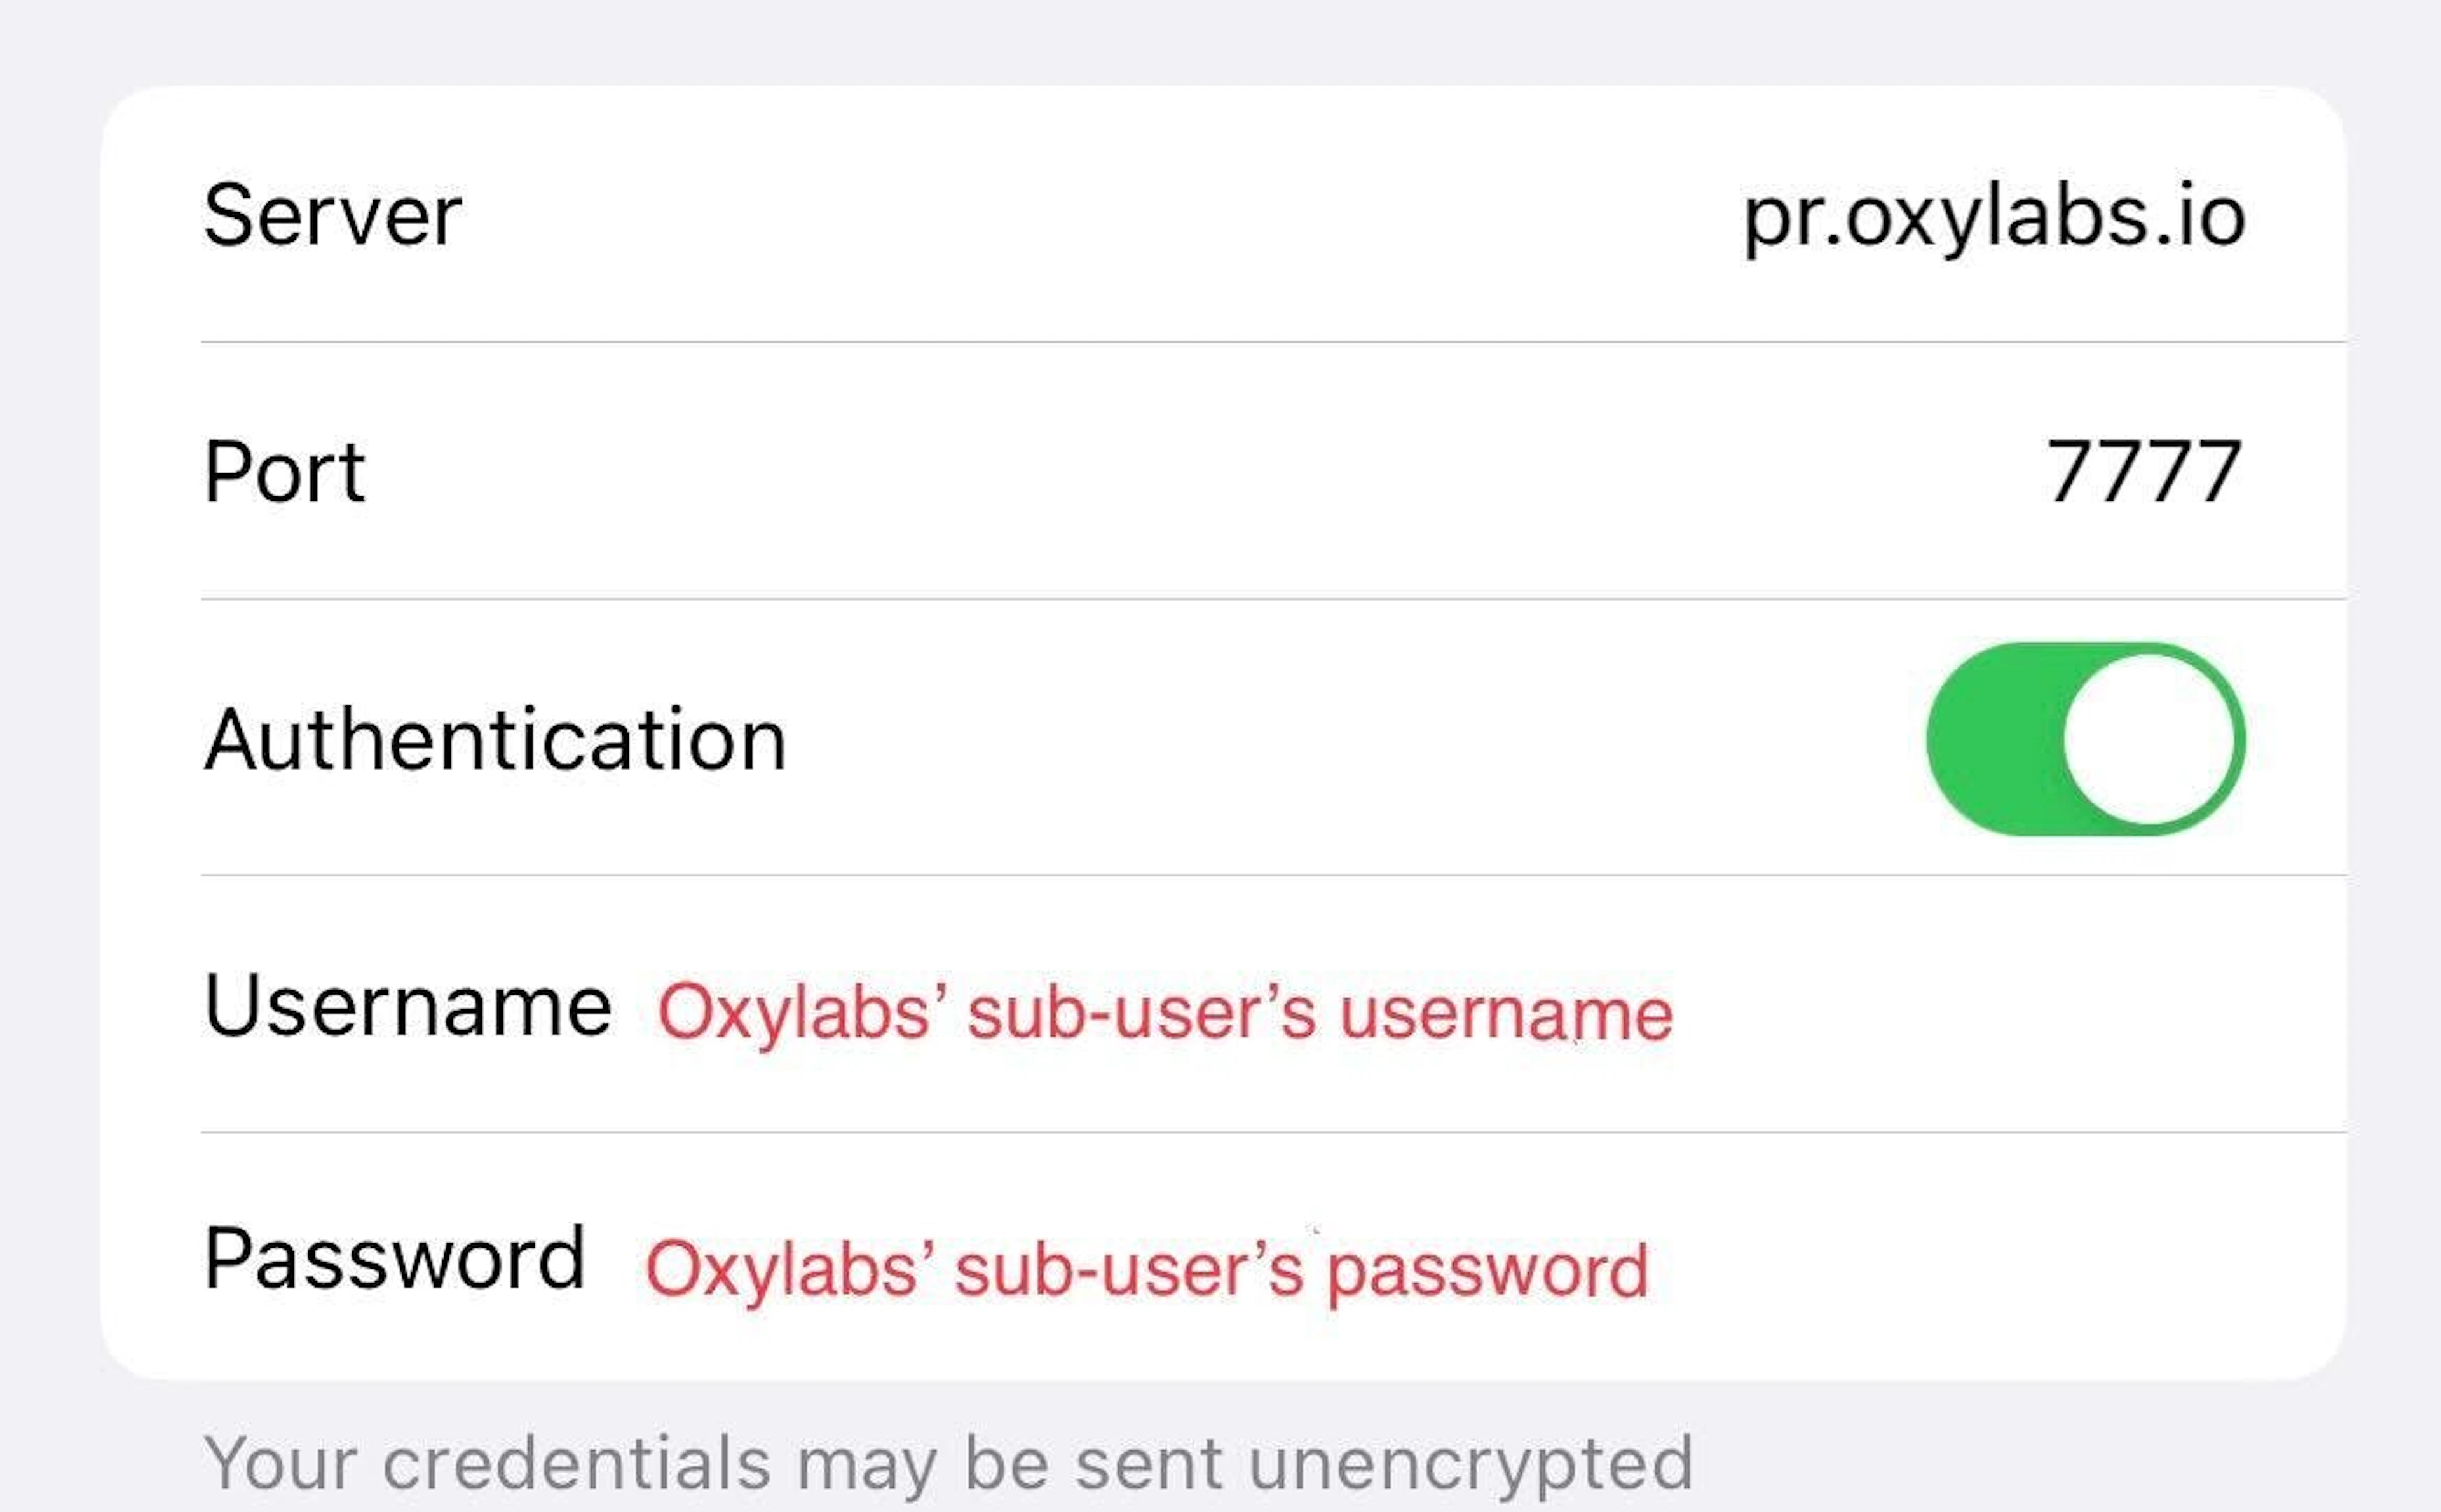
NOTE: if you’re using a whitelisted IP, keep Authentication toggled off. Otherwise, turn Authentication on for the Username and Password fields to appear. There, enter your Oxylabs sub-user’s credentials – these are the same credentials you typed in while creating a new sub-user in the Oxylabs dashboard.
To configure Oxylabs proxies, specify the following proxy details.
Residential Proxies
Server: pr.oxylabs.io
Port: 7777
Authentication: on
Username: Oxylabs proxy user’s username
Password: Oxylabs proxy user’s password
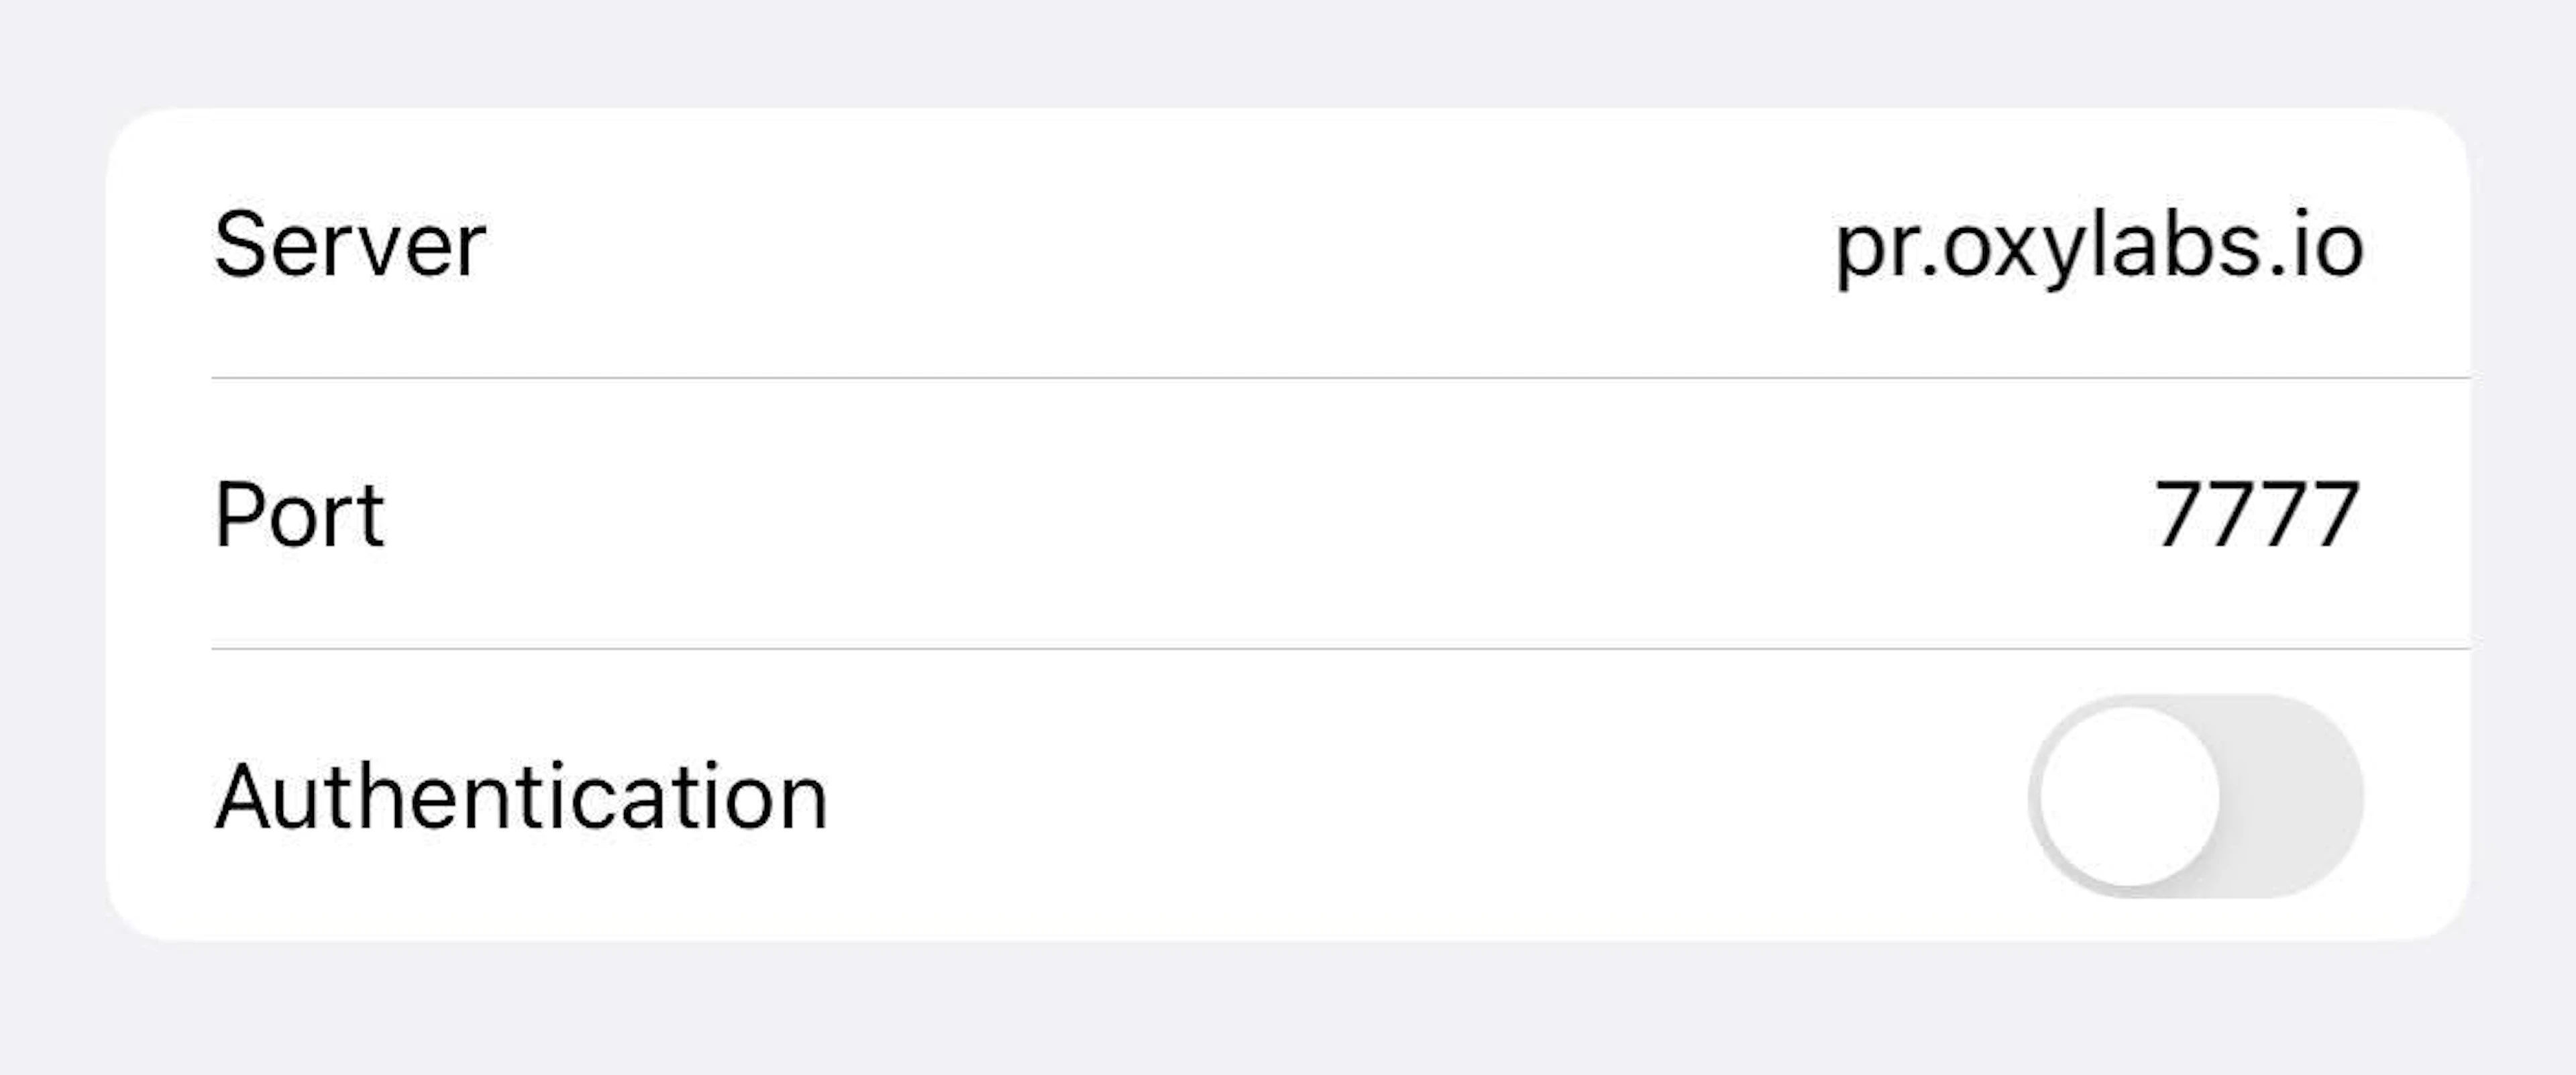
Here’s how your settings should look like if you’re using a whitelisted Residential IP – the authentication setting is toggled off:
If needed, you can use country-specific entries. For example, if you enter us-pr.oxylabs.io in the Server field and 10000 under the Port field, you’ll get a US-based exit node. To see a full list of country-specific entry nodes or if you need a sticky session, please check our documentation.
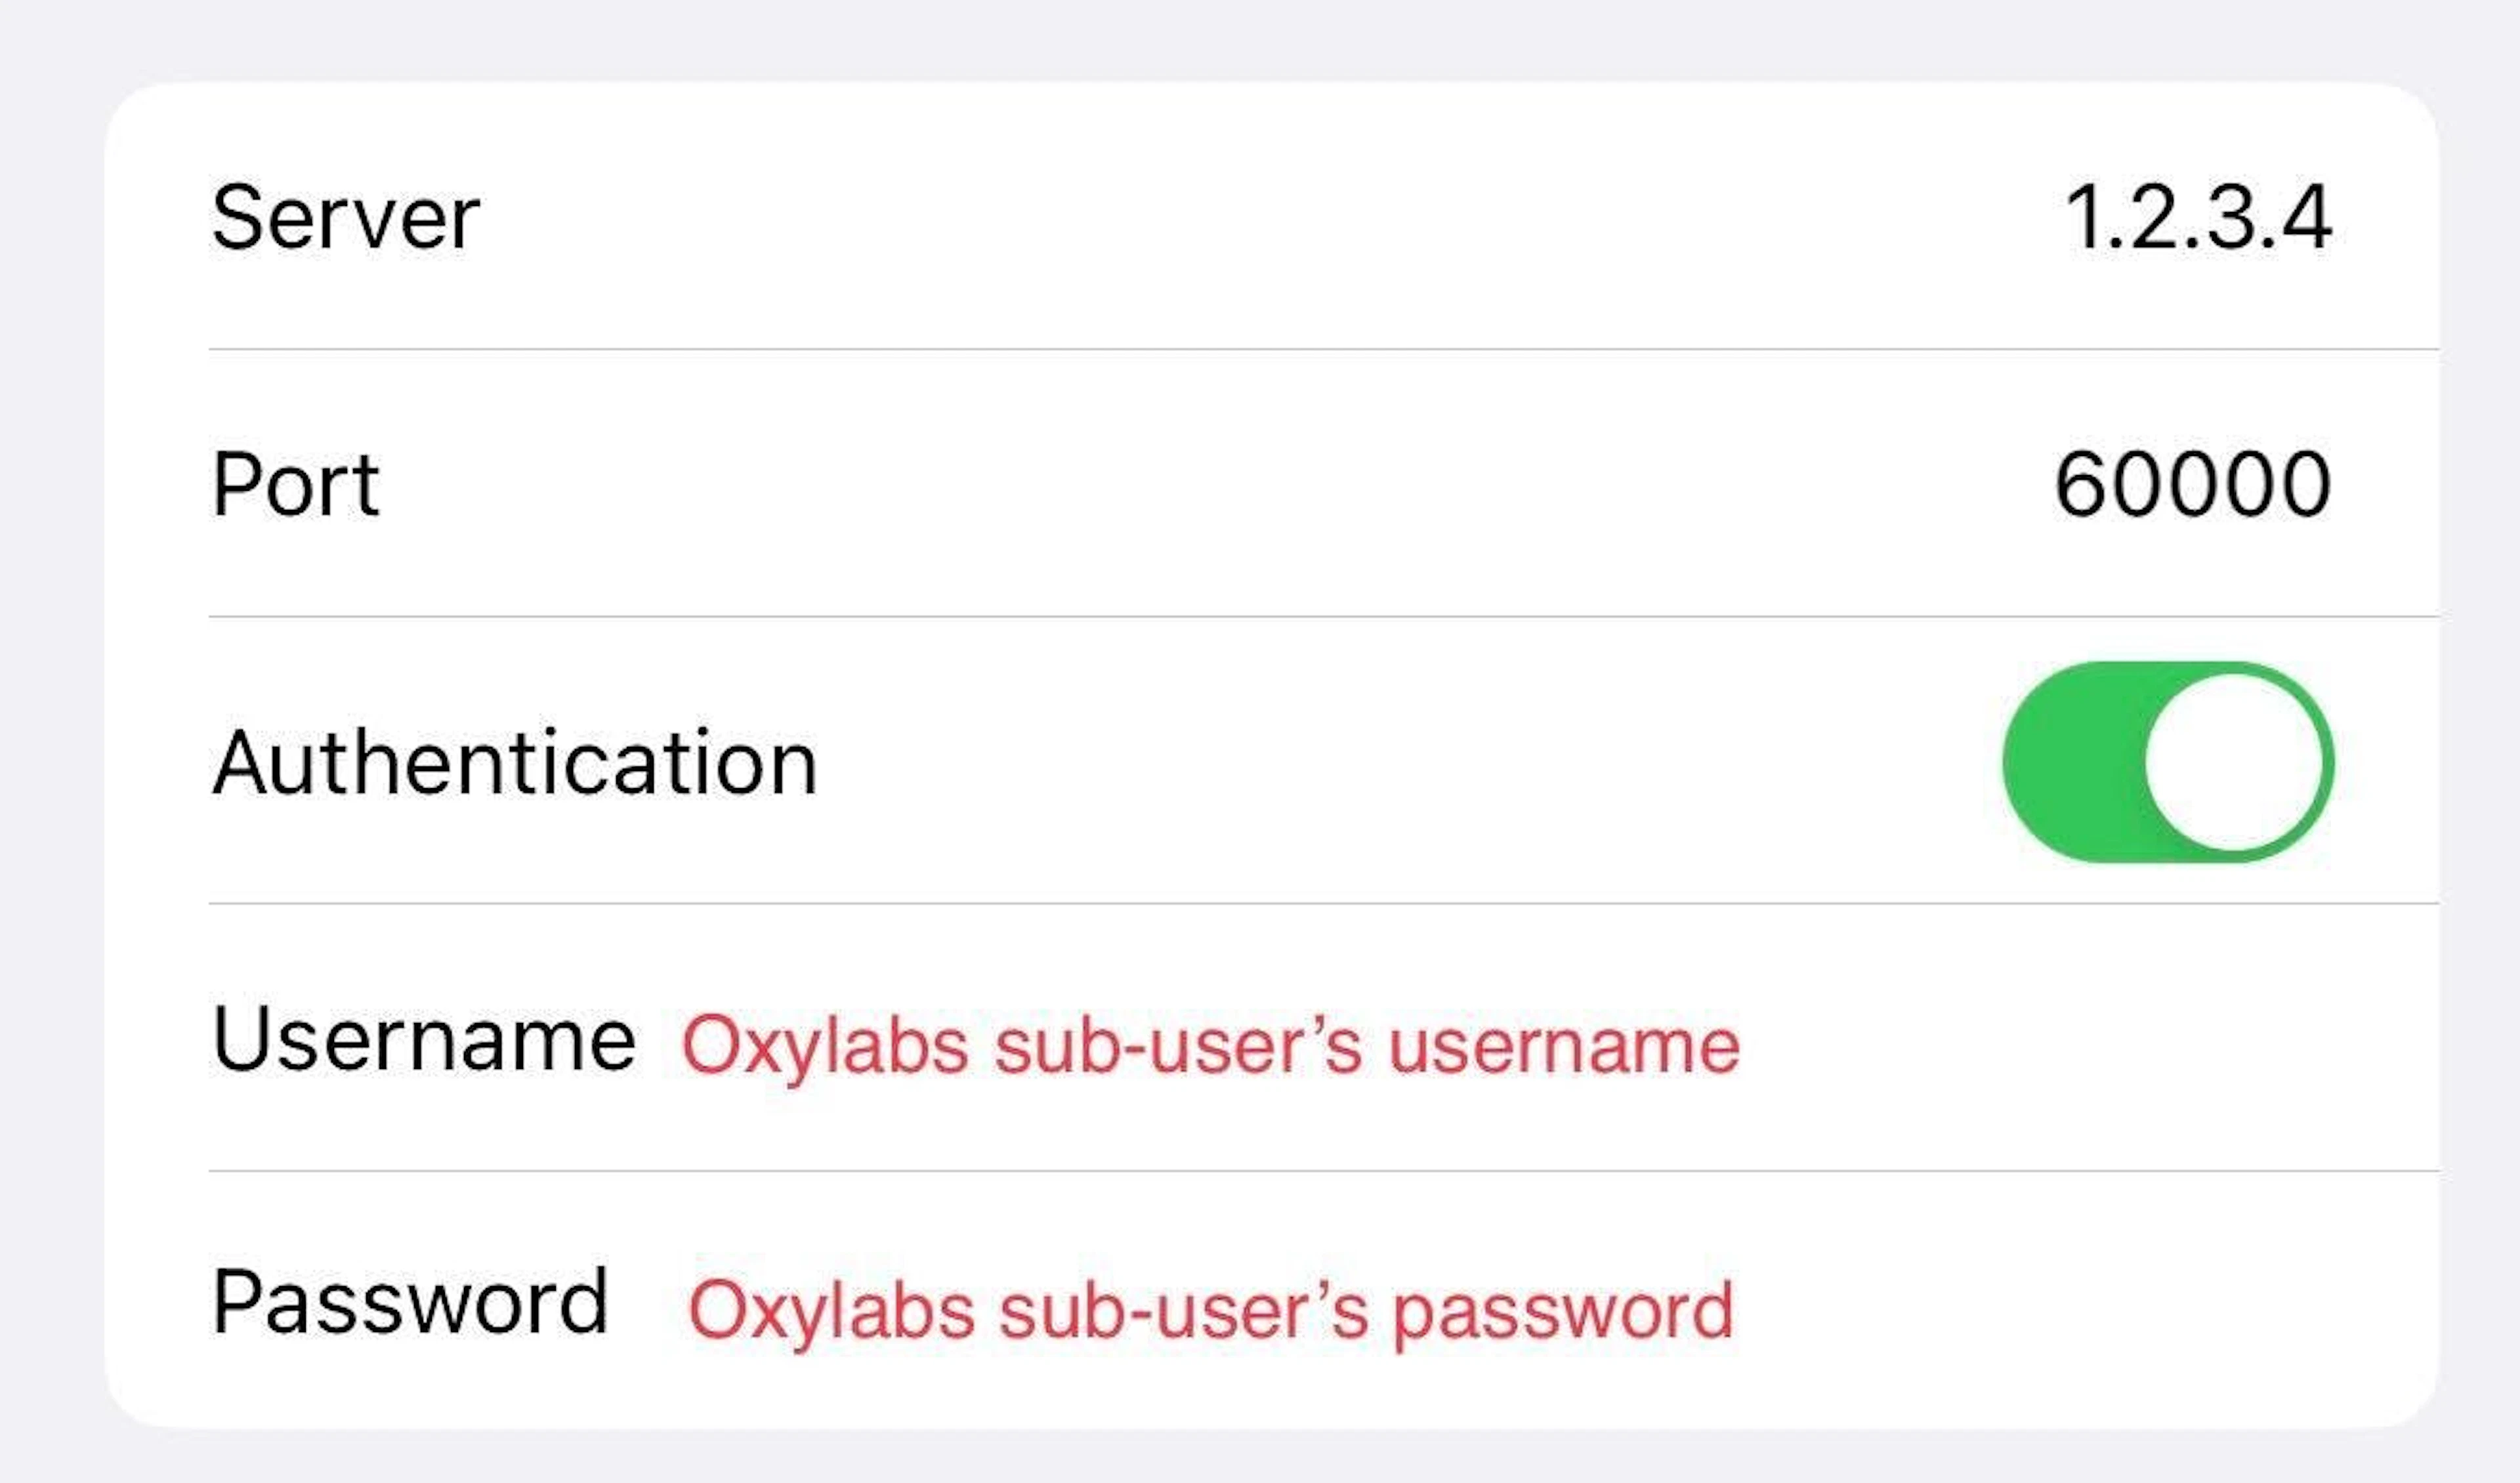
Enterprise Dedicated Datacenter Proxies
Specify the following if you purchased Dedicated Datacenter Proxies via sales.
Server: a specific IP address (e.g., 1.2.3.4)
Port: 60000
Authentication: on
For Enterprise Dedicated Datacenter Proxies, you’ll have to choose an IP address from the acquired list. Visit our documentation for more details.
If you’re using a whitelisted Dedicated Datacenter Proxy, change the port to 65432 and turn the authentication off; the server field remains the same.
Self-Service Dedicated Datacenter Proxies
Specify the following if you purchased Dedicated Datacenter Proxies via the dashboard.
Server: ddc.oxylabs.io
Port: 8001
Authentication: on
For Self-Service Dedicated Datacenter Proxies, the port indicates the sequential number of an IP address from the acquired list. Check our documentation for more details.
Datacenter Proxies
Type: HTTP, HTTPS, SOCKS5
Host: dc.oxylabs.io
Port: 8001
Authentication: on
Under the pay-per-IP subscription model, the port is the sequential number assigned to an IP on your proxy list. For example, port 8001 uses the first IP address. For more details, consult our documentation.
For the pay-per-traffic subscription, port 8001 picks a random IP address, which remains consistent during the session. The proxy's geo-location can be specified in the user authentication string, like user-USERNAME-country-US:PASSWORD, which will connect to a US proxy. Refer to our documentation for additional information.
ISP Proxies
Server: isp.oxylabs.io
Port: 8001
Authentication: on
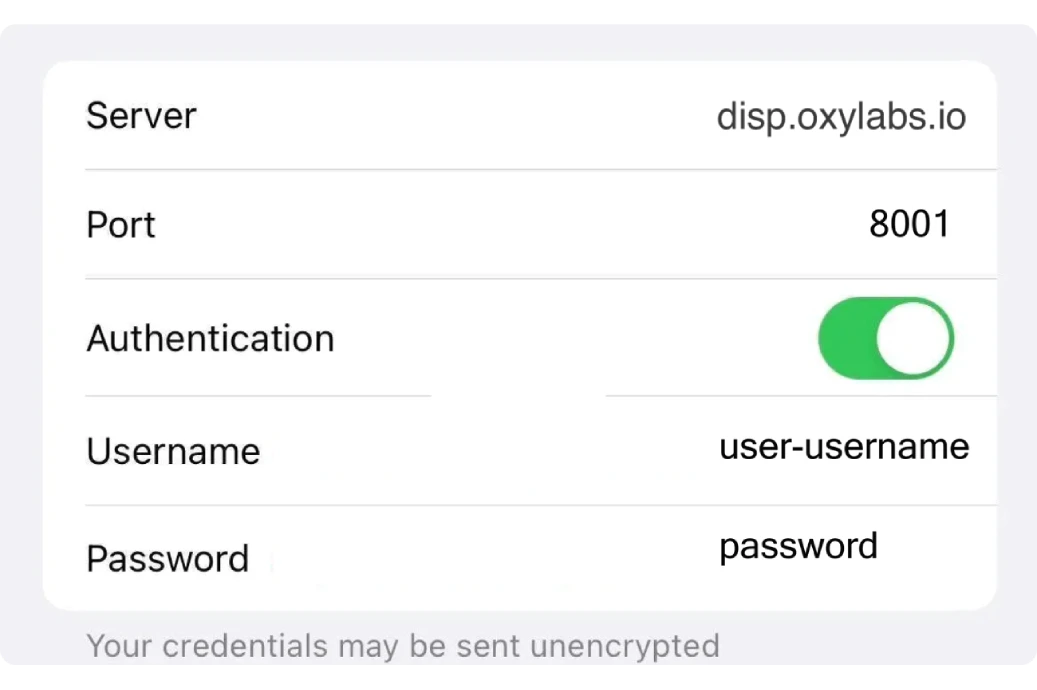
Dedicated ISP Proxies
Server: disp.oxylabs.io
Port: 8001
Authentication: on
6. On the upper-right corner, click Save.
7. Now, your proxy settings are up! To see if your connection was successful, head over to the IPleak website and see if your IP address was replaced with that of a proxy. If you don’t know your own IP address, check it before connecting to a proxy; then, compare the two.
How to turn off a proxy server for iPhone or iPad
Once you’ve configured the proxy server on iPhone, it will try to route all your connection requests through a proxy. However, keep in mind that some applications have automatic proxy detection and don’t allow the connection – in that scenario, you’ll need to disable it.
To turn off the iPhone proxy server connection, repeat the first four steps:
Open Settings > click Wi-Fi > tap on the network you’re currently connected to > scroll down and select Configure Proxy > tap Off:
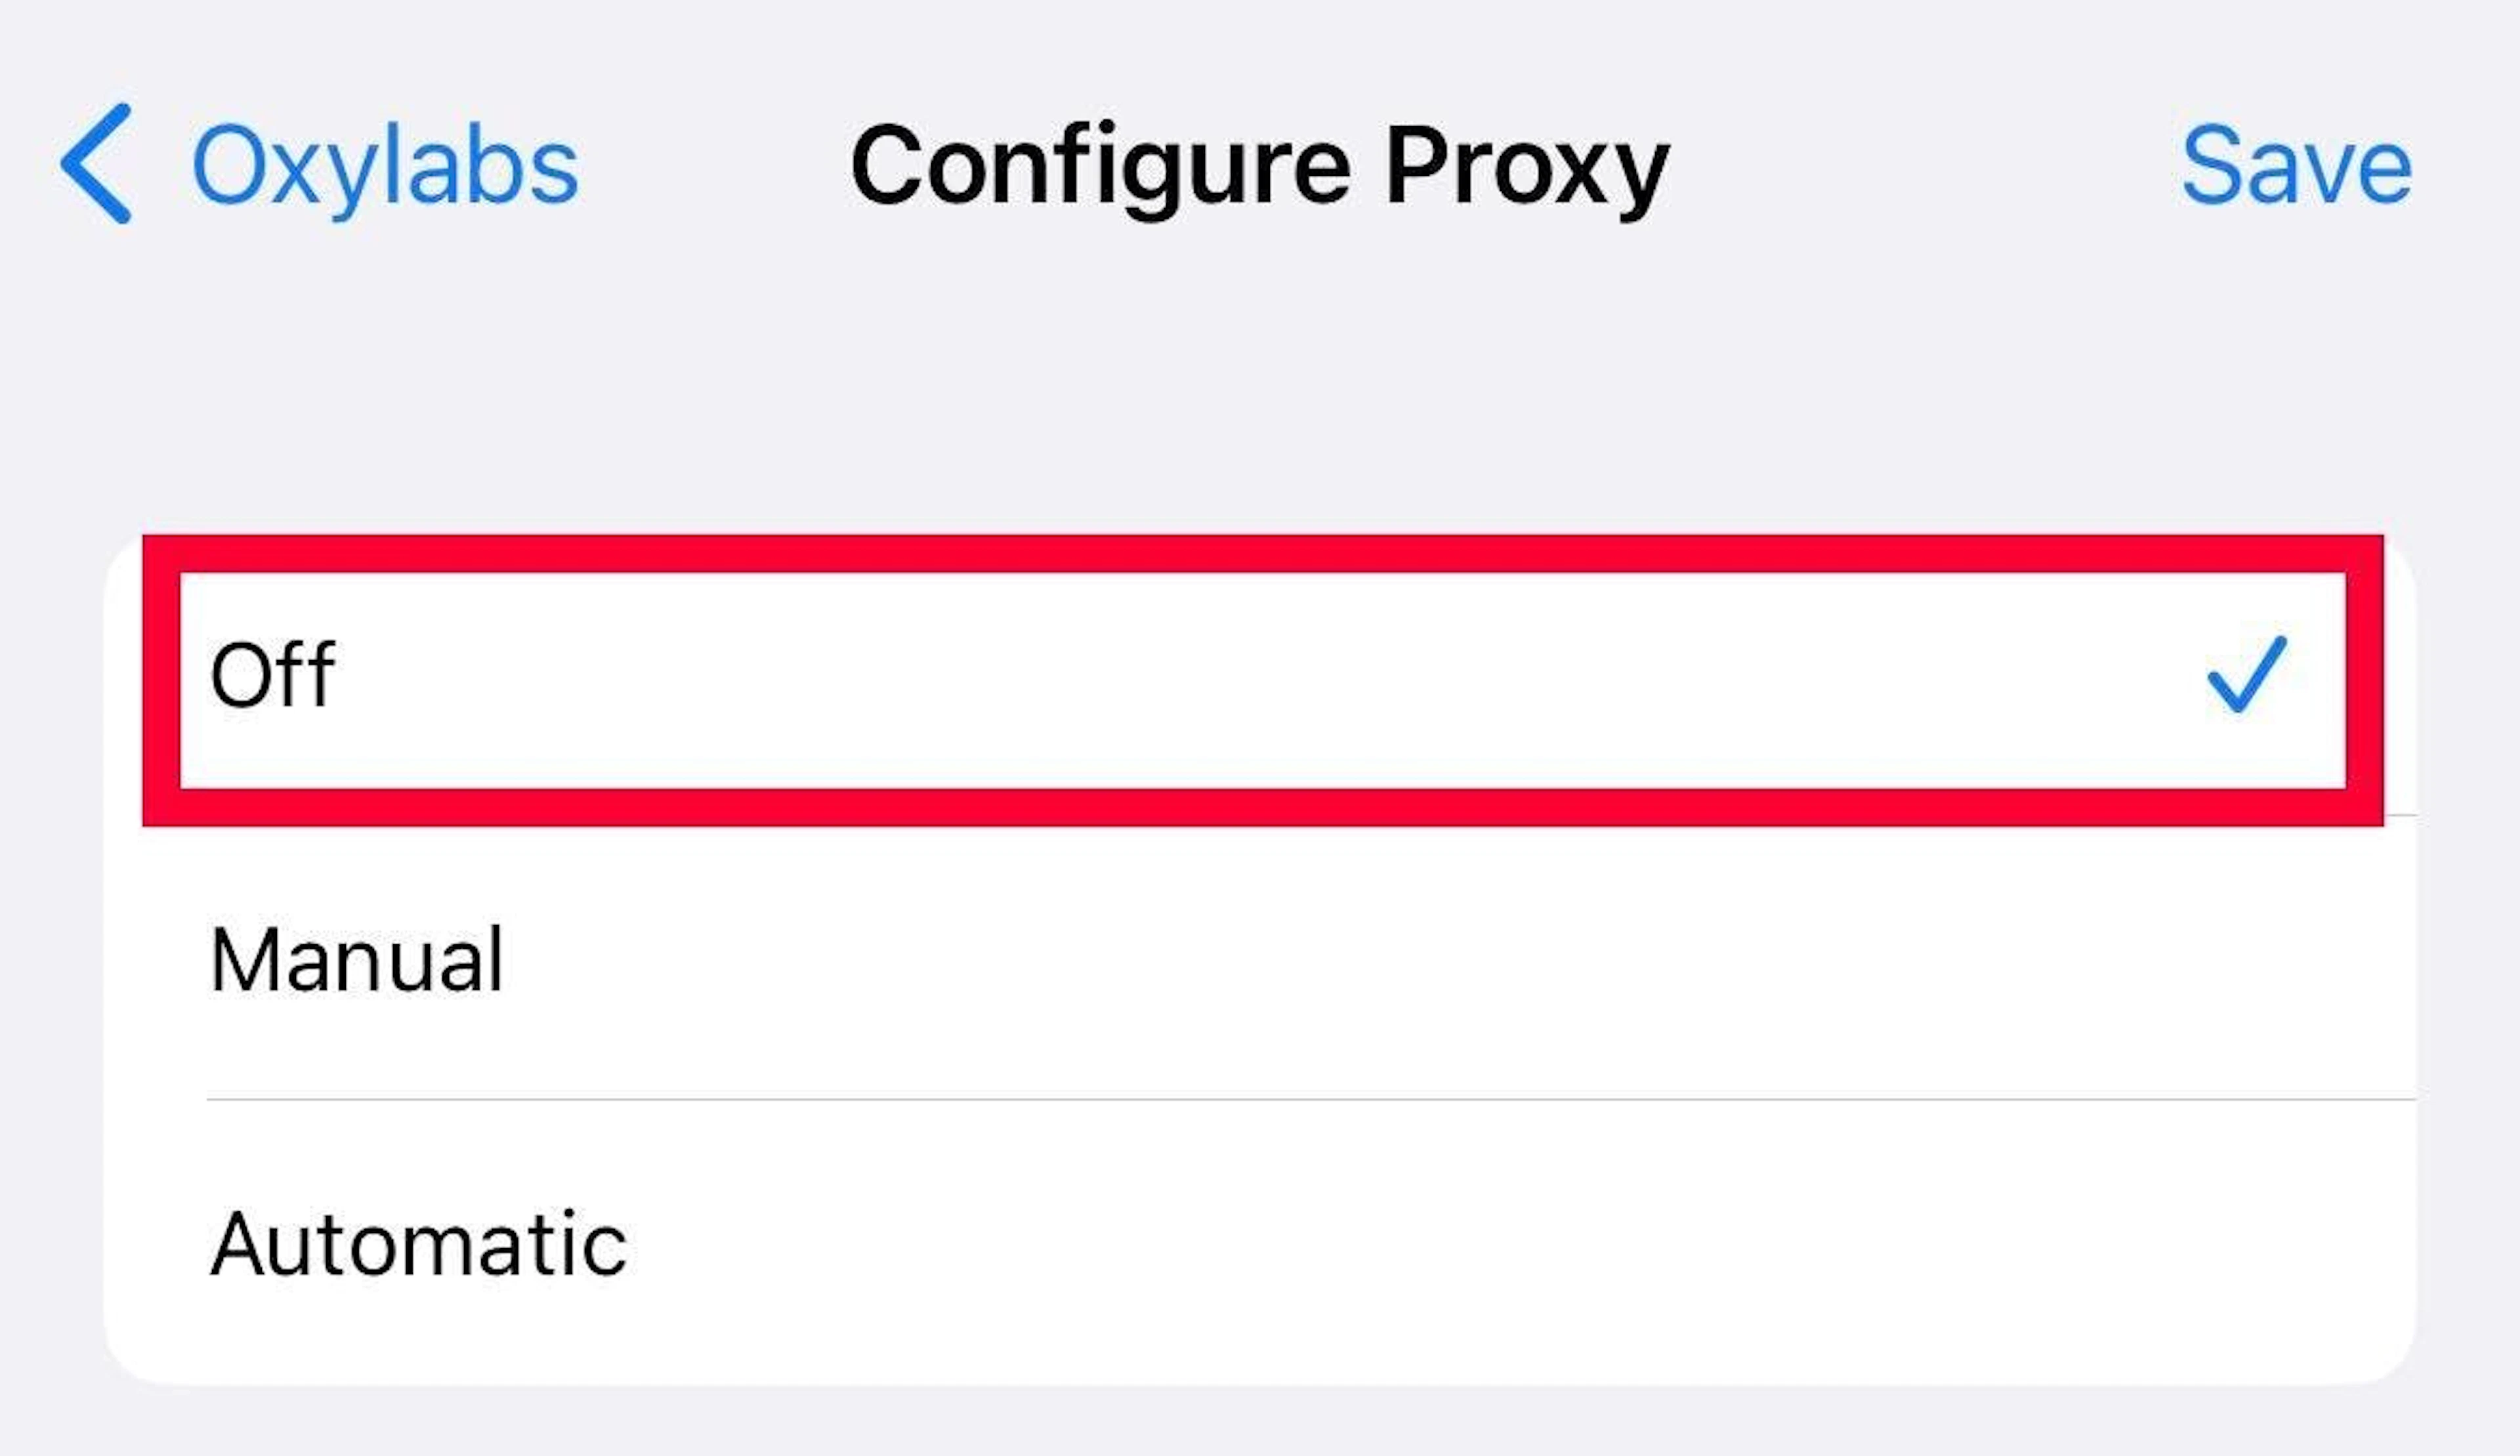
Now, you’re disconnected from the proxy. The proxy settings will remain there, so you’ll be able to connect quickly next time.
Conclusion
The process of setting up proxies on iOS devices is relatively simple; however, if you need any assistance or have any questions, don’t hesitate to contact us at support@oxylabs.io.
Please be aware that this is a third-party tool not owned or controlled by Oxylabs. Each third-party provider is responsible for its own software and services. Consequently, Oxylabs will have no liability or responsibility to you regarding those services. Please carefully review the third party's policies and practices and/or conduct due diligence before accessing or using third-party services.
Frequently asked questions
What is the purpose of a proxy?
The technical purpose of a proxy is to mask the user's authentic IP address. By acting as a gateway between your device and the internet, it comes with great benefits. For example, using a proxy server, you can hide your IP address and change location online. As a result, it helps to access content that’s restricted by your school or the workplace. By preventing malware from making requests to your device directly, it enhances your security.
Useful resources
Oxy Proxy Manager App
Free Android proxy manager app that works with any proxy provider.
How to Configure Shadowrocket Proxies on iPhone
See how to integrate Residential Proxies with 3rd party integrations like Shadowrocket in our tutorial.
How to Scrape Yandex Search Results: A Step-by-Step Guide
Learn how to use Yandex Scraper API to get the public data you need from Yandex.

Get the latest news from data gathering world
Proxies
Advanced proxy solutions
Data Collection
Datasets
Resources
Innovation hub