175M+ ethically sourced IPs built for the highest reliability.
High-speed, cost-effective proxies built for any scraping workload.
Premium static residential proxies from trusted ASNs for most difficult targets.
Dedicated IPs from premium ASNs for demanding scraping.

AI-powered proxy solution for optimized web scraping performance.

20M+ IP addresses from real mobile devices for precise targeting.

Free Chrome proxy manager extension that works with any proxy provider.

Free Android proxy manager app that works with any proxy provider.

Free community-driven tools to improve your web scraping projects.
Web Scraper API
All-in-one web data collection platform for every stage of web scraping.
Fast Search API
Ultra-fast organic search results scraper tailored for AI workflows.
Headless Browser
Advanced browser automation solution for AI agents and scraping.
AI Studio
A suite of AI-powered tools for various scraping projects.

Documentation
All features, parameters, and integration details, backed by code samples in every coding language.
Tutorials, samples, and guides.
Latest fixes and features.


How to Run a Python Script

Augustas Pelakauskas
Last updated on
2025-02-06
3 min read
![]() AI Summary:
AI Summary:
Python scripts, which are `.py` files containing code, can be executed using three primary methods: running them directly from the command line, using Integrated Development Environment (IDE) for development and debugging, or interactively for testing individual lines or small code blocks. These execution methods support workflows ranging from rapid prototyping to permanent automation via scheduled cron jobs.
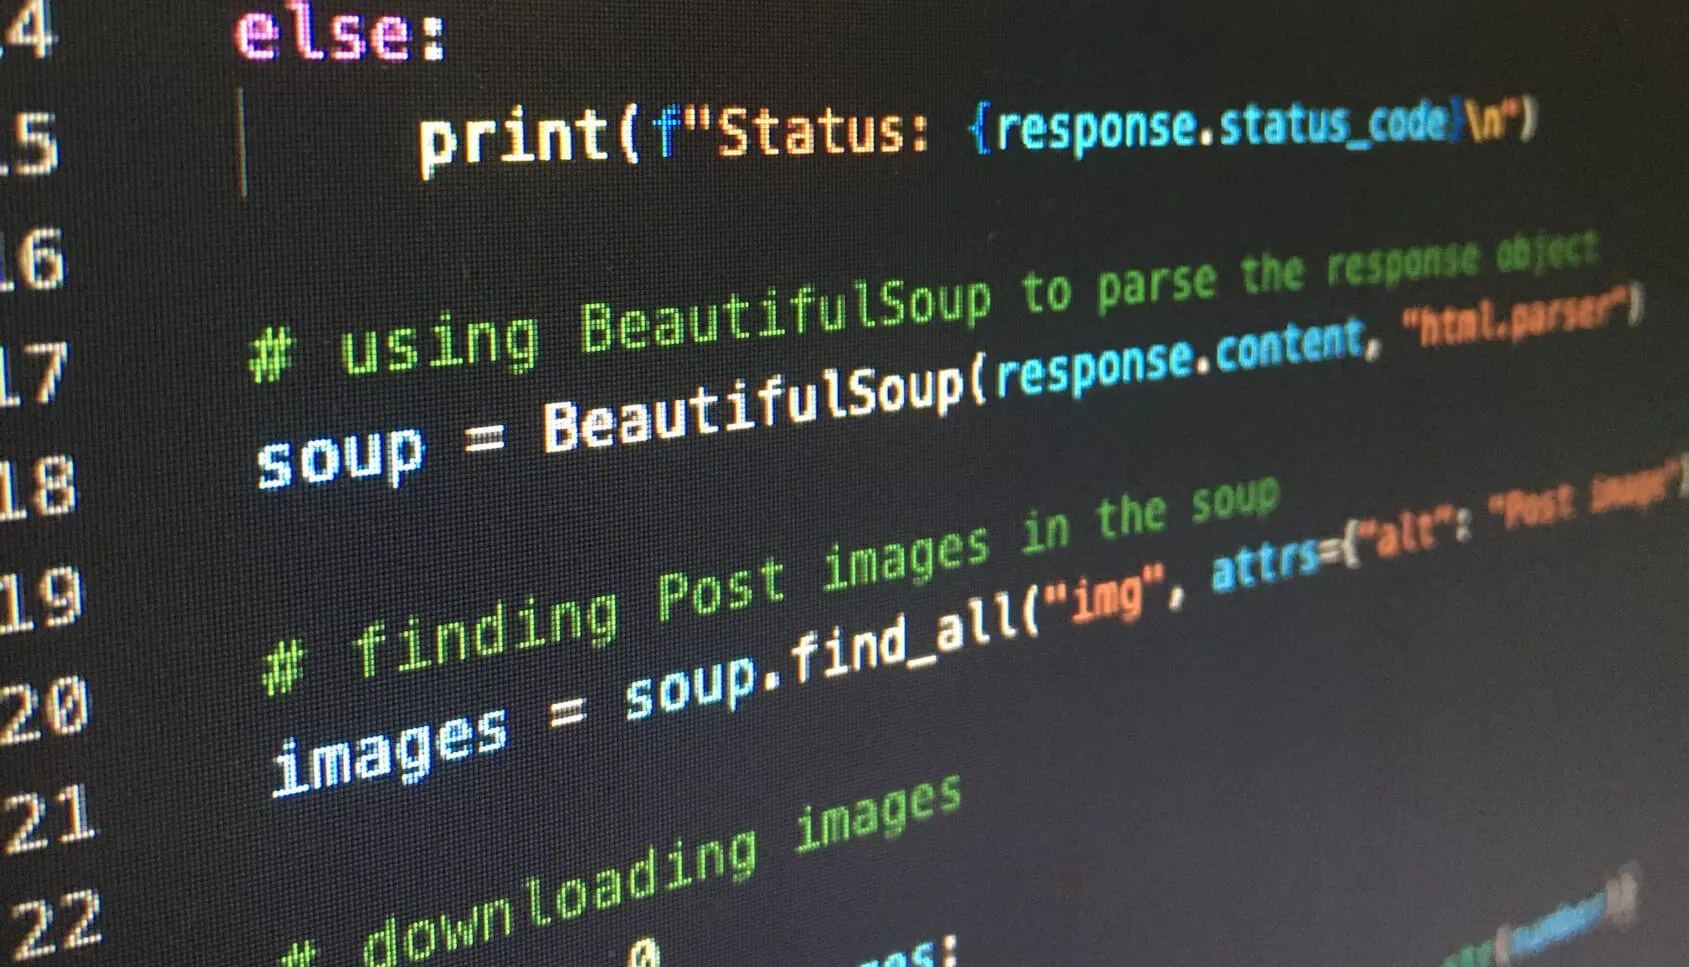
Python is a favorite among programmers for public web data extraction, but it might seem daunting if you're new to coding. Whether you're automating tasks for Python web scraping or analyzing data, the following tutorial presents three common options for running your first Python script.
Python has excellent documentation and a supportive community – look things up as you learn.
What is Python script?
A Python script is a text file containing code that can be executed to perform specific tasks. It's a set of instructions written in the Python programming language that tells a computer what to do.
To run a Python script, you need to have Python installed on your computer. You can execute it through:
Command line interface
Integrated Development Environment (IDE)
Interactive mode
Python scripts typically have the file extension .py.
Methods and examples of how to run a Python script
For Python script samples, you’ll see Oxylabs proxies using the requests library and the runpy module.
Interactive mode
Begin with creating a new Python file. Use any text editor and enter the following Python script:
#!pip install requests
import requests

username = "your_username"
password = "your_password"

proxy_host = "pr.oxylabs.io"
proxy_port = "7777"

proxies = {
   "http": f"http://customer-{username}:{password}@{proxy_host}:{proxy_port}",
   "https": f"https://customer-{username}:{password}@{proxy_host}:{proxy_port}",
}

response = requests.get("https://ip.oxylabs.io", proxies=proxies)

if response.ok:
   print(response.text)
else:
   print("Error:", response.status_code)
The Python script uses Residential Proxies. Let's save the file as residential.py.
Open your command prompt or terminal and start Python in the interactive mode with the shell prompt:
MacOS and Linux:
$ python3
>>>_
Windows:
C:\> python
>>>_
In this mode, you can run one-liner commands:
>>> print(“Hello, World”)
Hello, World
One way to run Python scripts is to paste each line one by one:
>>> import requests
>>> username = "your_username"
>>> proxy_host = "pr.oxylabs.io"
Alternatively, copy all the code, paste it into the interactive shell, and press Enter to run. The result will be the IP provided by Residential Proxies:
123.12.13.141If you prefer to run the entire file, you can use the runpy module. It’s part of the standard Python library included with your Python installation.
This module exposes run_path as a function that can take your file name and run it:
>>> import runpy
>>> runpy.run_path(‘residential.py’)
122.32.53.41
You may see a few examples of the exec() function, but it’s error-prone. Therefore, it’s recommended that you use runpy instead:
>>> exec(open(residential.py').read()) Finally, to exit the interactive shell, press Ctrl+Z on Windows or Ctrl+D on macOS/Linux. Also, typing in exit() and pressing Enter achieves the same.
Interactive mode is great for checking the results of a single line of code, but it’s not ideal for entire code files, and there is a better way.
Command line or terminal
Create a new file using any text editor and enter the following Python script:
#!pip install requests
import requests

username = "your_username"
password = "your_password"

proxy_host = "ddc.oxylabs.io"
proxy_port = "8001"

proxies = {
   "http": f"http://user-{username}:{password}@{proxy_host}:{proxy_port}",
   "https": f"https://user-{username}:{password}@{proxy_host}:{proxy_port}",
}

response = requests.get("https://ip.oxylabs.io", proxies=proxies)

if response.ok:
   print(response.text)
else:
   print("Error:", response.status_code)
The Python script uses Datacenter Proxies. Let's save the file as datacenter.py.
Open your command prompt or terminal. This time, supply your file name as an argument with the Python command:
$ python3 datacenter.pyYou have a new Datacenter Proxies IP:
22.3.153.41You can take this to the next level by setting a scheduled task or a cron job. The script will run according to the schedule you define. This is the easiest way to run Python scripts repetitively.
Text editor
Typically, you would use a code editor when writing any Python script. One of the most popular Python code editors is Visual Studio Code.
After installing, launch it and set up the development process.
Go to View > Extensions and search for Python in the window that opens. Then, install the Python extension, which simplifies coding.
Create a Python virtual environment. Otherwise, no .py file will be recognized.
Open a folder and click File > New File to create a new file. It will ask for a file name. Let’s use isp.py.
The Python script uses ISP Proxies. Enter the following and save the file:
#!pip install requests
import requests

username = "your_username"
password = "your_password"

proxy_host = "isp.oxylabs.io"
proxy_port = "8001"

proxies = {
   "http": f"http://user-{username}:{password}@{proxy_host}:{proxy_port}",
   "https": f"https://user-{username}:{password}@{proxy_host}:{proxy_port}",
}

response = requests.get("https://ip.oxylabs.io", proxies=proxies)

if response.ok:
   print(response.text)
else:
   print("Error:", response.status_code)
To run this file, click Run > Run without debugging. Alternatively, click the Play button on the top right.
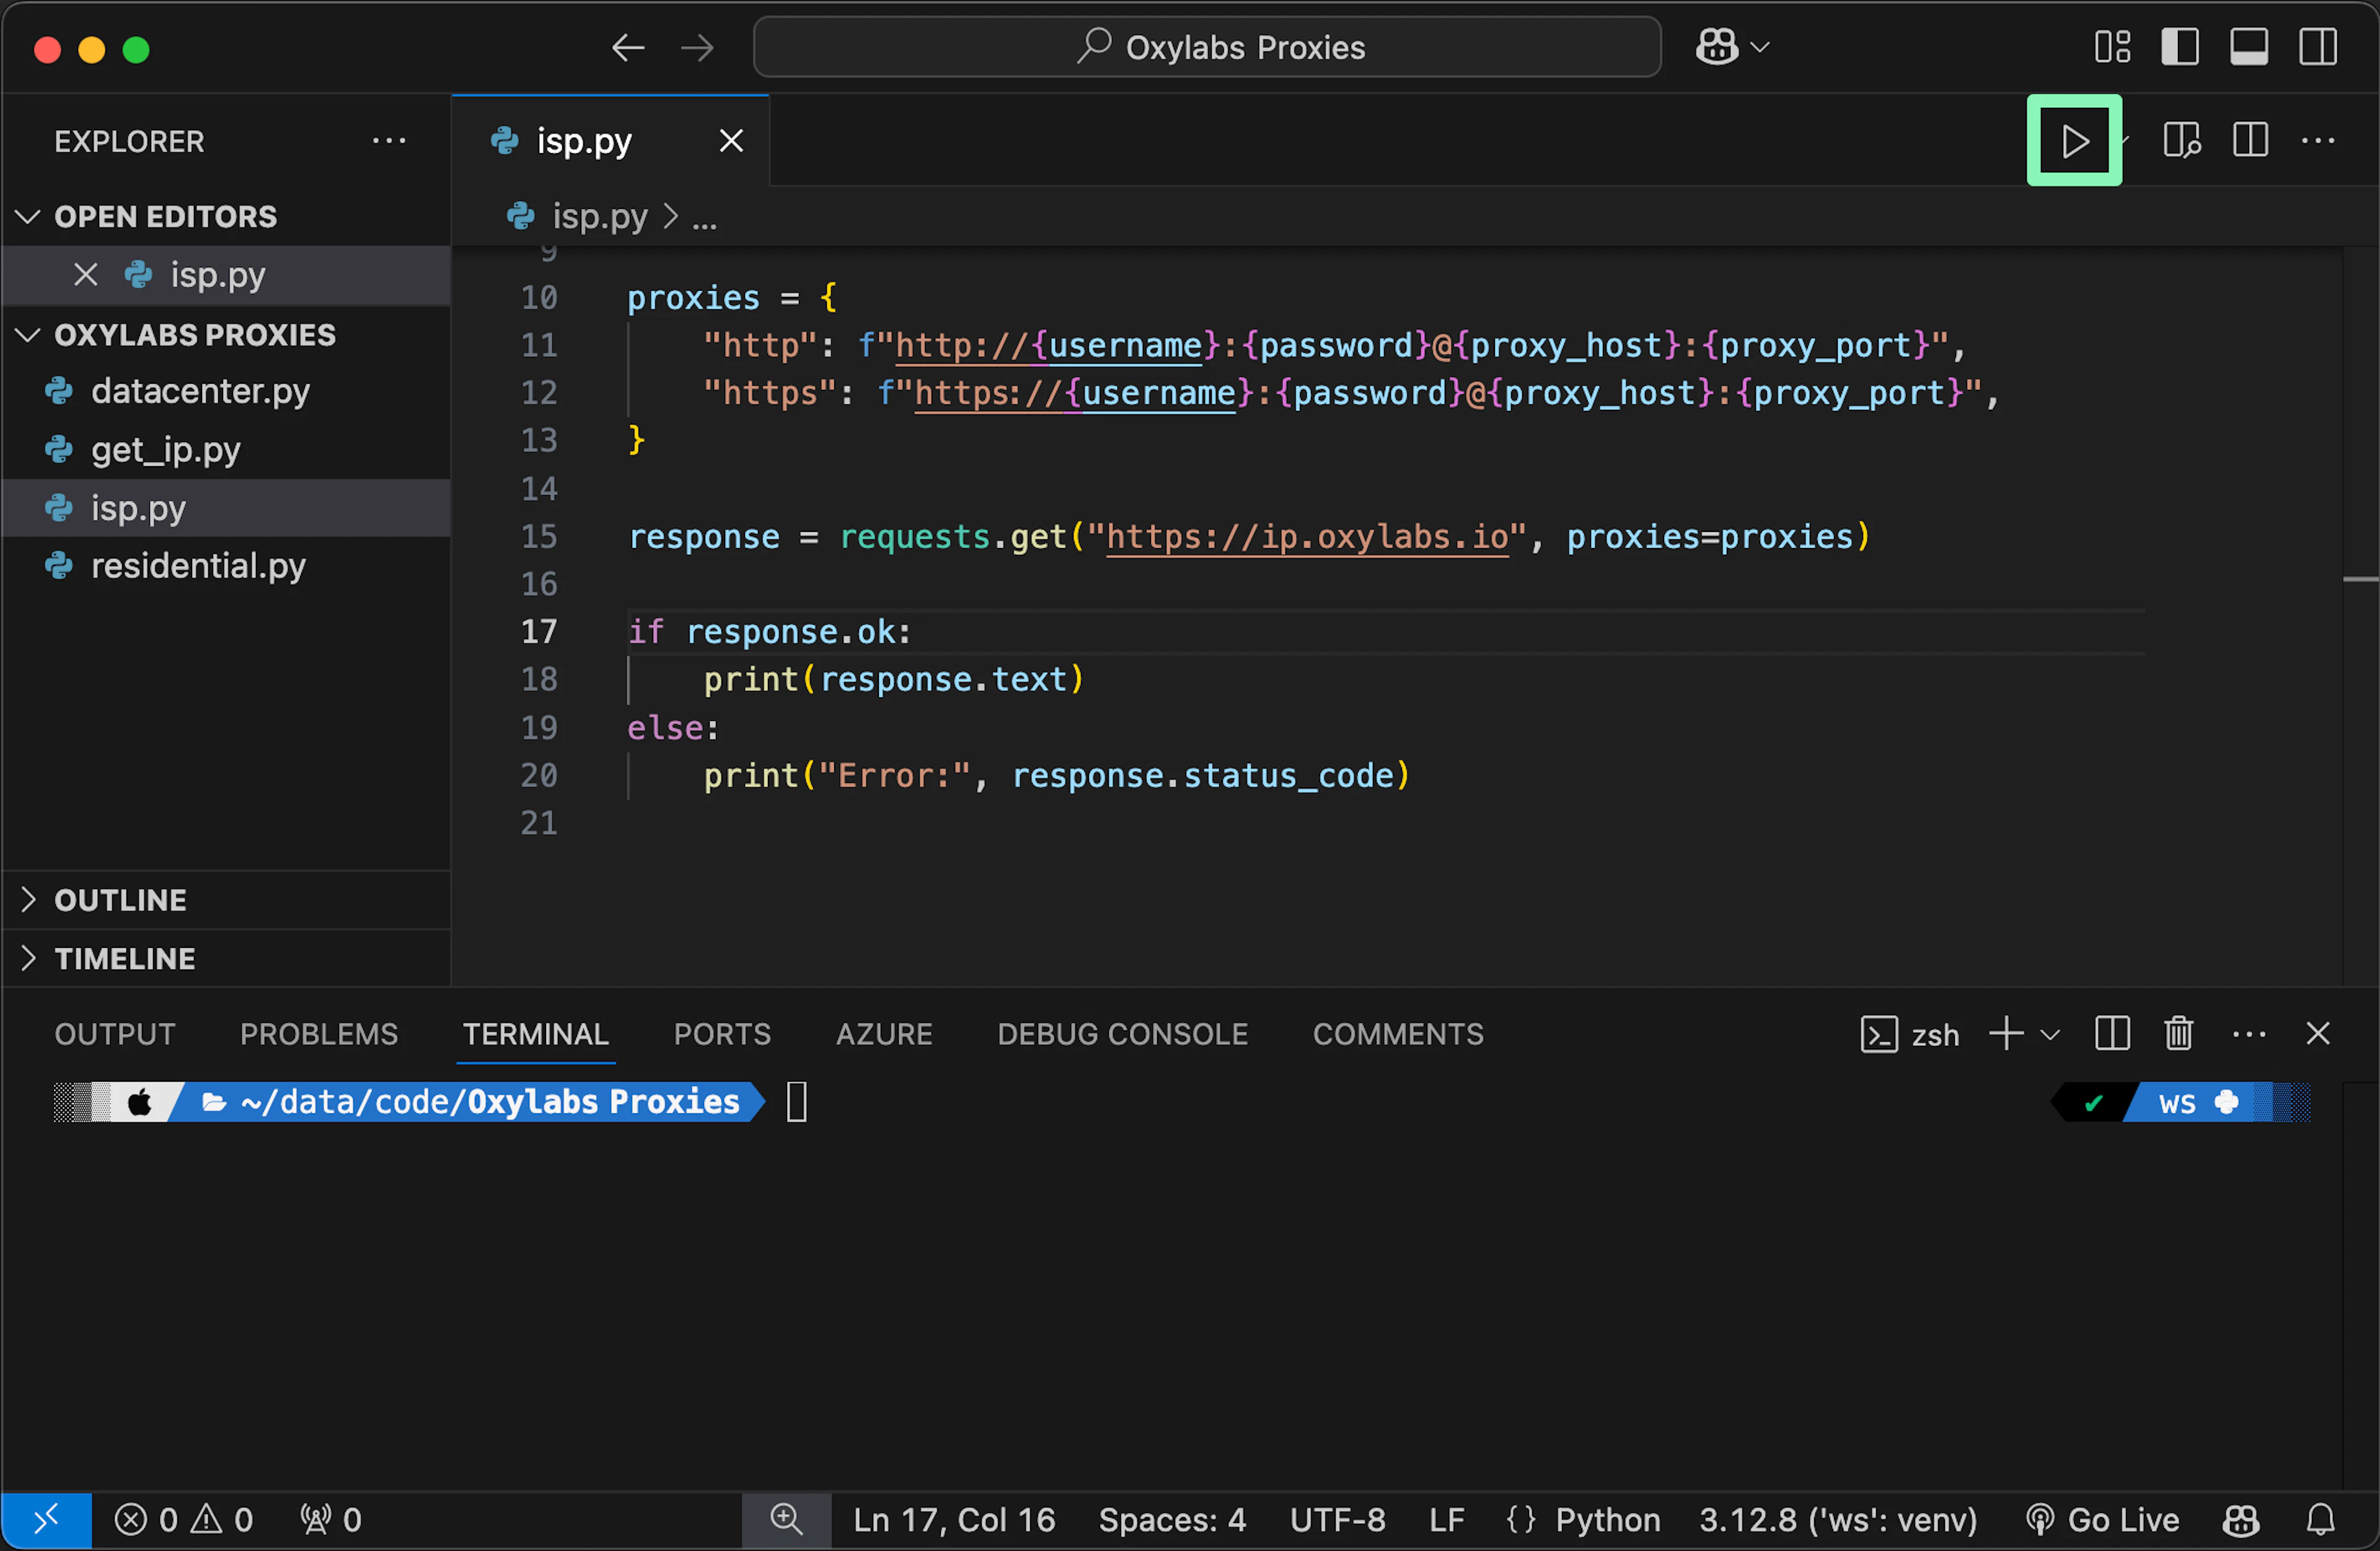
You will see the results immediately. This approach is great when you’re still developing the code and may need debugging capabilities.
Proxies for web scraping
Unlock web scraping targets with an average 99.82% success rate.
5 IPs for FREE
No credit card is required
Wrap up
Web scraping can be complemented with endless options, from automation to data structurization. For Python beginners, you might be interested in:
For any questions, email us or drop a line via the live chat.
Frequently asked questions
How do I run a .py file?
The easiest way to run a Python file is to use the Python interpreter from the command line or terminal. You can use the command python your_file.py to see the results immediately.
Alternatively, you can use a code editor such as VS Code or Python’s IDLE.
How to run Python script on Mac?
How do I run a text file in Python?
Forget about complex web scraping processes
Choose Oxylabs' advanced web intelligence collection solutions to gather real-time public data hassle-free.
About the author
Augustas Pelakauskas
Former Senior Technical Copywriter
Augustas Pelakauskas was a Senior Technical Copywriter at Oxylabs. Coming from an artistic background, he is deeply invested in various creative ventures - the most recent being writing. After testing his abilities in freelance journalism, he transitioned to tech content creation. When at ease, he enjoys the sunny outdoors and active recreation. As it turns out, his bicycle is his fourth-best friend.
All information on Oxylabs Blog is provided on an "as is" basis and for informational purposes only. We make no representation and disclaim all liability with respect to your use of any information contained on Oxylabs Blog or any third-party websites that may be linked therein. Before engaging in scraping activities of any kind you should consult your legal advisors and carefully read the particular website's terms of service or receive a scraping license.
Related articles


Get the latest news from data gathering world
Scale up your business with Oxylabs®
Proxies
Advanced proxy solutions
Data Collection
Datasets
Resources
Innovation hub
Forget about complex web scraping processes
Choose Oxylabs' advanced web intelligence collection solutions to gather real-time public data hassle-free.