175M+ ethically sourced IPs built for the highest reliability.
High-speed, cost-effective proxies built for any scraping workload.
Premium static residential proxies from trusted ASNs for most difficult targets.
Dedicated IPs from premium ASNs for demanding scraping.

AI-powered proxy solution for optimized web scraping performance.

20M+ IP addresses from real mobile devices for precise targeting.

Free Chrome proxy manager extension that works with any proxy provider.

Free Android proxy manager app that works with any proxy provider.

Free community-driven tools to improve your web scraping projects.
Web Scraper API
All-in-one web data collection platform for every stage of web scraping.
Fast Search API
Ultra-fast organic search results scraper tailored for AI workflows.
Headless Browser
Advanced browser automation solution for AI agents and scraping.
AI Studio
A suite of AI-powered tools for various scraping projects.

Documentation
All features, parameters, and integration details, backed by code samples in every coding language.
Tutorials, samples, and guides.
Latest fixes and features.


How To Set up FoxyProxy with Oxylabs Proxies
FoxyProxy is a third-party extension that enables configuring proxies directly for Chrome, Firefox, and other Chromium-based browsers. Let’s take a look at how to configure and access proxy servers using FoxyProxy with Oxylabs Residential and Datacenter Proxies.


What is FoxyProxy?
FoxyProxy is a suite of proxy management tools that automates the process of switching between different proxy servers. It supports third-party proxies over HTTP, HTTPS, SOCKS4, and SOCKS5 protocols. Instead of digging through deep browser settings every time you need to change your IP address, FoxyProxy allows you to switch profiles with a single click or automate the process entirely based on the websites you visit.
How to use a proxy with FroxyProxy?
FoxyProxy supports third-party proxies over HTTP, HTTPS, and SOCKS5 protocols. To route your browser traffic through a specific proxy, you must add a new proxy configuration and select the desired mode from the extension icon. Below is the guide on how to set it up with Chrome and Mozila Firefox.
Step 1: Install FoxyProxy
Download and install the FoxyProxy browser extension on your browser:
Chrome: download the Chrome standard or Chrome basic extension.
Firefox: download the Firefox standard or Firefox basic extension.
We'll use a standard extension in the following steps.
Step 2: Open options
After installing the extension, click on Extensions button in the top right corner of your browser, select FoxyProxy, and choose Options.
Here's where to find it in Chrome:

If you're using Firefox, you'll find it on the top right corner as well:

Step 3: Configure proxy details
In the Proxies tab, click the Add button located on the left to open proxy settings. Then, enter your proxy details according to the proxy types listed below.
Residential Proxies
Type: HTTP, HTTPS, or SOCKS5
Hostname: pr.oxylabs.io
Port: 7777
Username: customer-USERNAME
Password: PASSWORD
You can also use country-specific entries to acquire a desired country exit node with a sticky session. For example, to use a US exit node, enter us-pr.oxylabs.io next to Host or IP Address and 10001 next to Port. You can find a complete list of location-specific information in our documentation.

Configuring Oxylabs Residential Proxies
Note: Make sure to add the customer- part to your username.
Enterprise Dedicated Datacenter Proxies
Protocol: HTTP, HTTPS, or SOCKS5
Hostname: 1.2.3.4 (IP address from your proxy list)
Port: 60000 (HTTP/HTTPS) or 1180 (SOCKS5)
Username: USERNAME
Password: PASSWORD

Configuring Oxylabs Enterprise Dedicated Datacenter Proxies
For Enterprise Dedicated Datacenter Proxies, you’ll have to choose an IP address from the acquired list. Visit our documentation for more details.
Self-Service Dedicated Datacenter Proxies
Protocol: HTTP, HTTPS, or SOCKS5
Hostname: ddc.oxylabs.io
Port: 8001
Username: user-USERNAME
Password: PASSWORD

Configuring Oxylabs Self-Service Dedicated Datacenter Proxies in FoxyProxy
Note: Make sure to add the user- part to your username.
For Self-Service Dedicated Datacenter Proxies, the port indicates the sequential number of an IP address from the acquired proxy list.
If you want to get a different IP with each request, change the Port to 8000 to enable proxy rotation. Check our documentation for more details.
Datacenter Proxies
Protocol: HTTP, HTTPS, or SOCKS5
Hostname: dc.oxylabs.io
Port: 8001
Username: user-USERNAME
Password: PASSWORD

Oxylabs Shared Datacenter Proxies in FoxyProxy
Note: Make sure to add the user- part to your username.
Pay-per-IP subscription
The port is the sequential number assigned to an IP address from the proxy list. Thus, port 8001 uses the first IP address from your list. You may also enable proxy IP rotation by setting the port to 8000.
Additionally, you can choose geo-location, such as the US, by setting the Proxy username to user-USERNAME-country-US. For more details, see our documentation.
Pay-per-traffic subscription
Port 8001 picks a random IP address but stays consistent during a session. Alternatively, you can rotate proxy IPs with each request by using port 8000.
You can also specify geo-location, for example, the US, by setting the Proxy username to user-USERNAME-country-US. See our documentation for more details.
ISP Proxies
Protocol: HTTP, HTTPS, or SOCKS5
Hostname: isp.oxylabs.io
Port: 8001
Username: user-USERNAME
Password: PASSWORD

Configuring Oxylabs ISP Proxies in FoxyProxy
Note: Make sure to add the user- part to your username.
With ISP Proxies, the port is assigned to a specific IP address and location. Therefore, port 8001 will always pick the first IP from your proxy list.
If you want to get a different IP with each request, change the Port to 8000 to enable proxy rotation.
Dedicated ISP Proxies
Protocol: HTTP, HTTPS, or SOCKS5
Hostname: disp.oxylabs.io
Port: 8001
Username: user-USERNAME
Password: PASSWORD

Oxylabs Dedicated ISP Proxies in FoxyProxy
Note: Make sure to add the user- part to your username.
After that, click Save to save your proxy settings.
Step 4: Activate proxies
To activate a proxy server, click on the FoxyProxy extension icon and then click again on your proxy profile from the drop-down menu.
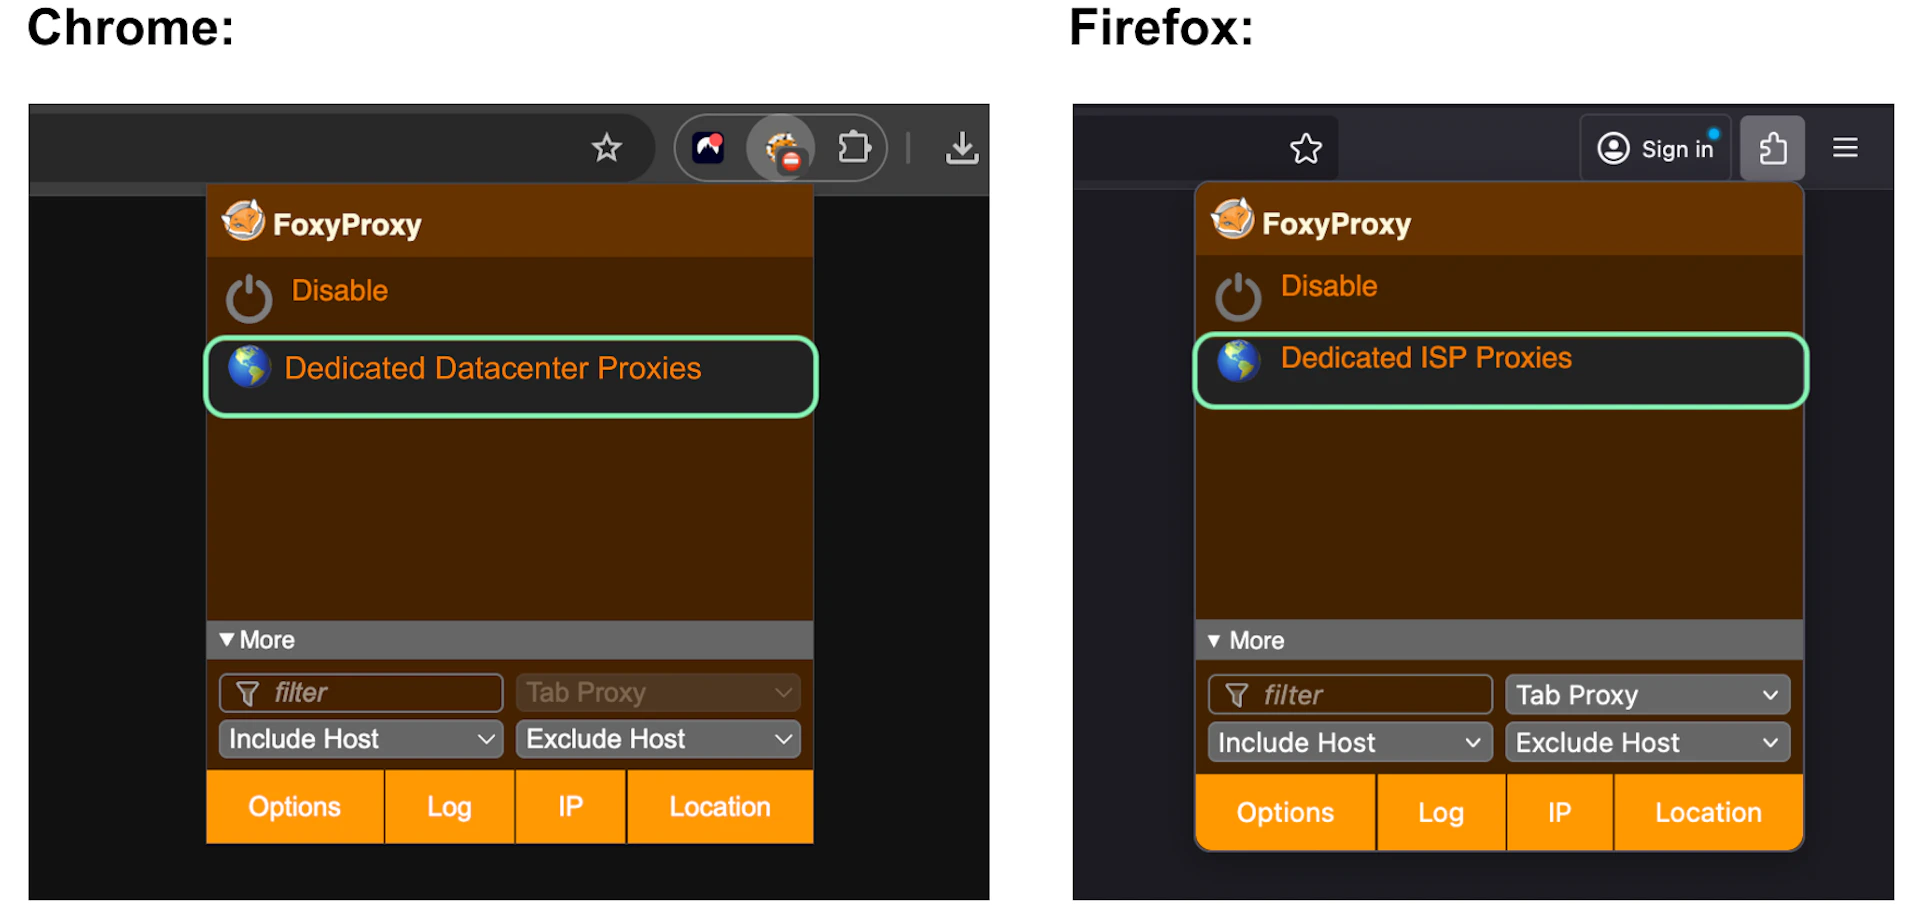
Activating the proxy server (e.g., Dedicated ISP Proxies)
That's it. To find out if everything is working properly, you can check if your IP has changed by visiting ip.oxylabs.io.
Wrapping up
FoxyProxy is a great example of a browser extension that goes above and beyond to deliver useful features, no matter how niche they might be. So whether it’s Chrome or Firefox that you prefer, you now have all the knowledge needed to start working with FoxyProxy.
If you have any questions or need support, you can always reach us via the 24/7 live chat or email.
Please be aware that this is a third-party tool not owned or controlled by Oxylabs. Each third-party provider is responsible for its own software and services. Consequently, Oxylabs will have no liability or responsibility to you regarding those services. Please carefully review the third party's policies and practices and/or conduct due diligence before accessing or using third-party services.
Frequently Asked Questions
What is FoxyProxy?
FoxyProxy is a browser extension that offers powerful proxy configuration functionality for Chrome, Firefox, and other Chromium-based browsers like Opera, Edge, and Vivaldi. It simplifies configuring proxies on a browser and also provides features such as auto-switching, online rule lists, event handling, and more.
What benefits does FoxyProxy offer?
What should you know when using FoxyProxy?
Is FoxyProxy safe?
What is the difference between FoxyProxy Basic and Standard?

Get the latest news from data gathering world
Proxies
Advanced proxy solutions
Data Collection
Datasets
Resources
Innovation hub